
Today's project will show how you can convert your laptop, smartphone, or tablet computer into a makeshift projector—just in time for March Madness! It's super cheap to build, and can add a little bit of creative fun to your next sports party.
This DIY is geared mainly toward college students looking for a way to turn devices they already have into a projector for sporting events or parties.
It's more of a novelty than anything practical, but in my experience, the image is watchable and the idea will hopefully be enjoyed. If anything, it's a party trick you can pull out for your next get-together with friends.
Please note that the image projected on the wall will be "mirror image" or "flipped horizontally" from the original image. This will make any text or numbers appear backward.
Also, the light from the laptop, smartphone or tablet is the only source of light, so as the image is made bigger, the intensity of the light on the screen gets weaker until eventually the image becomes indiscernible.
Aside from already owning a laptop, smartphone, or tablet, you're going to need 3 items to make this projector:
- Cardboard
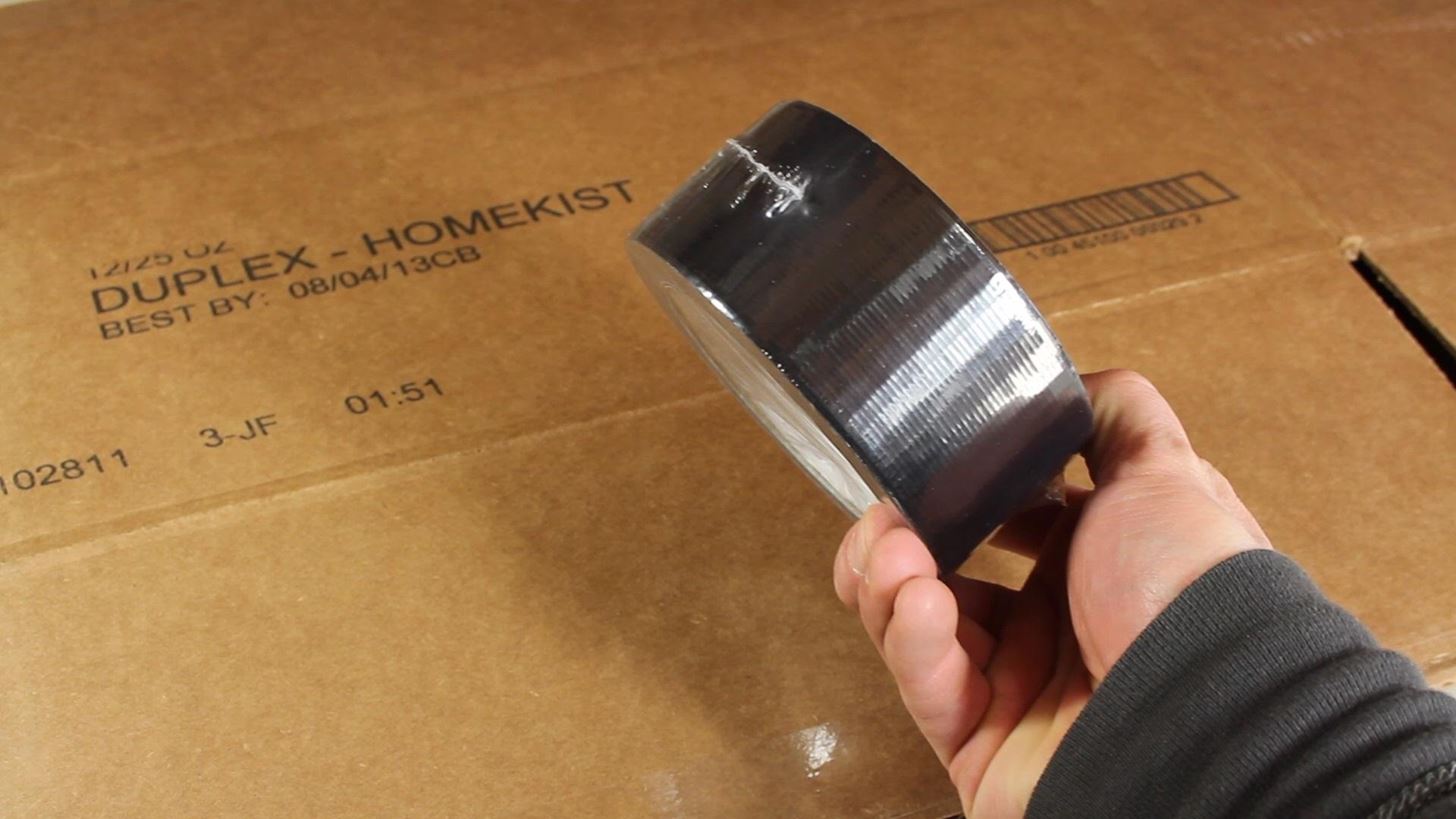
- Duct tape
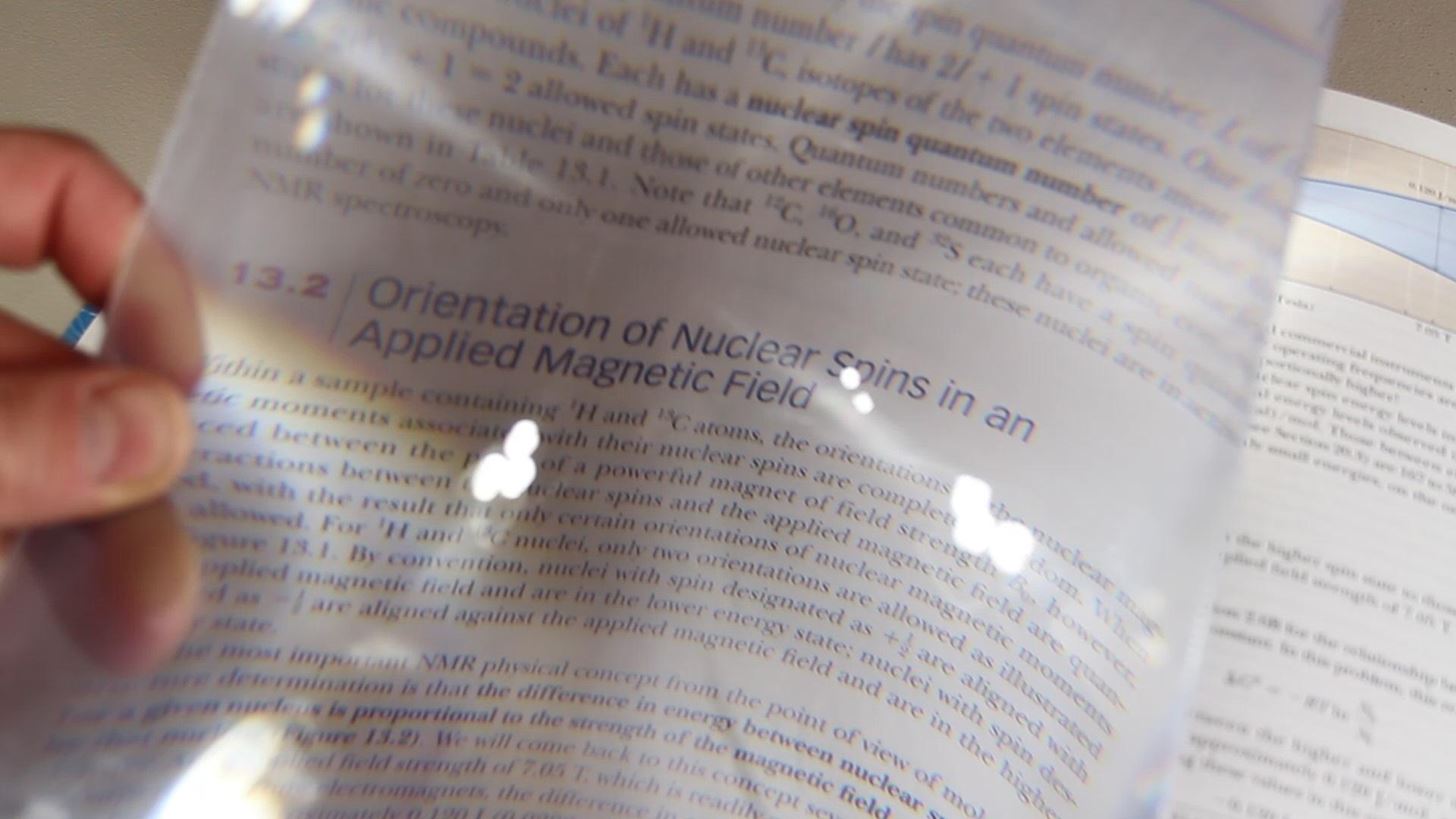
- Full-page Fresnel lens
Cardboard: I got my cardboard box at a Walmart. I just went into the photo lab area and asked if they had any boxes I could use for a project. They had more than they cared to have! I chose one that was a couple feet long, and the front face was just larger than my iPad.
Tape: For tape, I got black duck tape (also from Walmart), but even packing tape or masking tape can work just great!
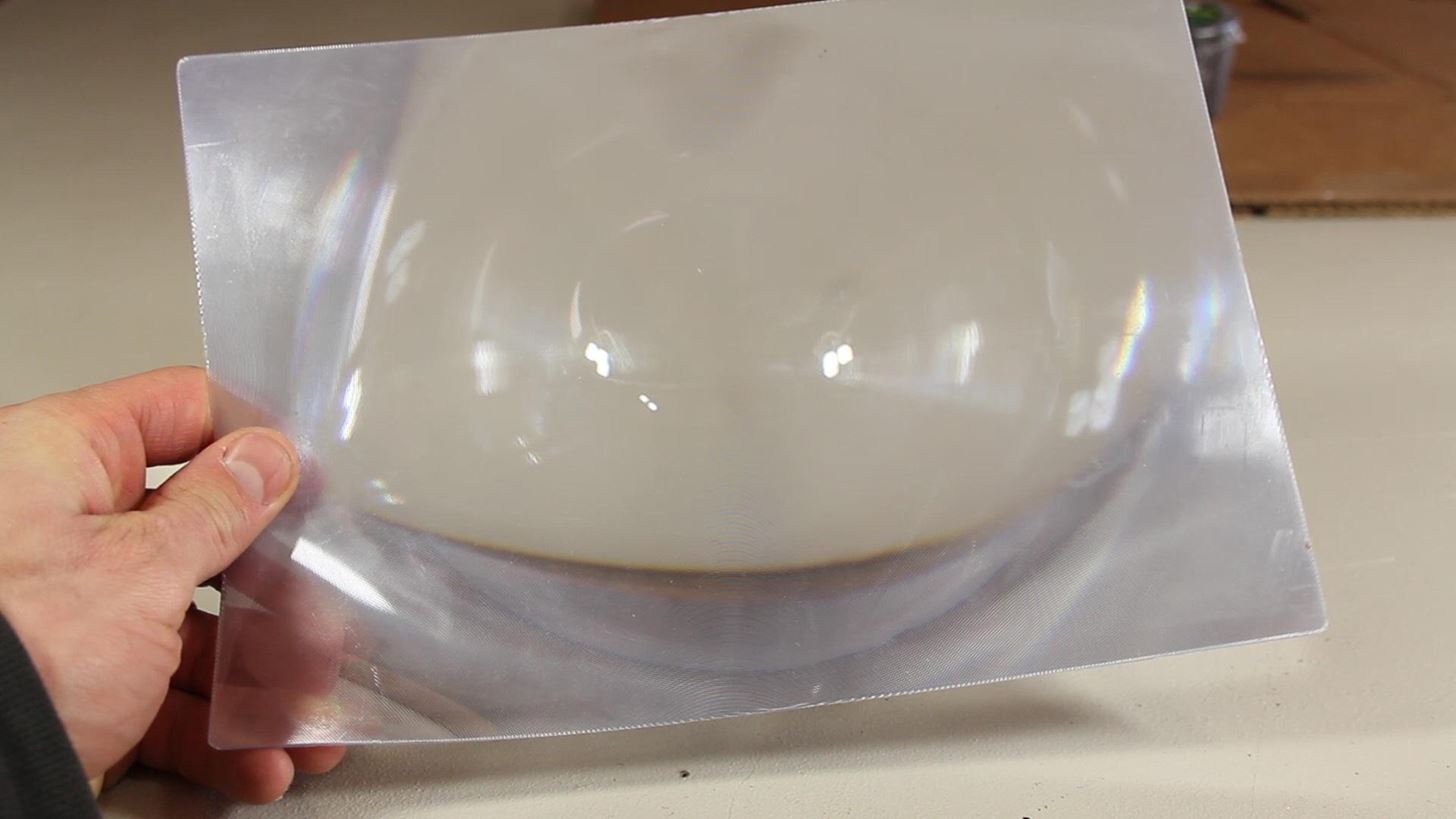
Fresnel lens: I found my Fresnel lens on eBay for about 4 dollars. Since then, I've seen them as low as 3 dollars. The size is somewhere around 8x10 inches. These are typically used as full page magnifiers for reading small text.
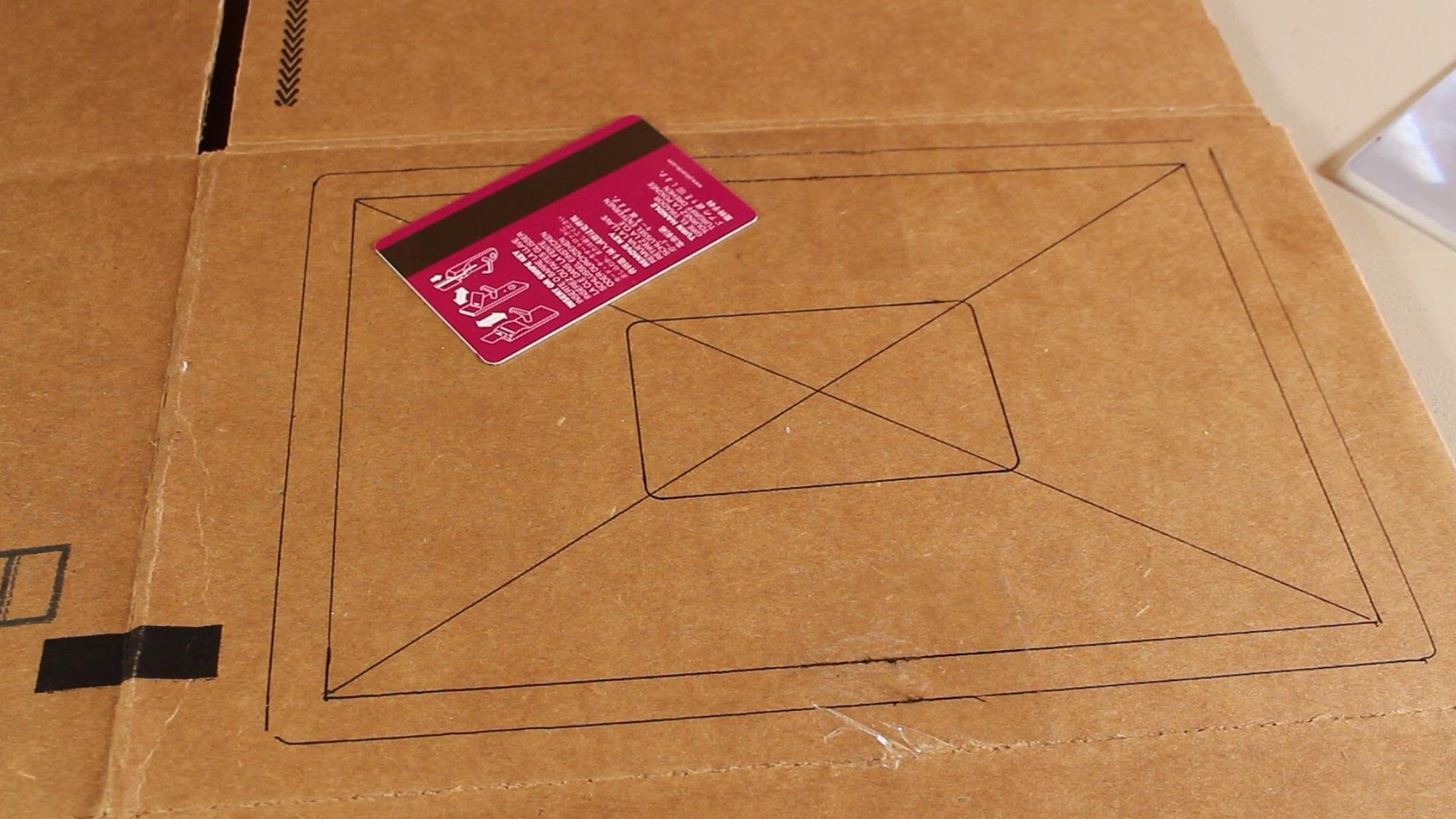
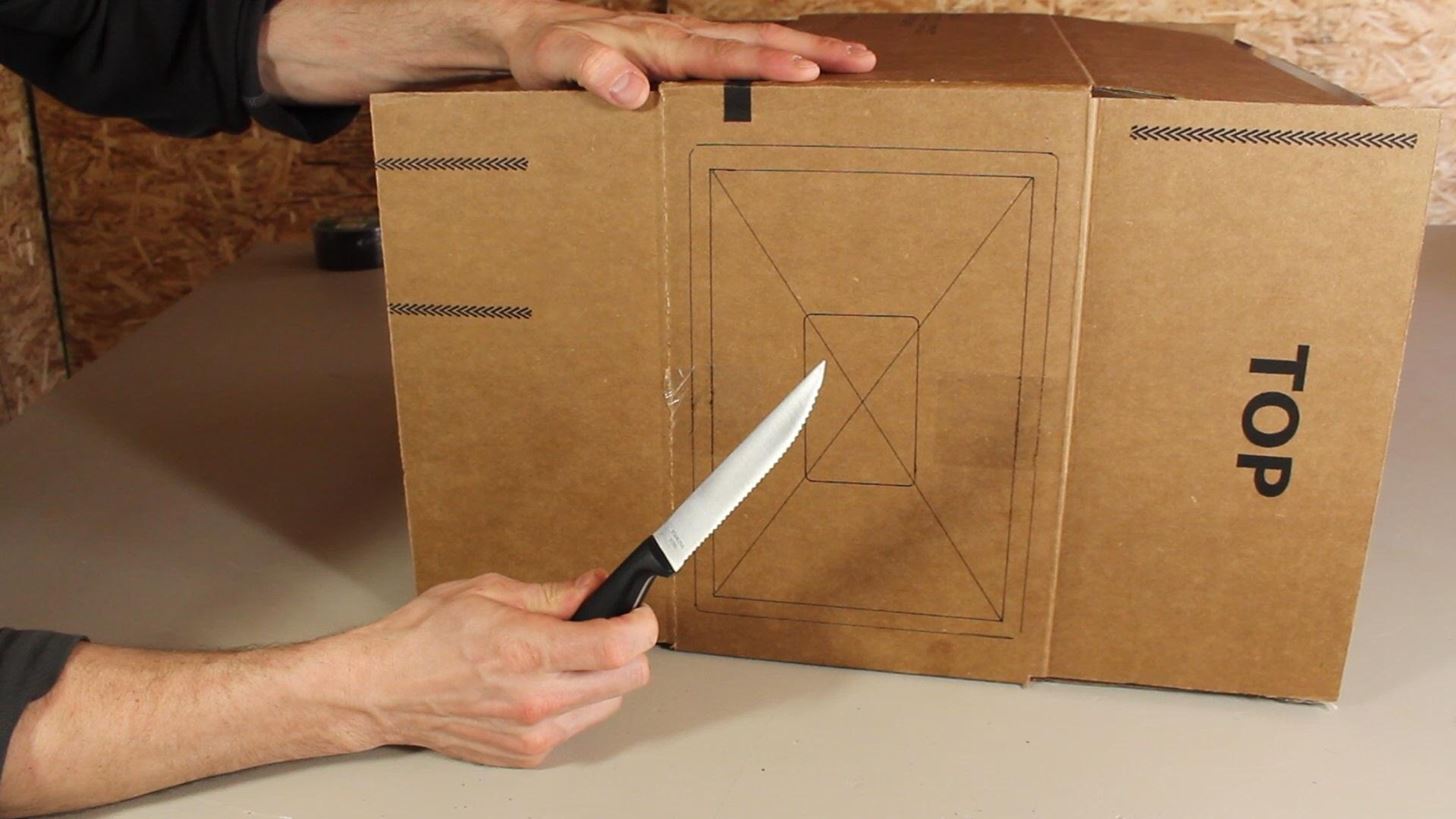
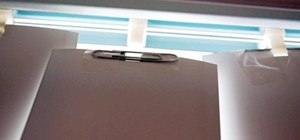
Ideally, we want a hole in the front of the box about 1/2" smaller than the lens. I used the actual lens as a template to trace around the edges, then drew another rectangle 1/2" inside the first. It's this inner rectangle that we'll be cutting out, and it should leave a 1/2" ledge for us to tape the lens onto.
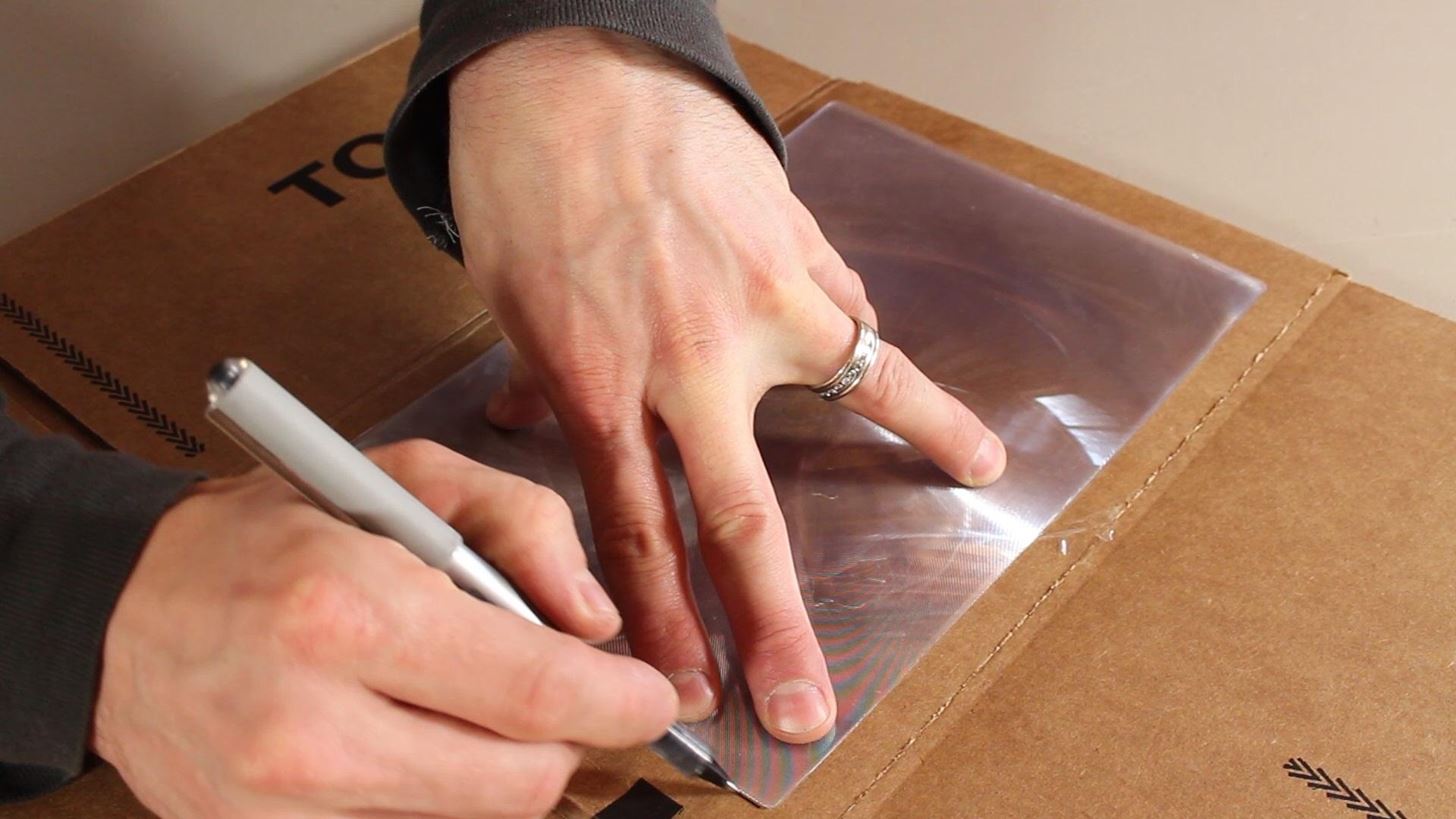
You can also use something like a credit card or hotel key to trace a rectangle in the center.
When it's all cut out, you should have a left-over piece as seen in the picture, and you may want to hang onto that.
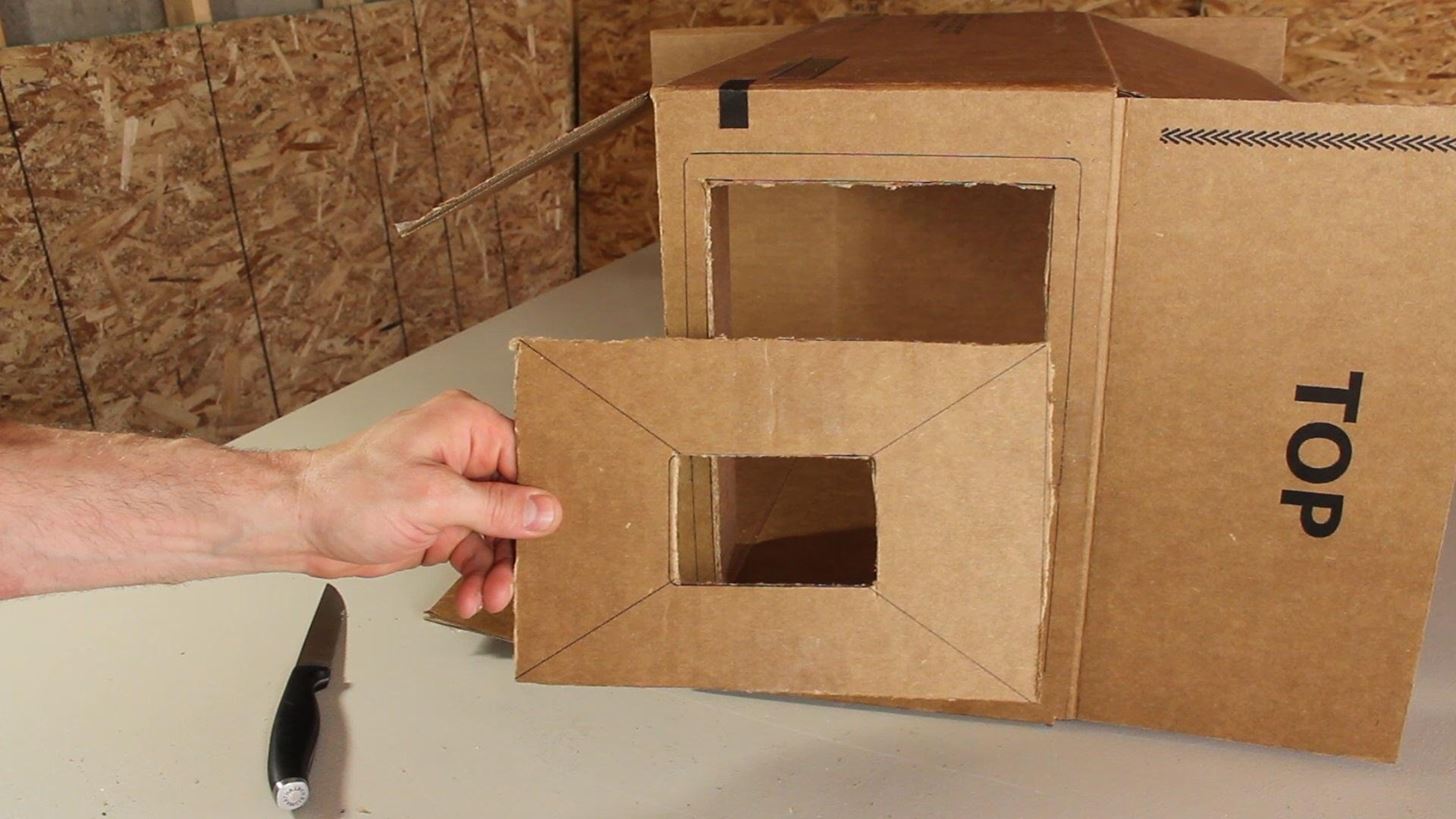
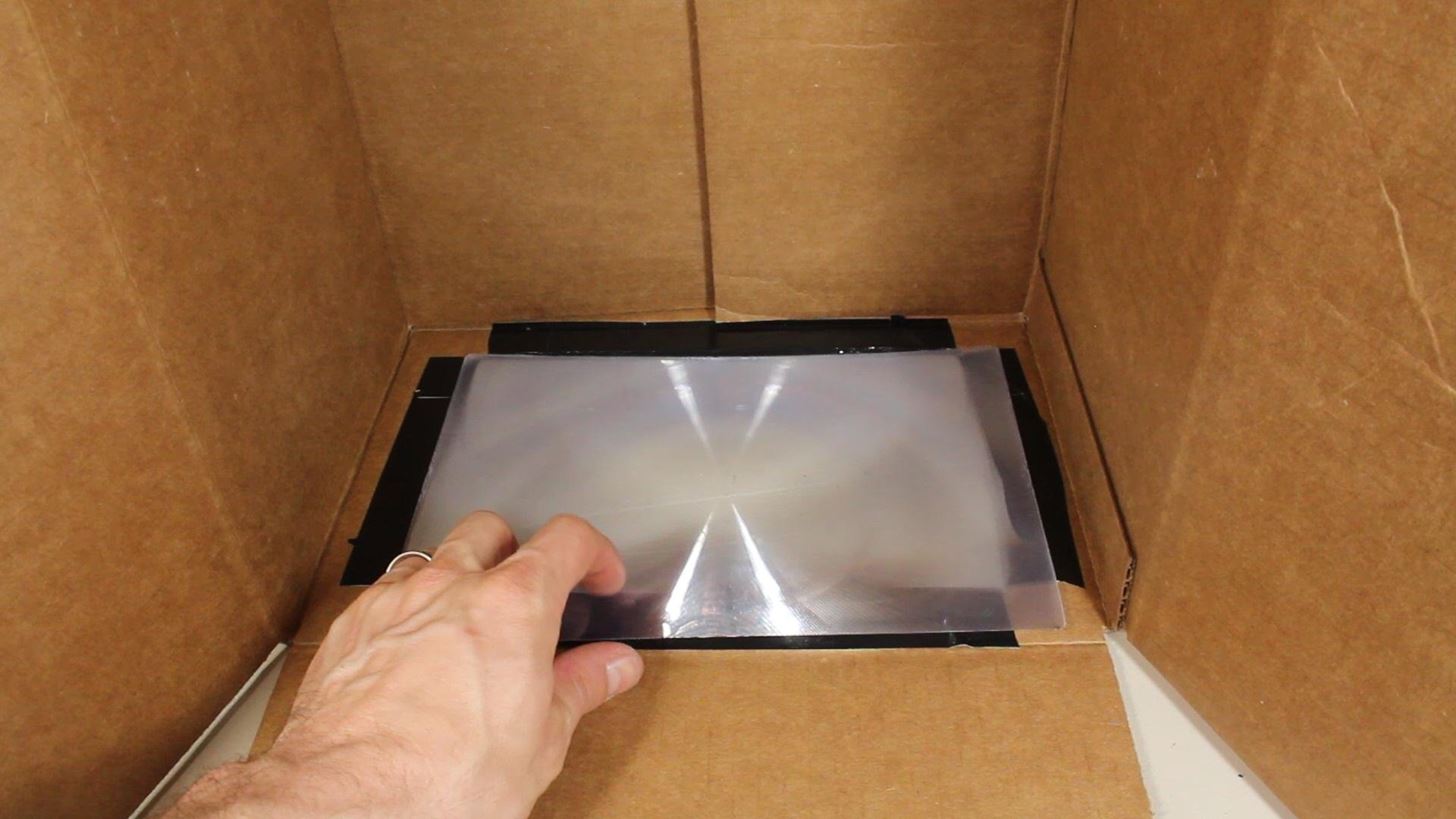
Now you can use some tape to secure the lens on the inside of the box.
NOTE: The grooved part of the lens should be facing inside the box, and the flat smooth side should be facing outward.
When the lens is set, you can close up the box to give it stability. Your Tablet or Smartphone will go inside and project outward through the lens.
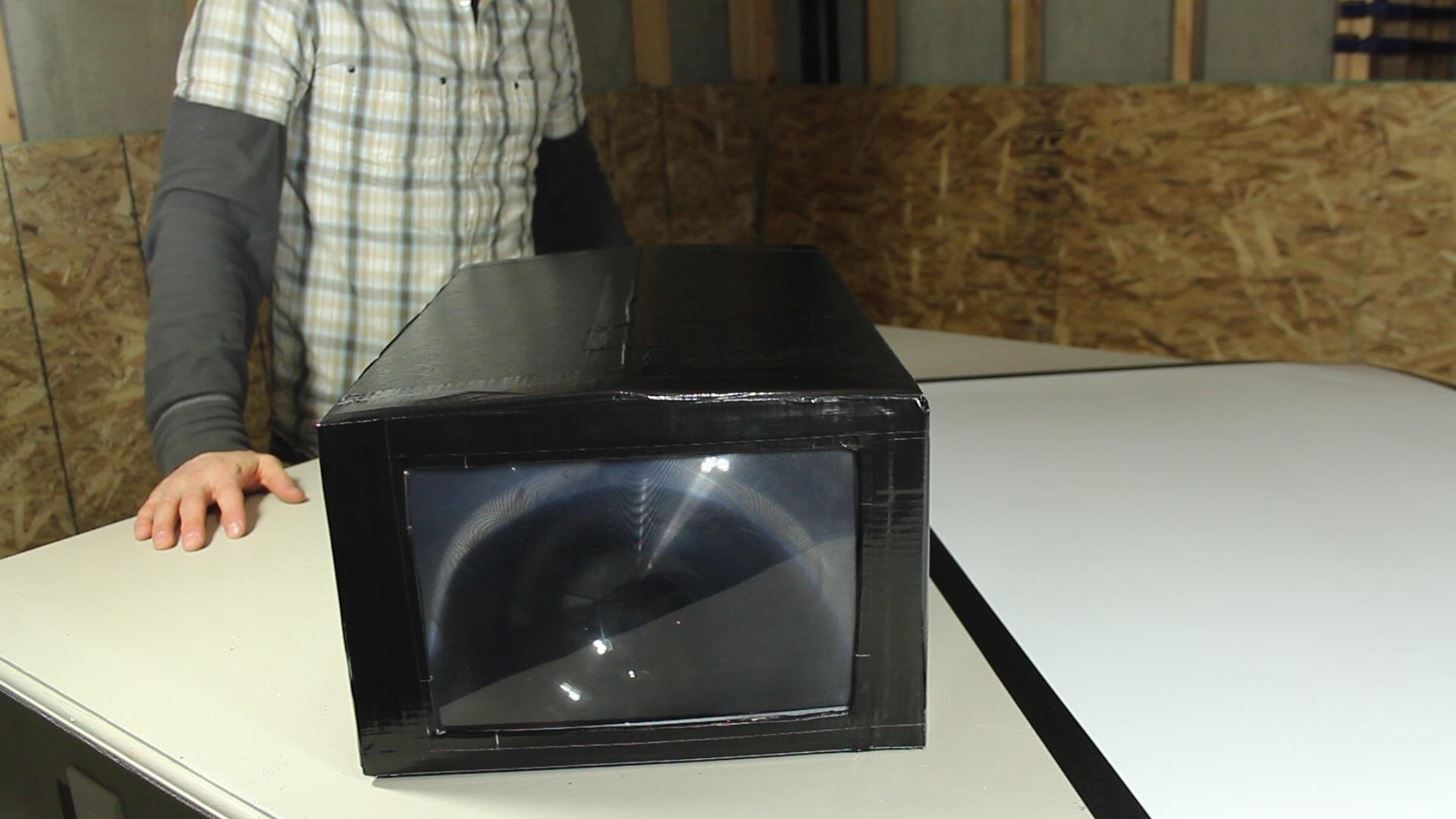
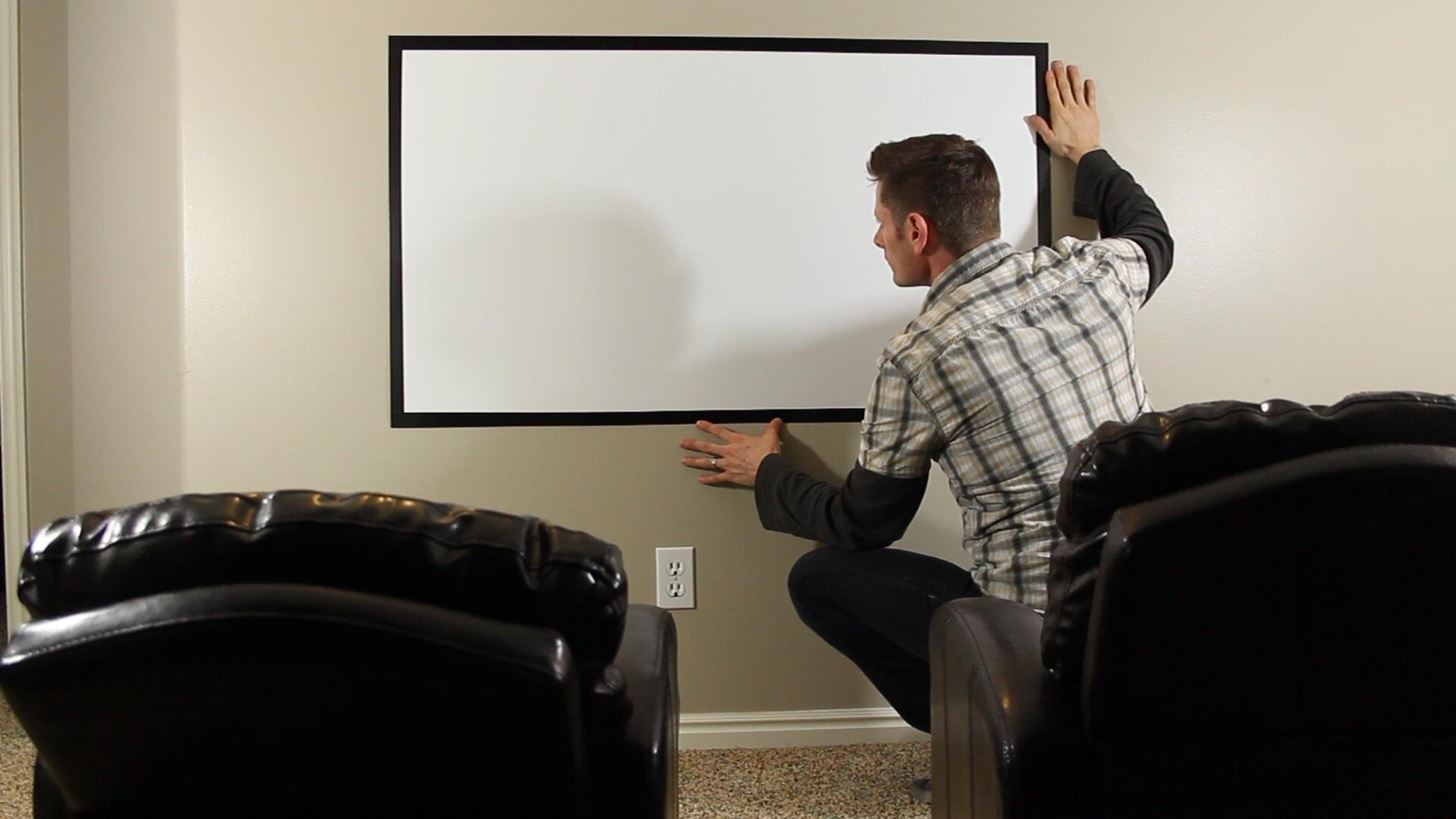
I gave mine a quick paint job to make it a little nicer, and made a projection screen with a piece of 0.02" Hi-Impact Styrene I got from a sign supply company for just over $2.00. It's 4 feet wide and the black duct tape made a nice border trim on the plastic sheet. I had just enough tape left over to put it up on the wall and rig up a makeshift home theater.
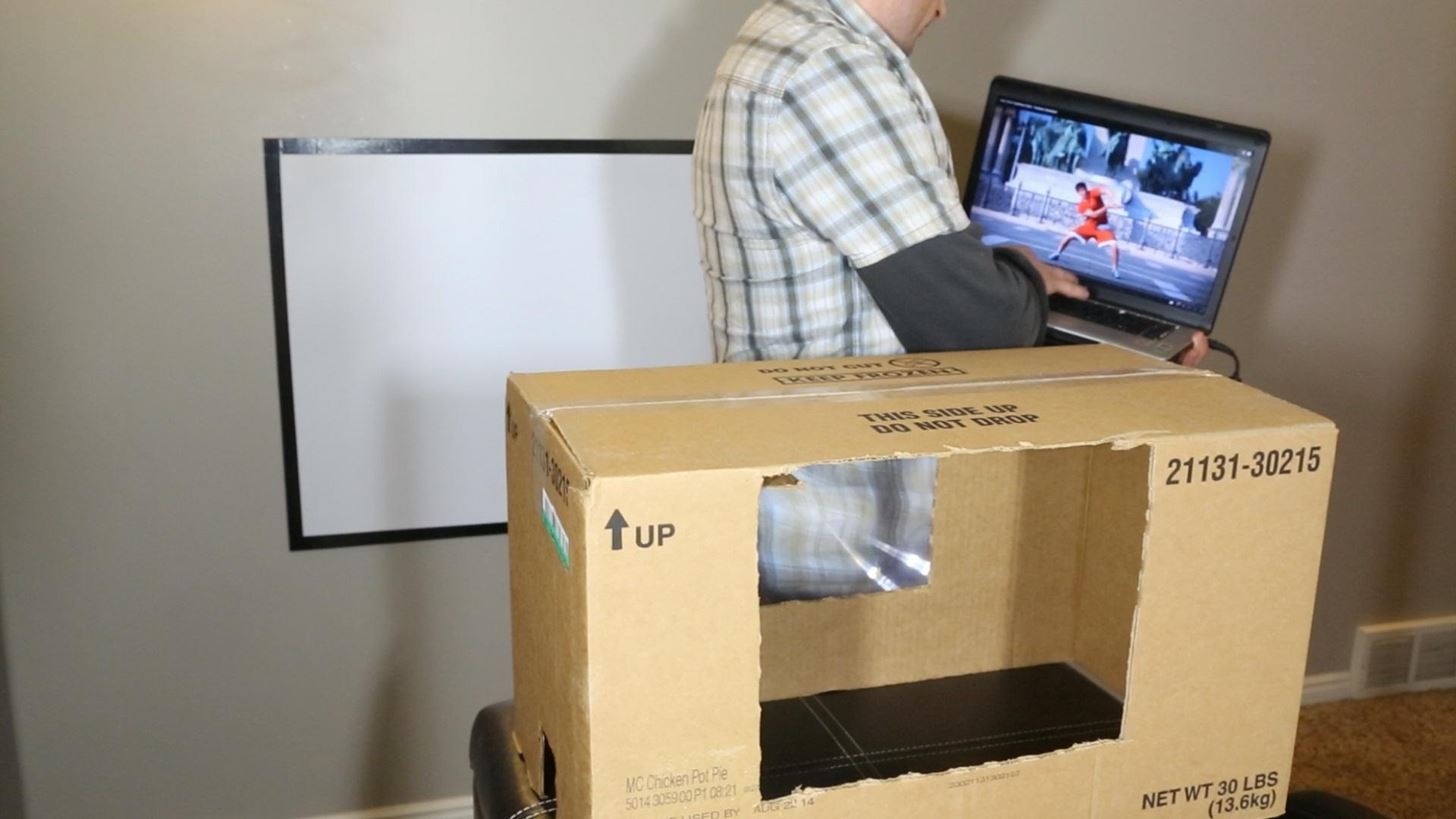
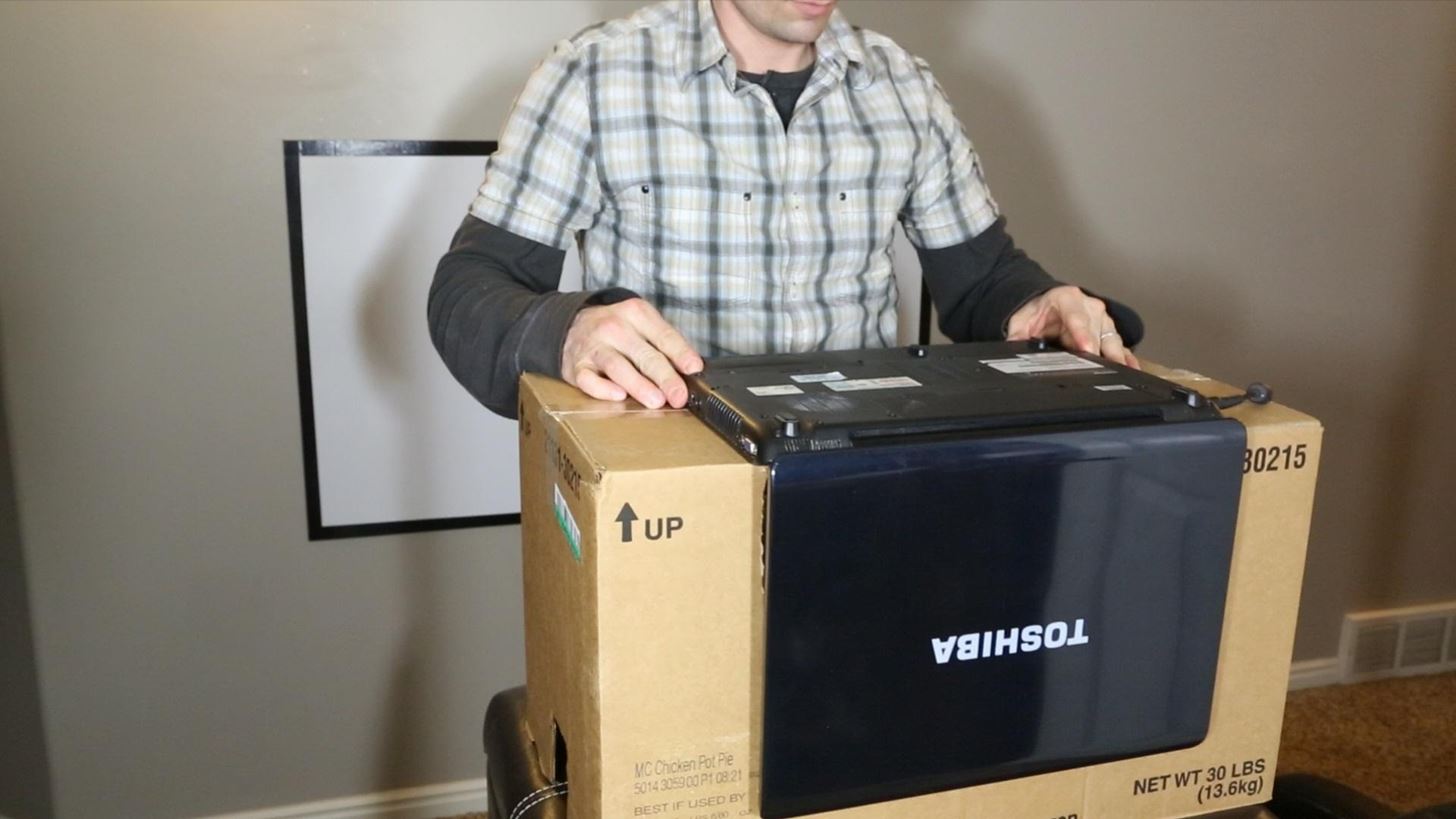
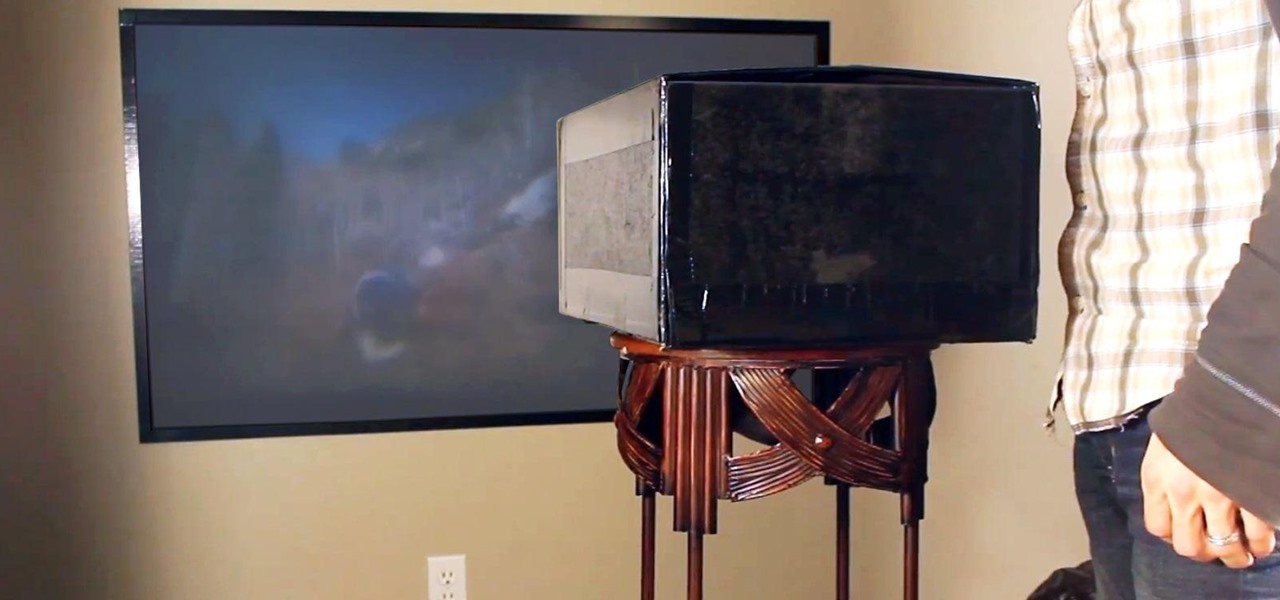
When using a laptop, this configuration will be too small. I found that a hole could be cut on the back of a different box, and the laptop turned upside down and slid into place. This is by far the quickest and easiest set-up, and the laptop gives the best results because the screen is the biggest and brightest!
The image that gets projected on the screen will be flipped horizontal, and upside down. You can make it right-side-up by turning your tablet, smartphone or laptop upside down in the projector.
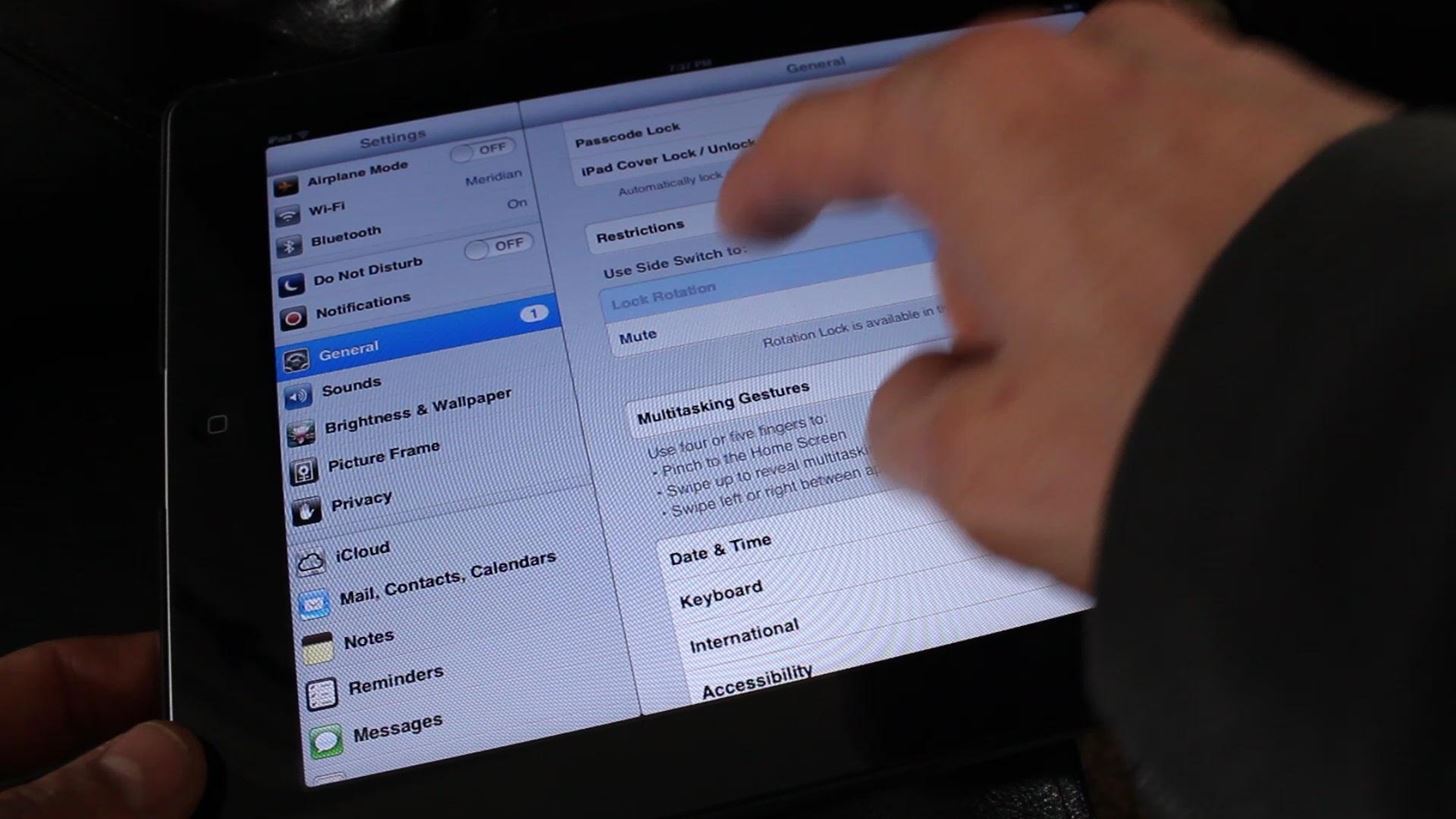
If you're using a tablet like an iPad, you'll also need to go into the settings menu and make sure to lock the rotation of the screen so that it's sideways. Otherwise when you turn it over, the image won't stay upside down.
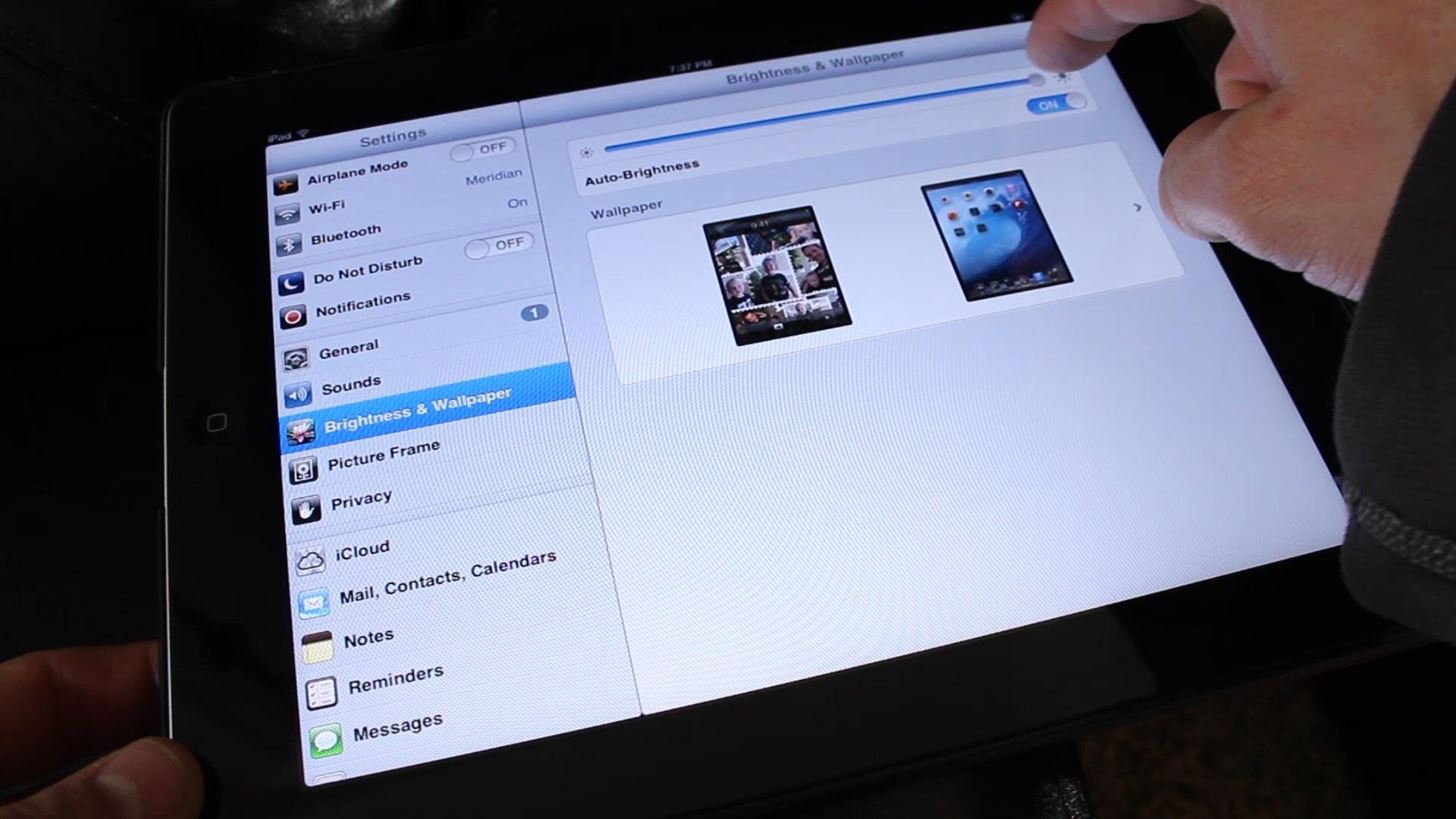
Whatever device you're using, you'll also need to bring the brightness up to maximum to get the most light. If your phone doesn't have an option to lock the screen, you may need to download an app.
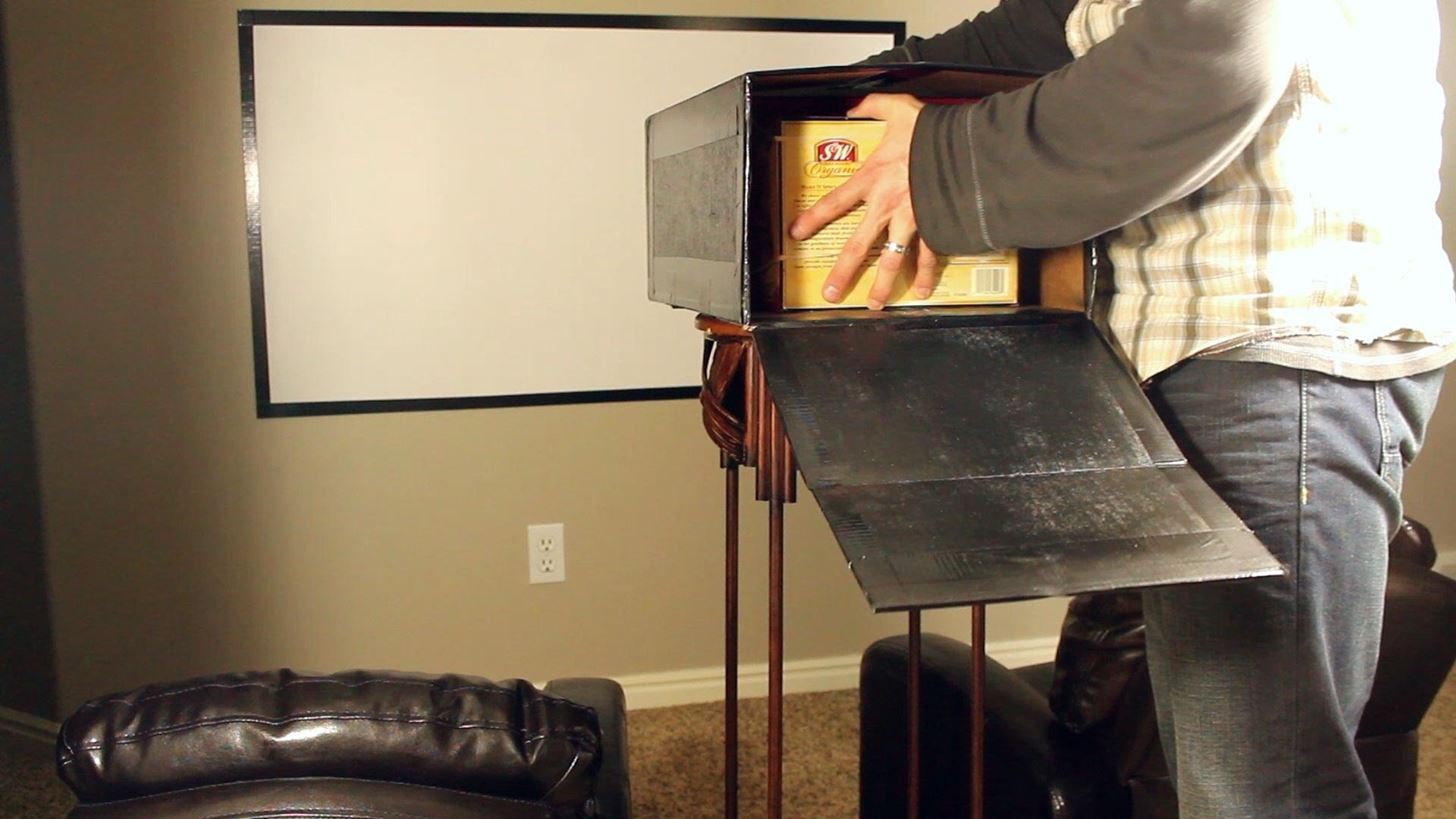
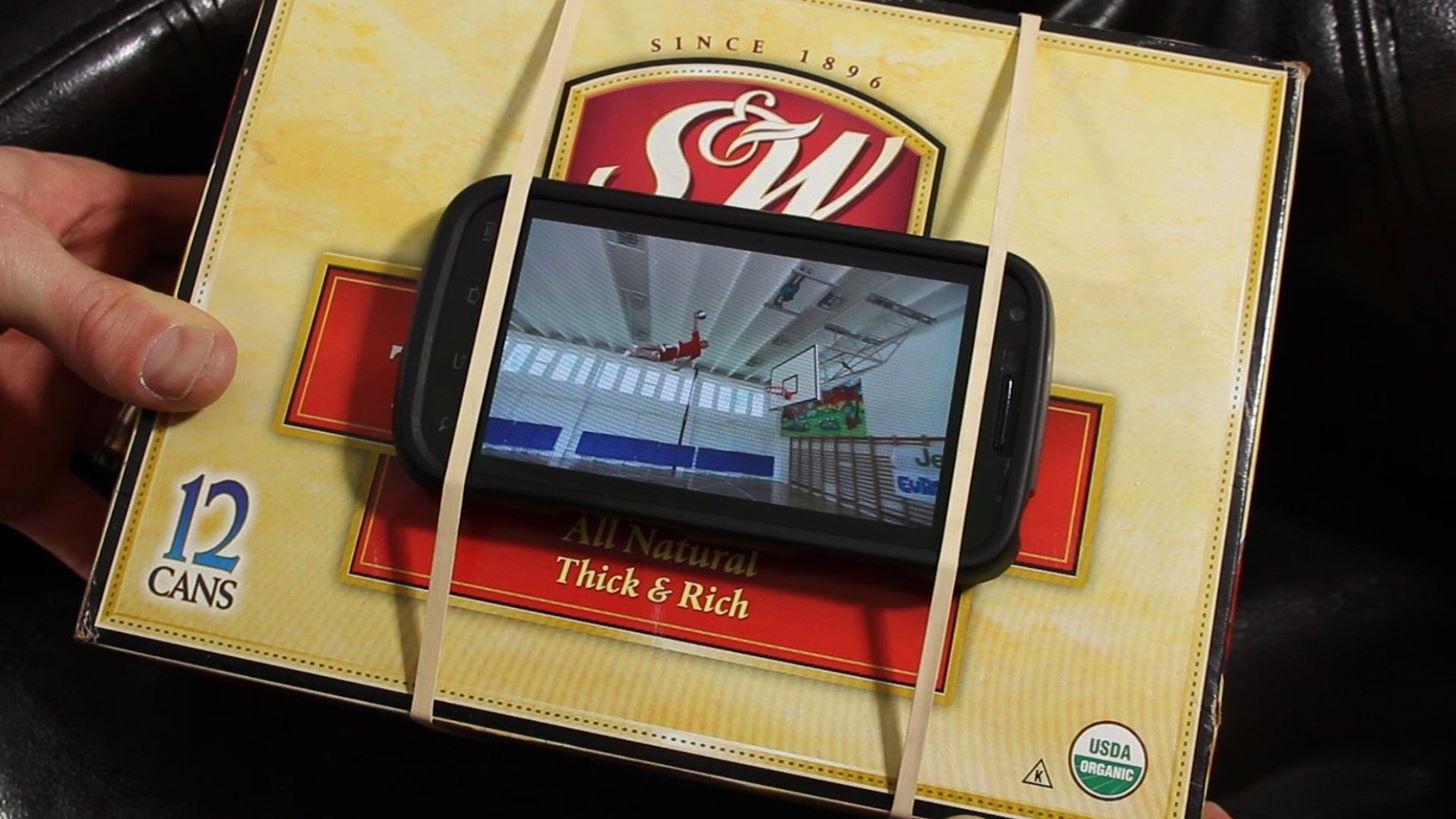
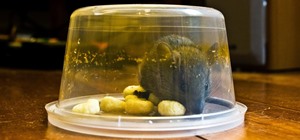
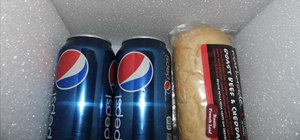
To hold the device in the projector, you'll probably want to find something sturdy like a couple of text books, or a sturdy box. I used a box of tomato paste that was about the size of an iPad.
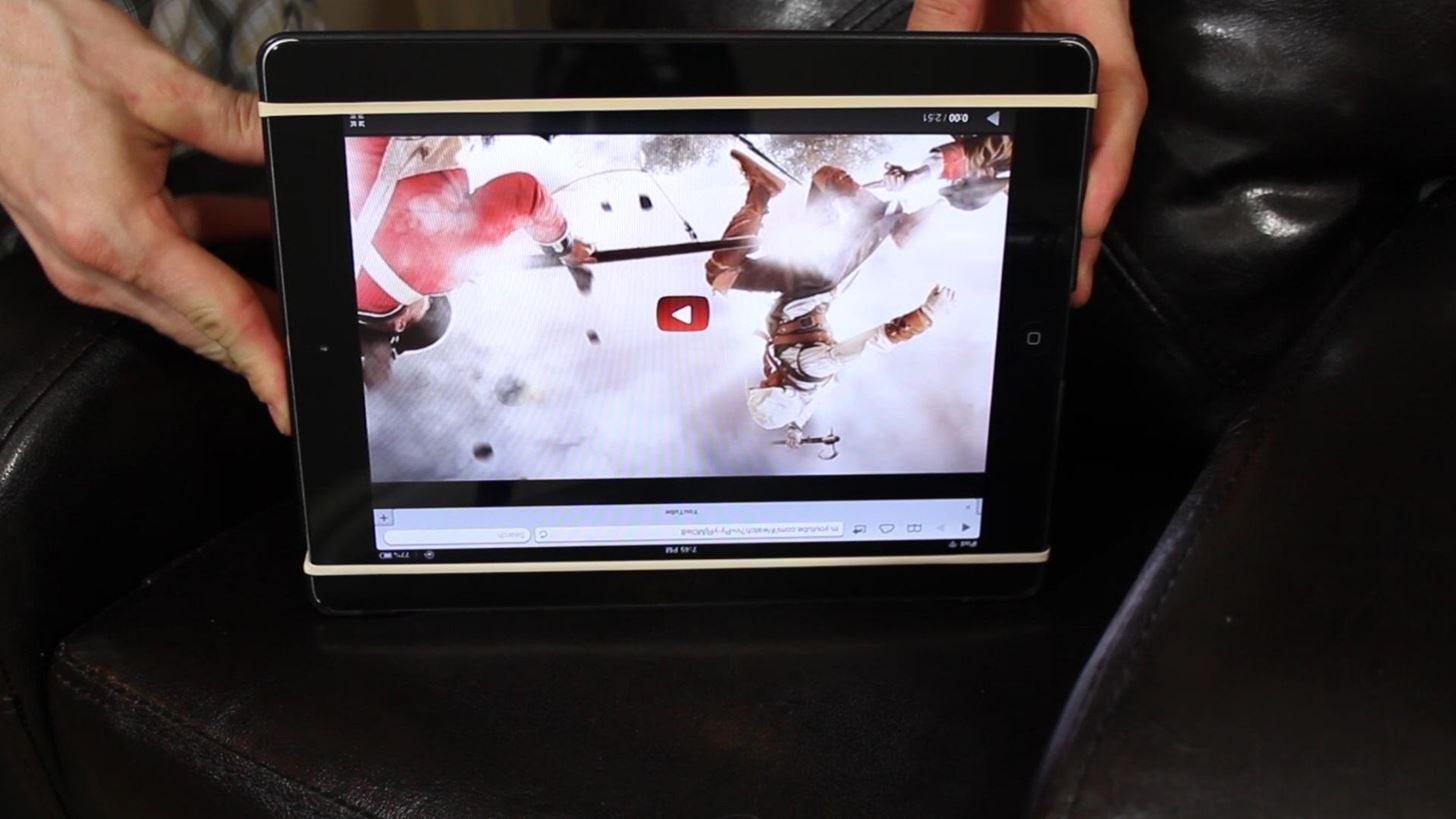
Using a couple of rubber bands to secure the device in an "upside-down" position, it's now ready to go in the projector and play your movie!
Note that the image should be right-side-up, but it will still be flipped horizontally. This means that any words or numbers on the screen will still be backward._
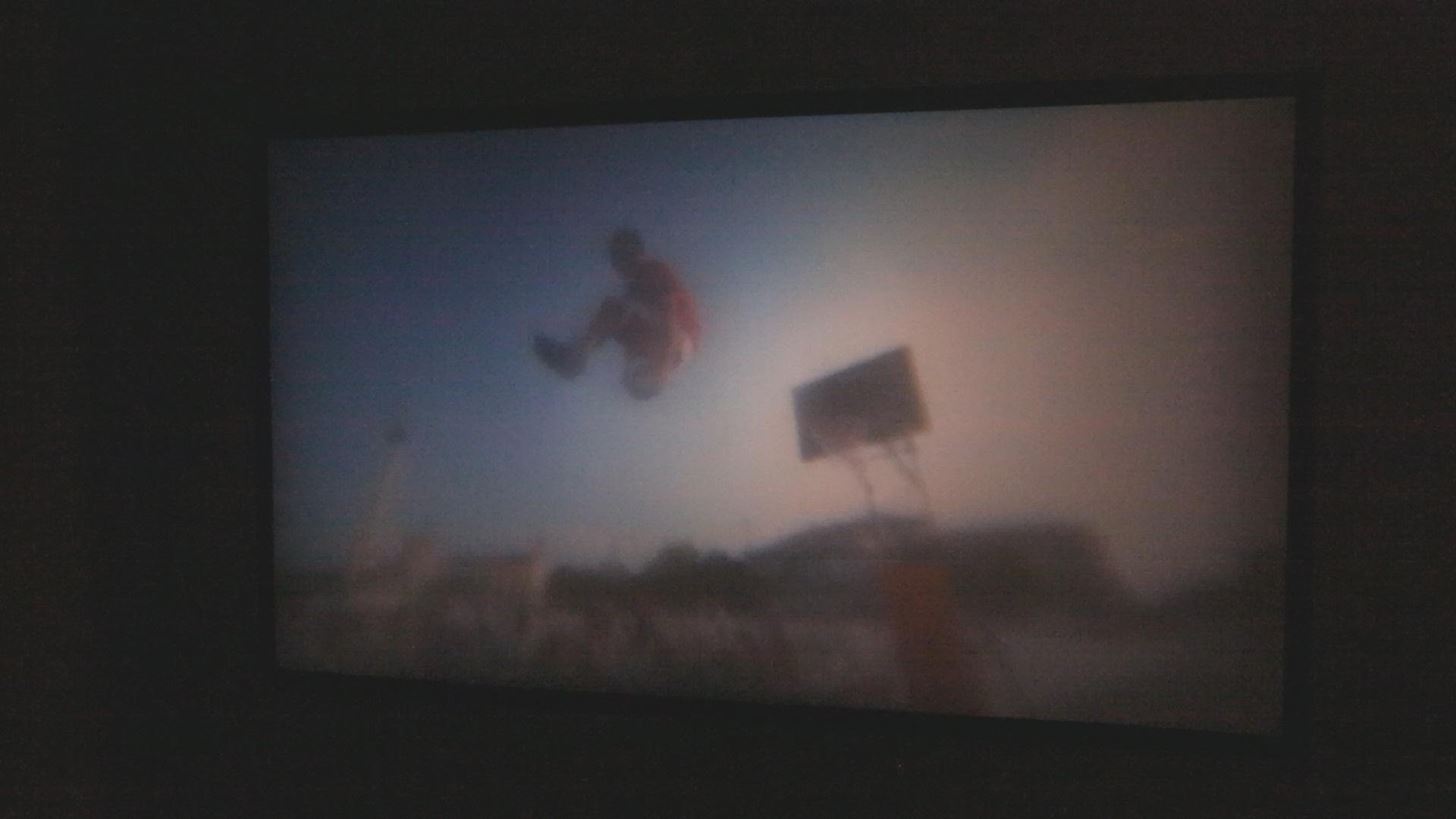
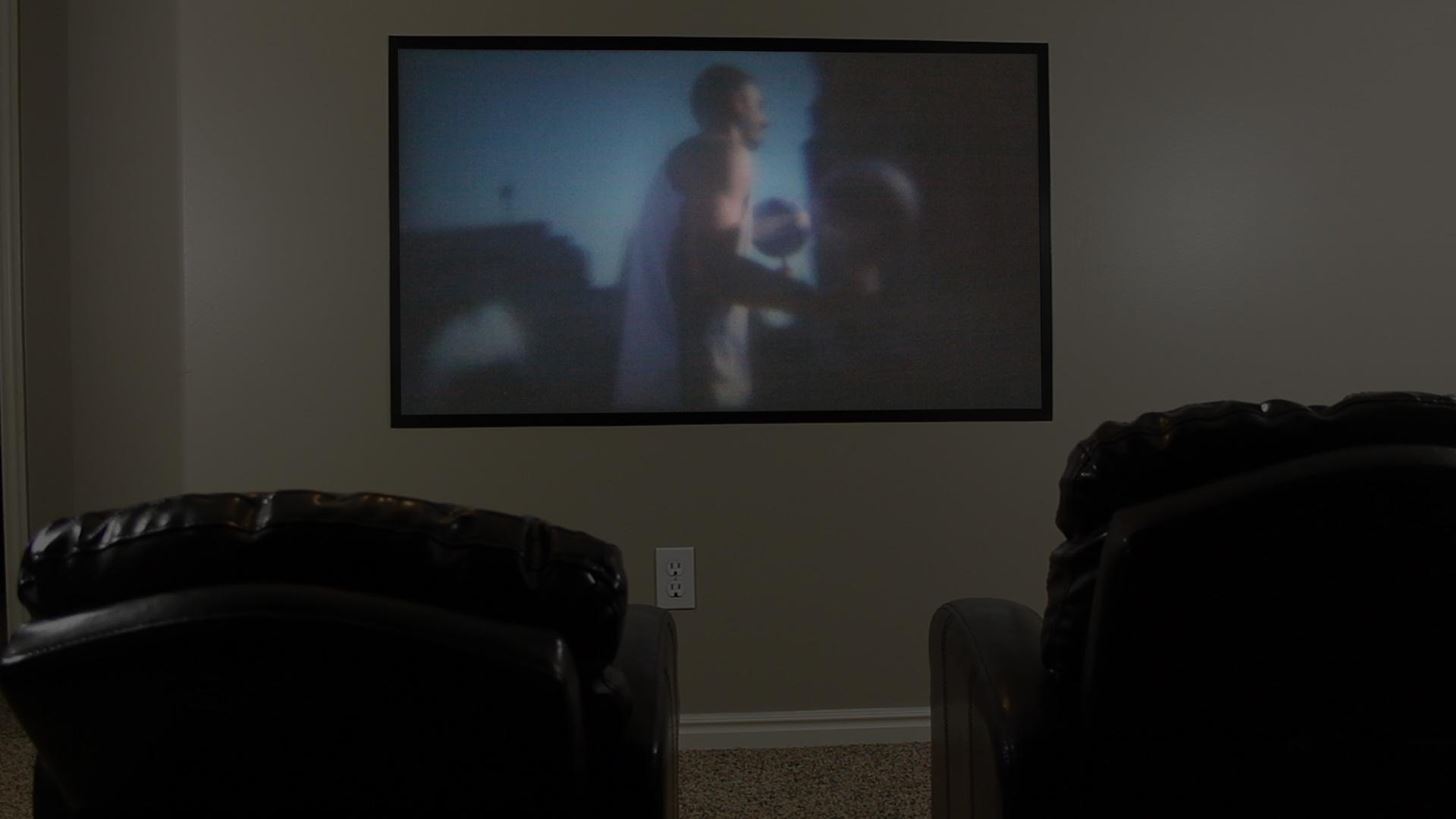
I found that using a laptop works the best, because the screen is larger to begin with, and it can be turned up fairly brightly. This is good because as the image is made bigger, the intensity of the light on the screen is lessened.
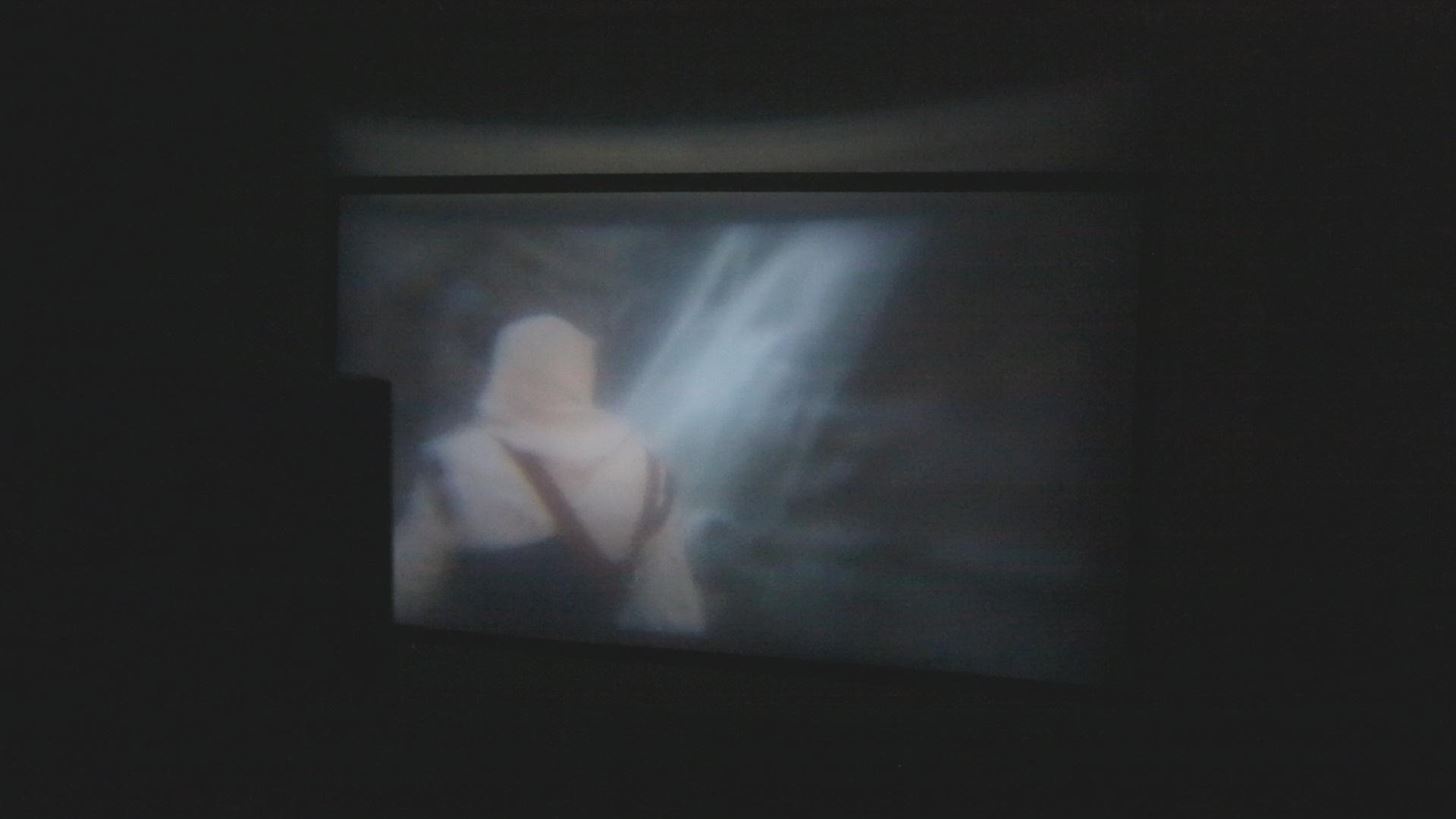
An image of 50" is very watchable on a laptop, as well as a tablet about the size of an iPad. Of course, the closer your bring the projector to the screen, the smaller the image will be, but the brighter and more focused it will become.
I found that if you cover all your windows and close any doors to make sure the room is completely dark, this will help the image appear crisper and brighter.
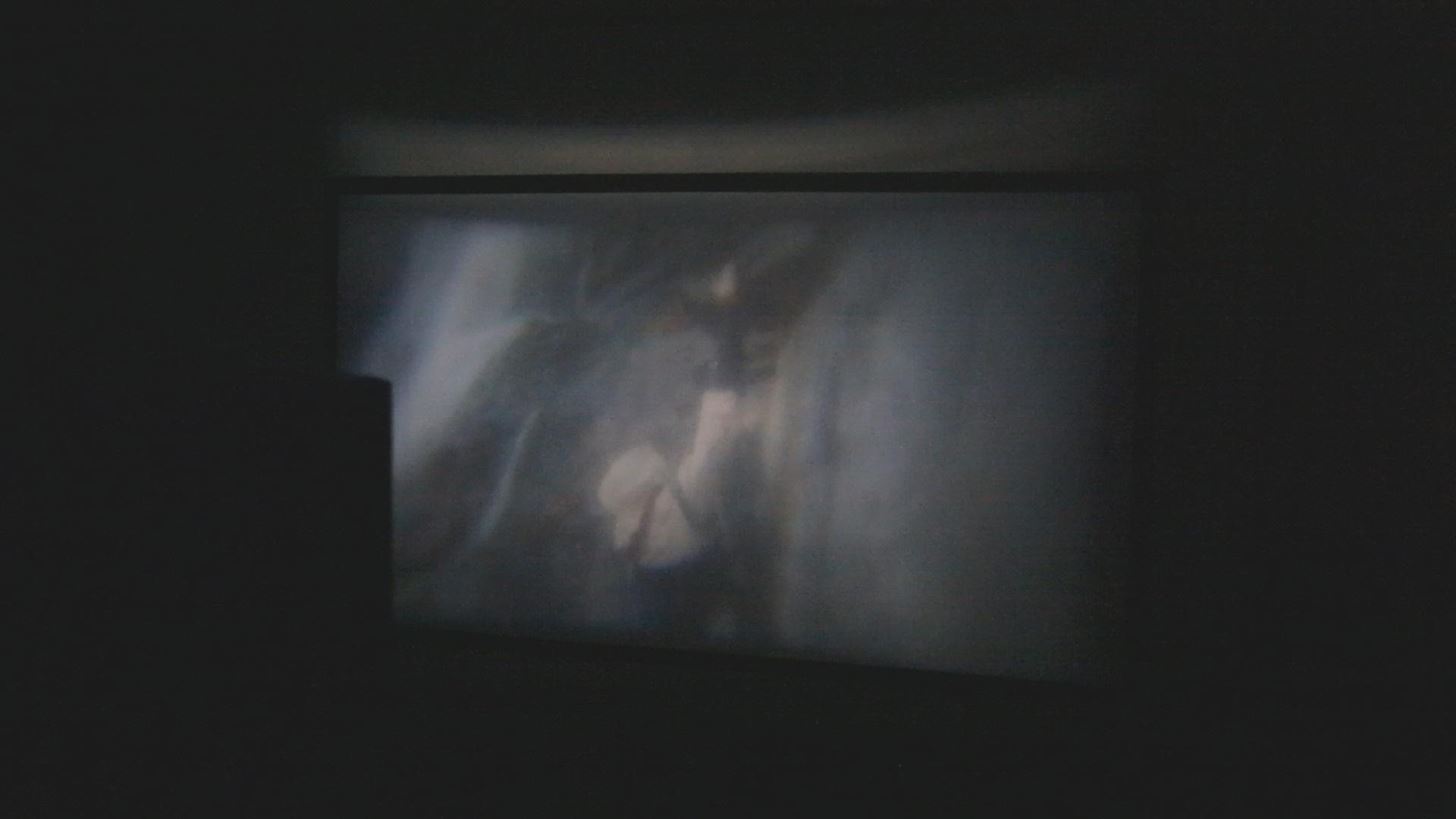
Because the Fresnel lens is made flat, there are some optical disadvantages that appear in the image. For example, the edges of the screen may be a little blurry while the center is in focus.
To address this problem, a shroud can be added to the lens with a rectangular hole in the center about the size of a credit card. This will choke down the aperture, and dramatically improve the focus. The trade off is that there will be less light emitted from the projector, so the image on the screen will be dimmed.
A smartphone works the same way, but the screen size can't go much over 20" or the image is unwatchable. 15" worked great, and 20" was okay.
Since the dissipation of the light reduces the brightness on the screen, it's more of a novelty than anything practical, but in my experience, the image is watchable and the idea will hopefully be enjoyed.
If anything, it's a party trick you can pull out for your next get-together with friends.
If you haven't see the video yet, it's not too late. Watch it here! And if you like this project, perhaps you'll like some of my others. Check them out at thekingofrandom.com.
Just updated your iPhone? You'll find new emoji, enhanced security, podcast transcripts, Apple Cash virtual numbers, and other useful features. There are even new additions hidden within Safari. Find out what's new and changed on your iPhone with the iOS 17.4 update.


9 Comments
cool
Couldn't a second lense be added to correct the immage, rather than flipping the device upside down? In theory, that would also fix the issues with backwards text.
the old box brownie cameras had a mirror inside them,someting to do with this,i think.
i followed all the instructions for the projector as i am an artist and was hoping to get an image from my laptop to the canvas. i got nothing showing except light,why? do i need to be a certain distance away?
Probably. I made one of these things for my ipod and i figured out if I had 3 magnidying lenses I could put on on the projecting end, on right in front of the ipod and one in the middle, I could capture more light and be able to focus it easier than moving the box. But same with all DIY projects. It will never be better than a professional projector.
Or how to be an official cheap mofo ^^
neato i did this one from build your own tv projector with the box attached to the screen. if you have a 45 degree angle mirror you can make things clear. and upright
can you explain more about the mirror? :)
About a year ago, my wife and I renovated our home in Fort Lauderdale. We wanted to enjoy a cinematic experience from the comfort of our own home, but we did not have a huge room to work with. Thanks to the team at Pure Audio Video, we got a beautifully designed room that looks and sounds far better than the local movie theaters! What I admired the most is that they listened to our priorities and delivered the room that we envisioned. Contact them today at www.pureaudiovideo.com or (954)-581-4434.
Share Your Thoughts