


If you have children, then you know firsthand how many crayons parents end up buying. There is no such thing as using a crayon until it disappears. Kids use crayons until they are a nub, and then they toss the crayon aside, never to use it again.
What's a parent to do? Buying new crayons all of the time can get expensive, especially if your kid is bound to be the next Craola or Don Marco.
If you want to save, DO NOT throw those old crayon nubs away, because I'm going to show you right now how you can combine those old crayon bits into snazzy new push-up crayons!
Materials
- Crayon bits
- Small glass baby food jars
- Glue sticks
- Old paring knife
- Funnel
- Tongs
- Small pot
- Decorating materials
Gather Crayon Bits
Gather together all your crayon bits. Try to get multiple similar colors so you can have a variety of crayons.

Empty and clean your jars out. Group the crayon pieces by color into each jar so your crayons won't come out rainbow like. Unless you want rainbow crayons, in which case rainbow-crayon it up!

Empty Glue Sticks
Remove the labels from your glue sticks.

Take note that this was surprisingly difficult. I would recommend trying a blow dryer to soften the glue.
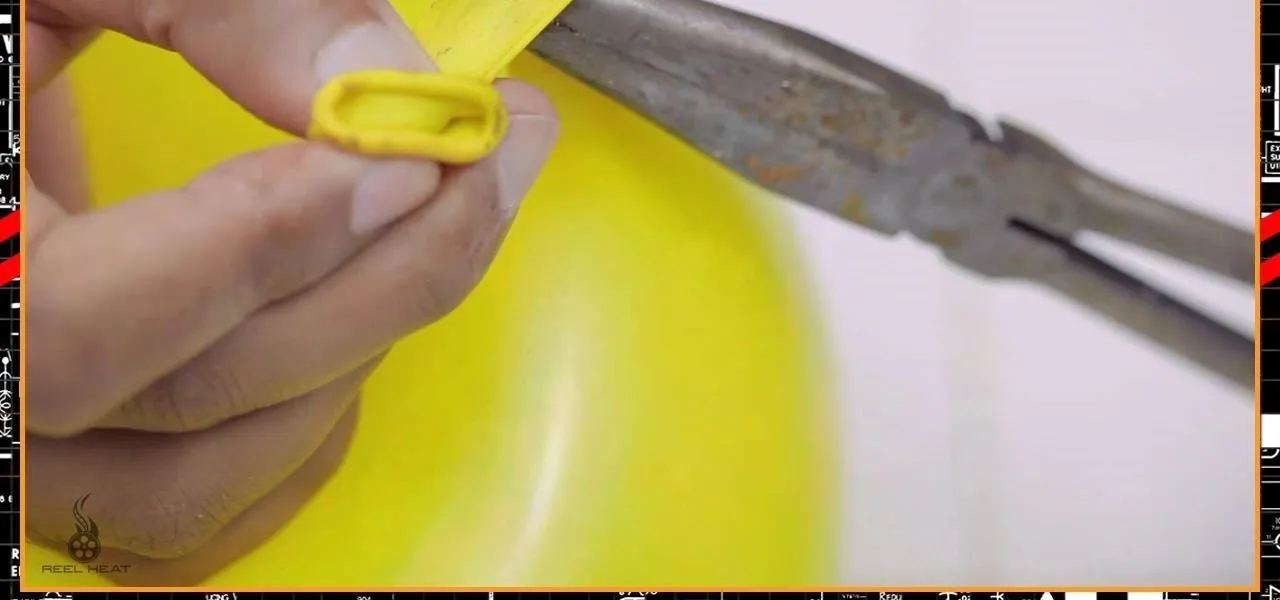
Twist the bottom of your glue stick so that the glue is sticking completely out.

Using your paring knife, carefully cut through the glue to remove the majority of the stick.

Next, pull the basket part out that holds the glue in place (it literally just pops right out, very easy). Then, using your paring knife, scoop out the glue inside.

Then, give your stick a quick rinse to remove any glue inside. Repeat with all four sticks.


Melt Crayons
Set out all the equipment you will need for the next two steps before you continue. This will help to keep you safe by not leaving an unattended stove while you get something. You will need the pot, funnel, tongs and glue sticks.

The key to melting crayons perfectly is to think chocolate. Chocolate is a very tricky ingredient. In order for it to melt correctly, you need to use a low, slow, soft heat. Anything else will burn it.
Wax is the same. If you wish to not burn it (which believe me, can happen very easy), then you need to heat it slowly and gently over low heat. The best way to achieve this result is with water.
Set your stove to low. Place about an inch of water in the bottom of the pan and place the jars into the water.

The water will slowly come up to a gentle simmer around the jars. Monitor the heat carefully and adjust it accordingly; you don't want the water to boil.
Eventually, the wax will melt completely.

Pour Wax
When your crayons are melted, grab a jar with your tongs.

Grab your funnel and insert it into your first glue stick. Make sure the basket is rotated all the way to the bottom.

Carefully pour the wax into the glue stick. Make sure you go all the way to the top.

Repeat with all four glue sticks, putting a different color wax in each. Leave them be and give them at least 30 minutes to solidify before continuing.

The Results So Far...
At this point, your crayons will look like this:


Decorate
At this point, decorate your crayons. I used colored strips of paper to signify what color was in each stick.

Though, another good idea would be to save crayons labels and make your own DIY label. Or, you could print a crayon label template from the Internet and attach to give your crayons a truer look.
You're Done!!
To use your crayons, just uncap and twist them up as your kid colors.


Can you think of a better way to make twistable crayons? Tell me about it in the comments section. Or better yet, make your own tutorial and post it to the world!"


Comments
Be the first, drop a comment!