

If you're anything like me, you probably rinse your mouth out after you brush your teeth. I know technically you're supposed to not rinse your mouth out after brushing, but I just can't stand the feel of the excess toothpaste in my mouth. It's a surefire way to dry it out.
To rinse my mouth out, we've always kept little disposable plastic or paper cups in the bathroom. It has always bugged me because I don't like the look of a random stack of cups on the counter. If you have this problem, as well, then try out this cheap and easy way to make a cup dispenser out of items you probably already have lying around.
Materials
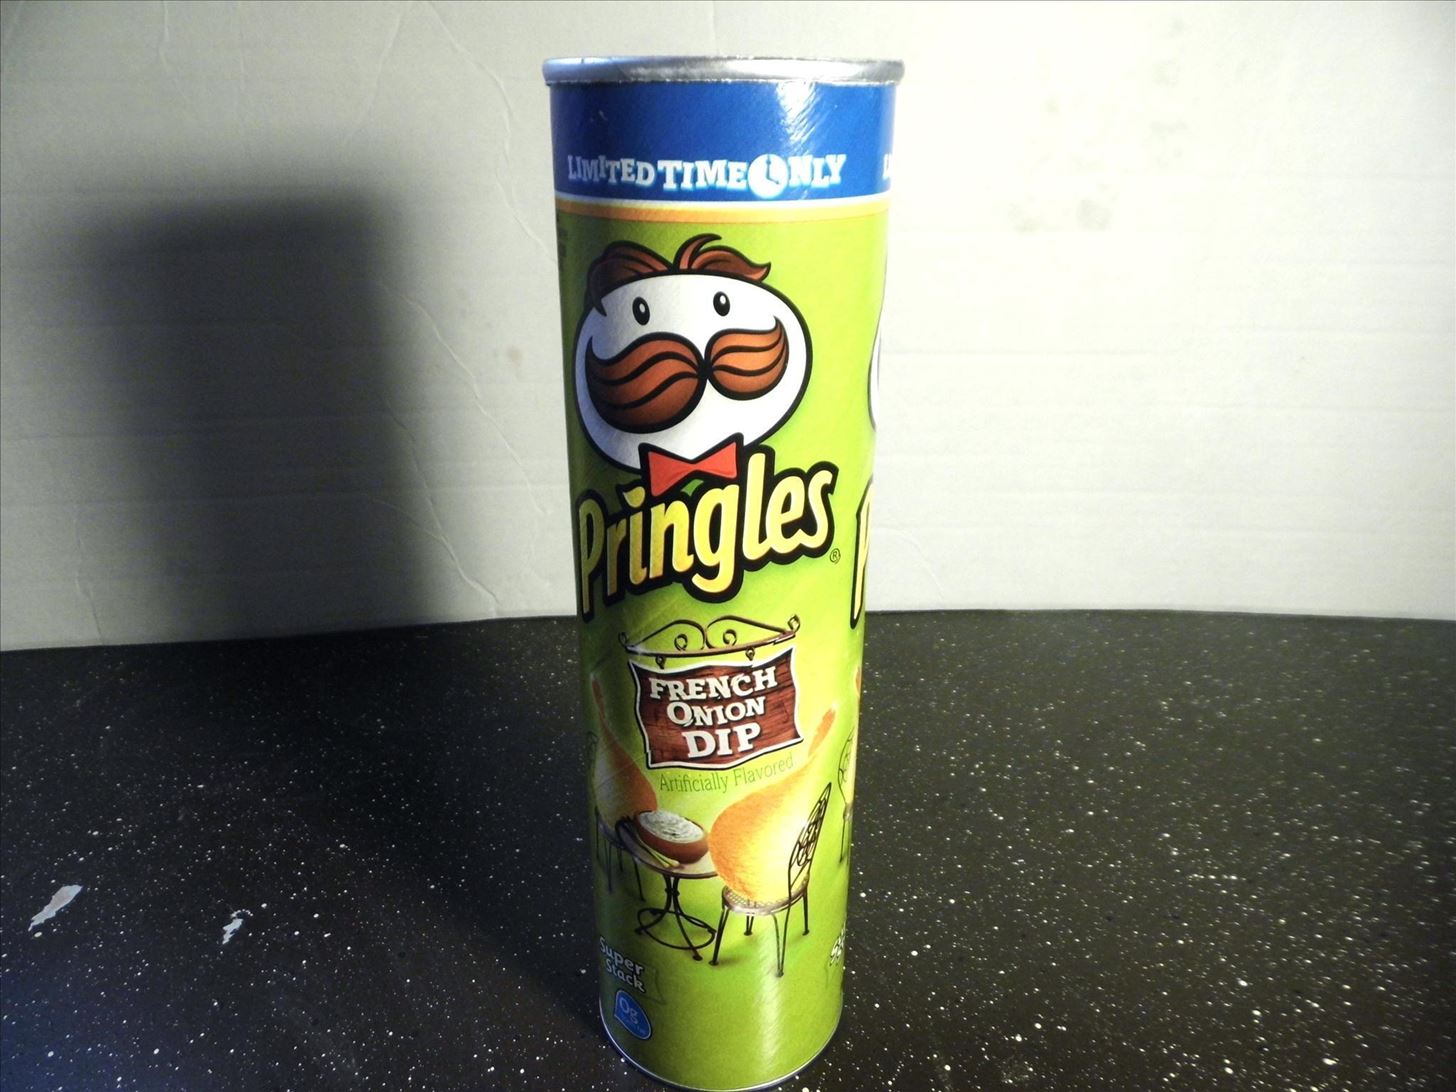
- Old chip can
- Bottle brush
- 5 oz paper or plastic cups
- Hot glue gun
- Sticky backed Velcro
- Decorating materials
Step 1: Empty Can
Make sure your chip can is completely empty except for the crumbs. Get rid of the lid.
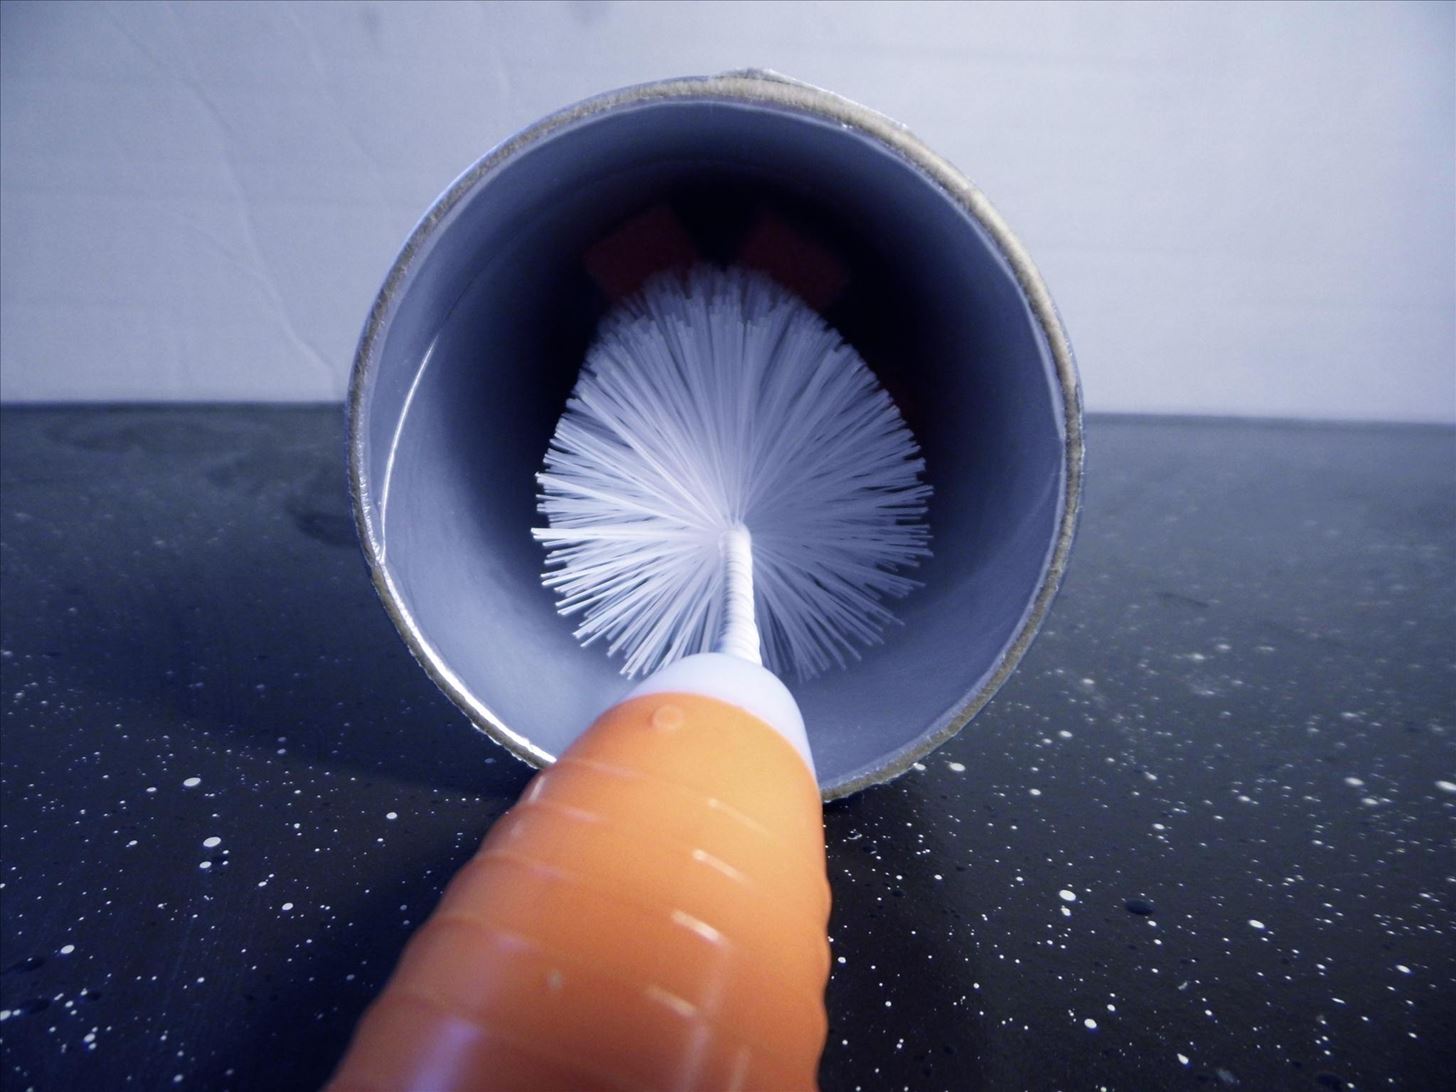
Step 2: Clean Can
Using your bottle brush, gently clean the can of any crumbs. You can use water, but if you do, make sure it is only a little (the can is cardboard after all).
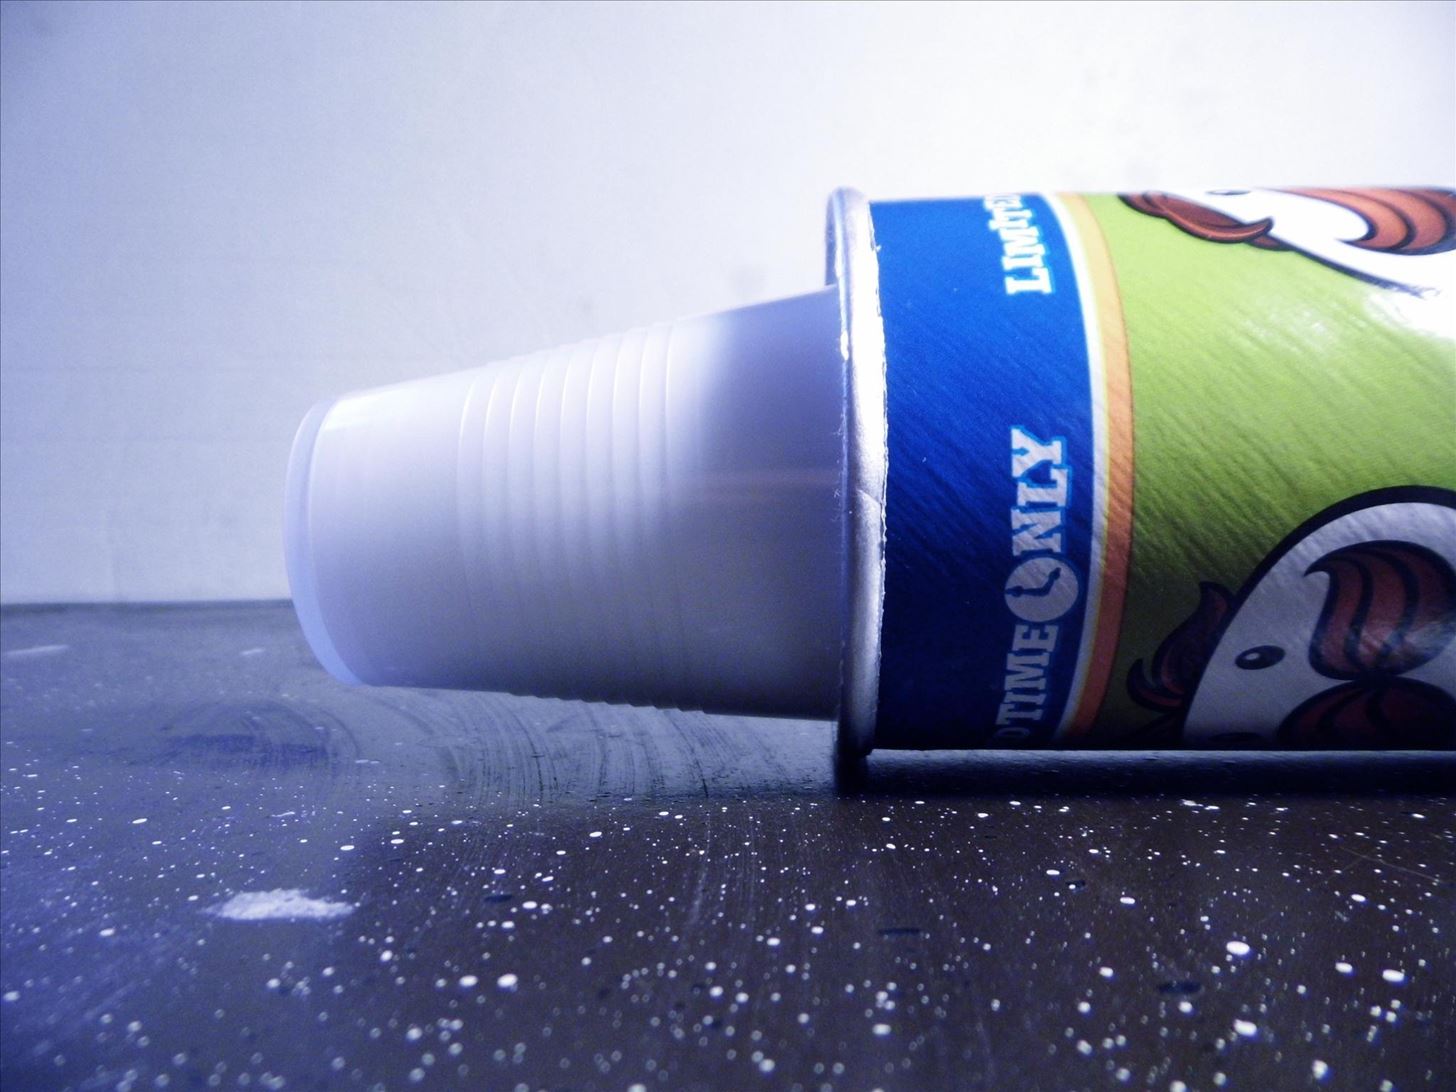
Step 3: Insert Cups
Slide your cups inside the can. You should add enough that the rim of the bottom cup is at the edge of the can.
Step 4: Glue Drops
Heat up your hot glue gun. Once it's ready, apply a drop of glue to the inner rim of the can. Make sure it's large enough to extend over the rim of the cup, but not so much that it actually touches the cup. This is kind of tricky, so go slow.
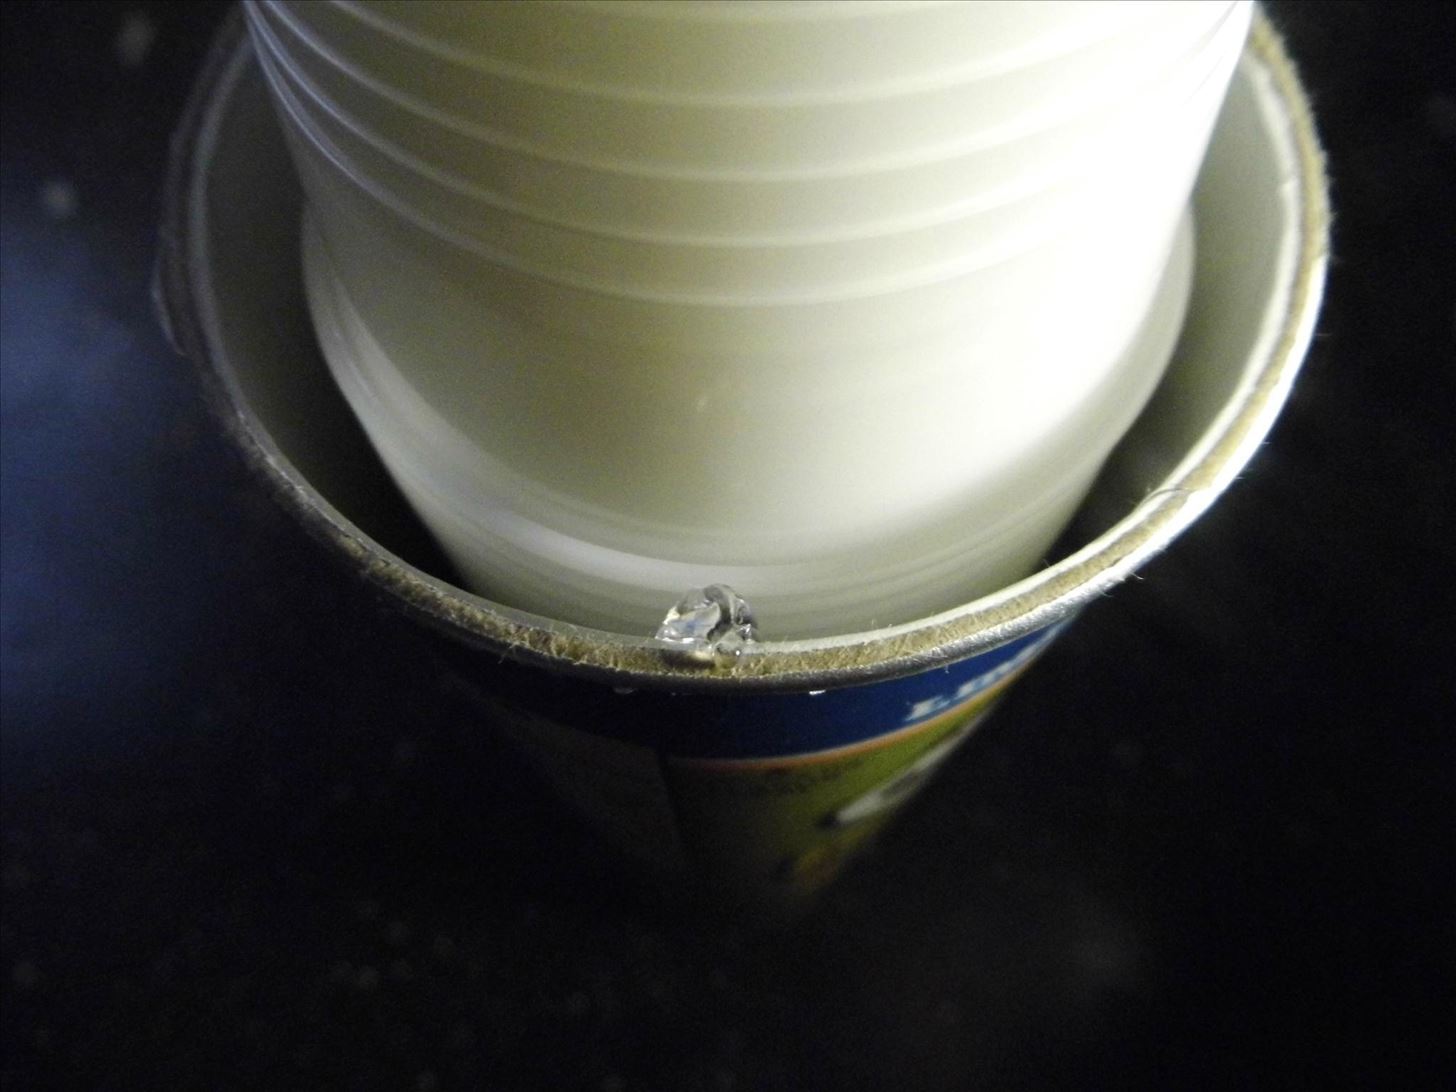
Repeat three more times so you have a total of four drops around the rim of the can.
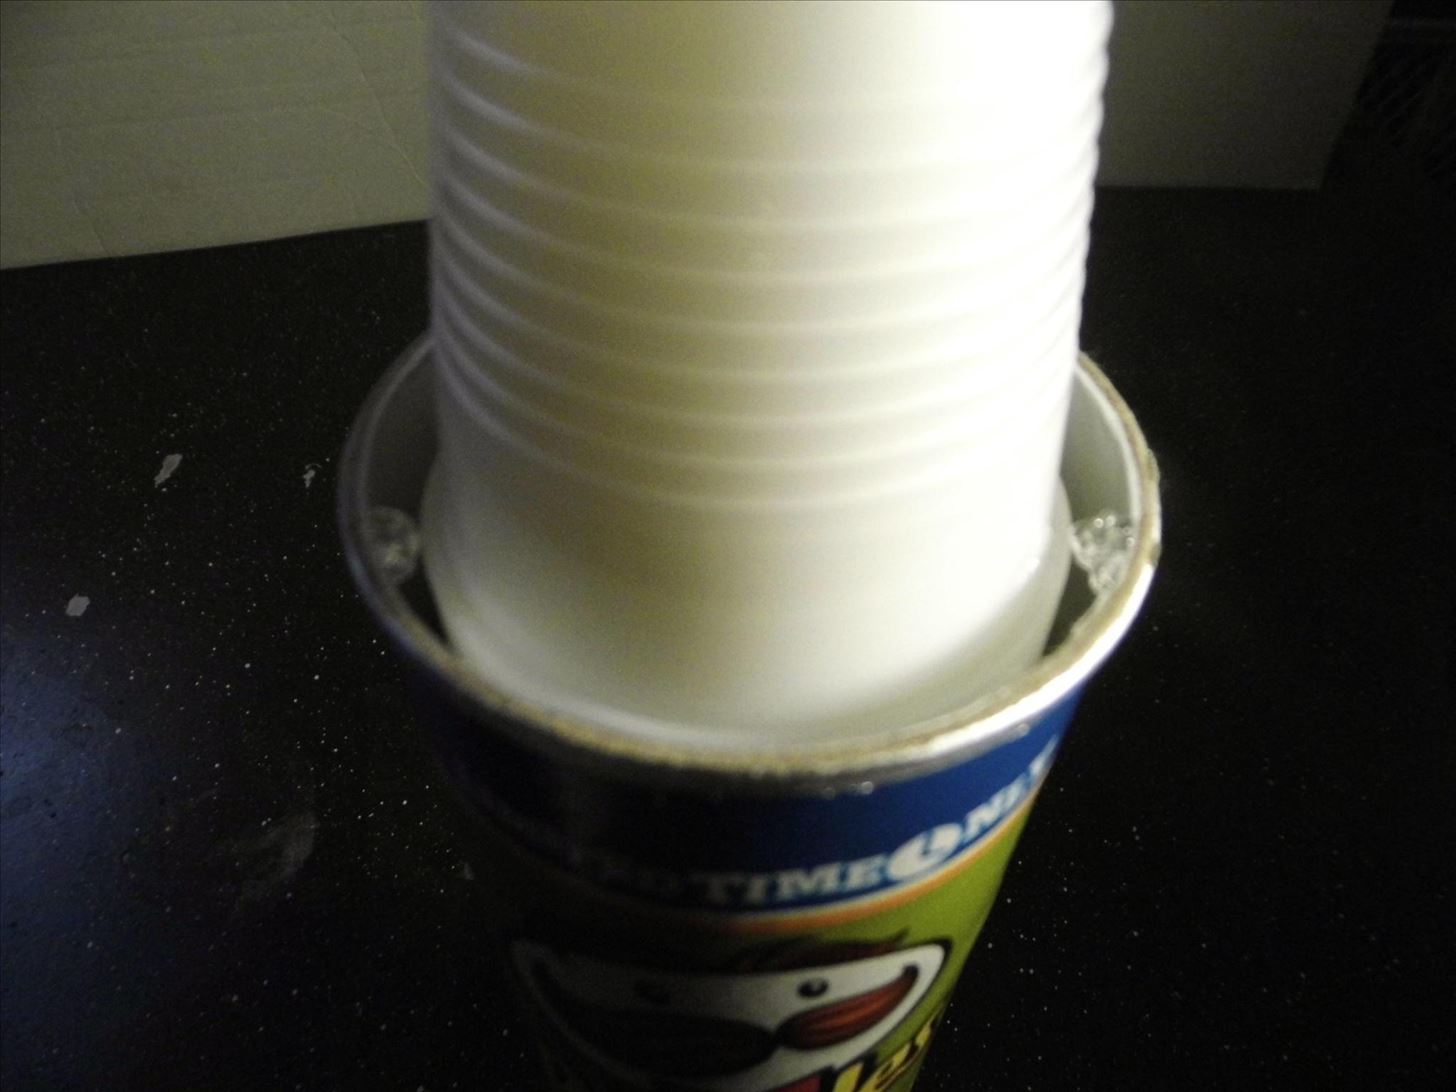
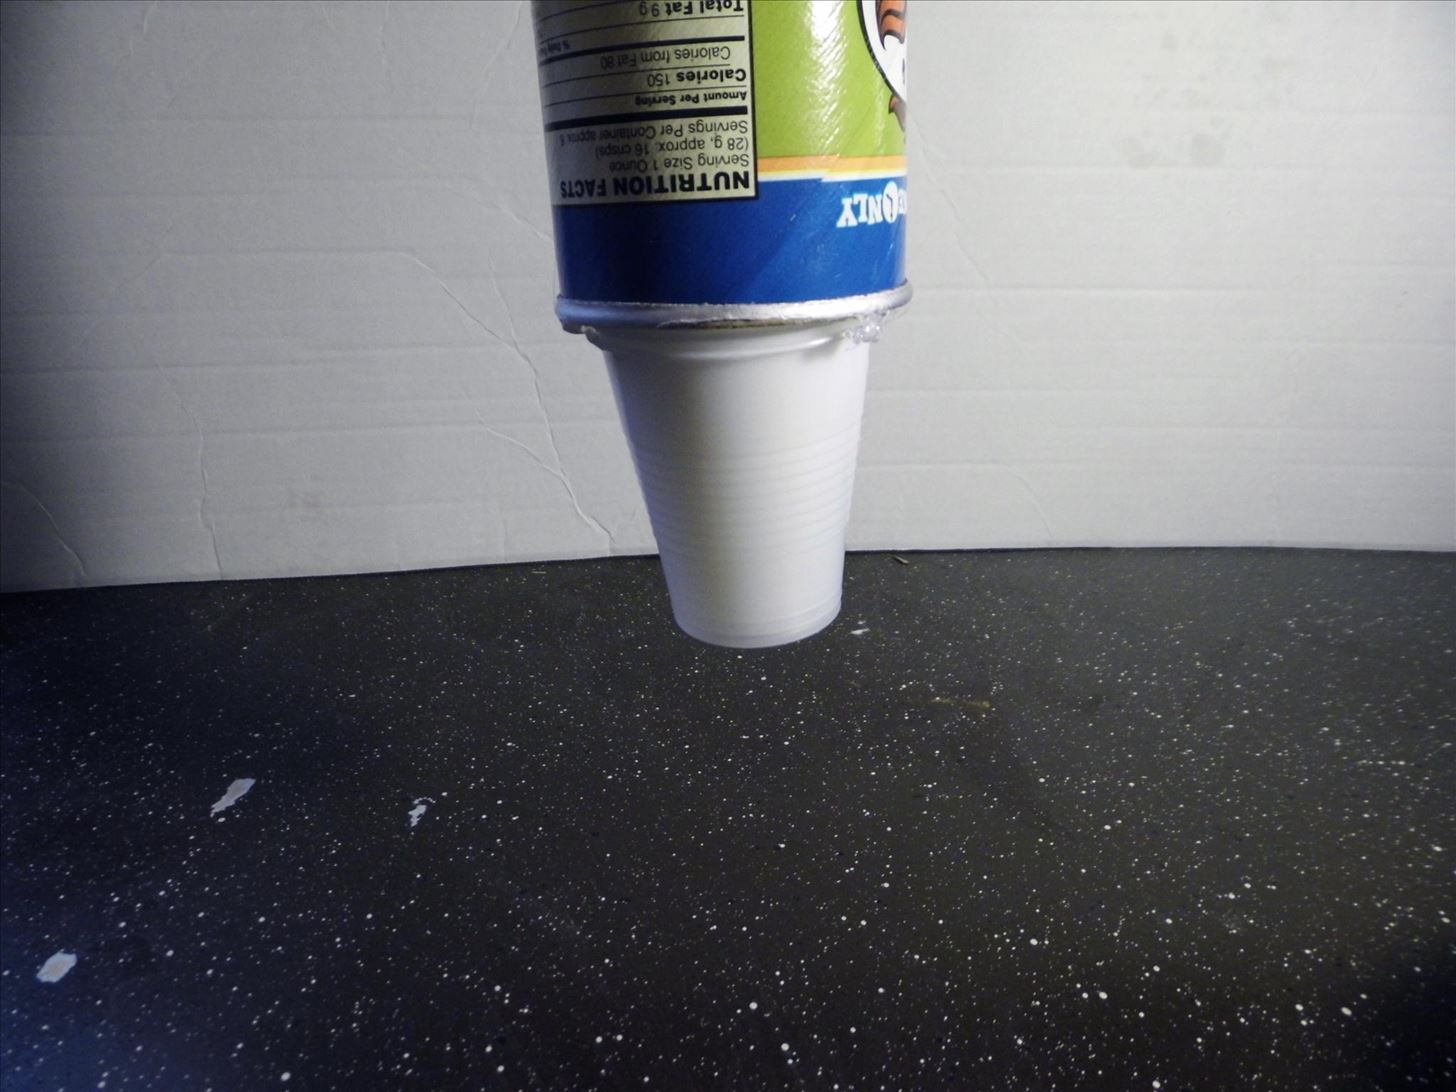
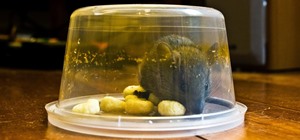
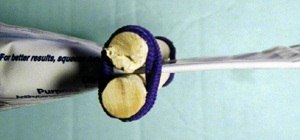
Wait for the glue to dry before continuing. The glue drops will provide enough strength to keep the stack of cups in place, but because the drops are somewhat soft they won't offer much resistance when you go to pull a cup out. As you can see, the cups stay in place when you flip the can over:
Step 5: Decorate
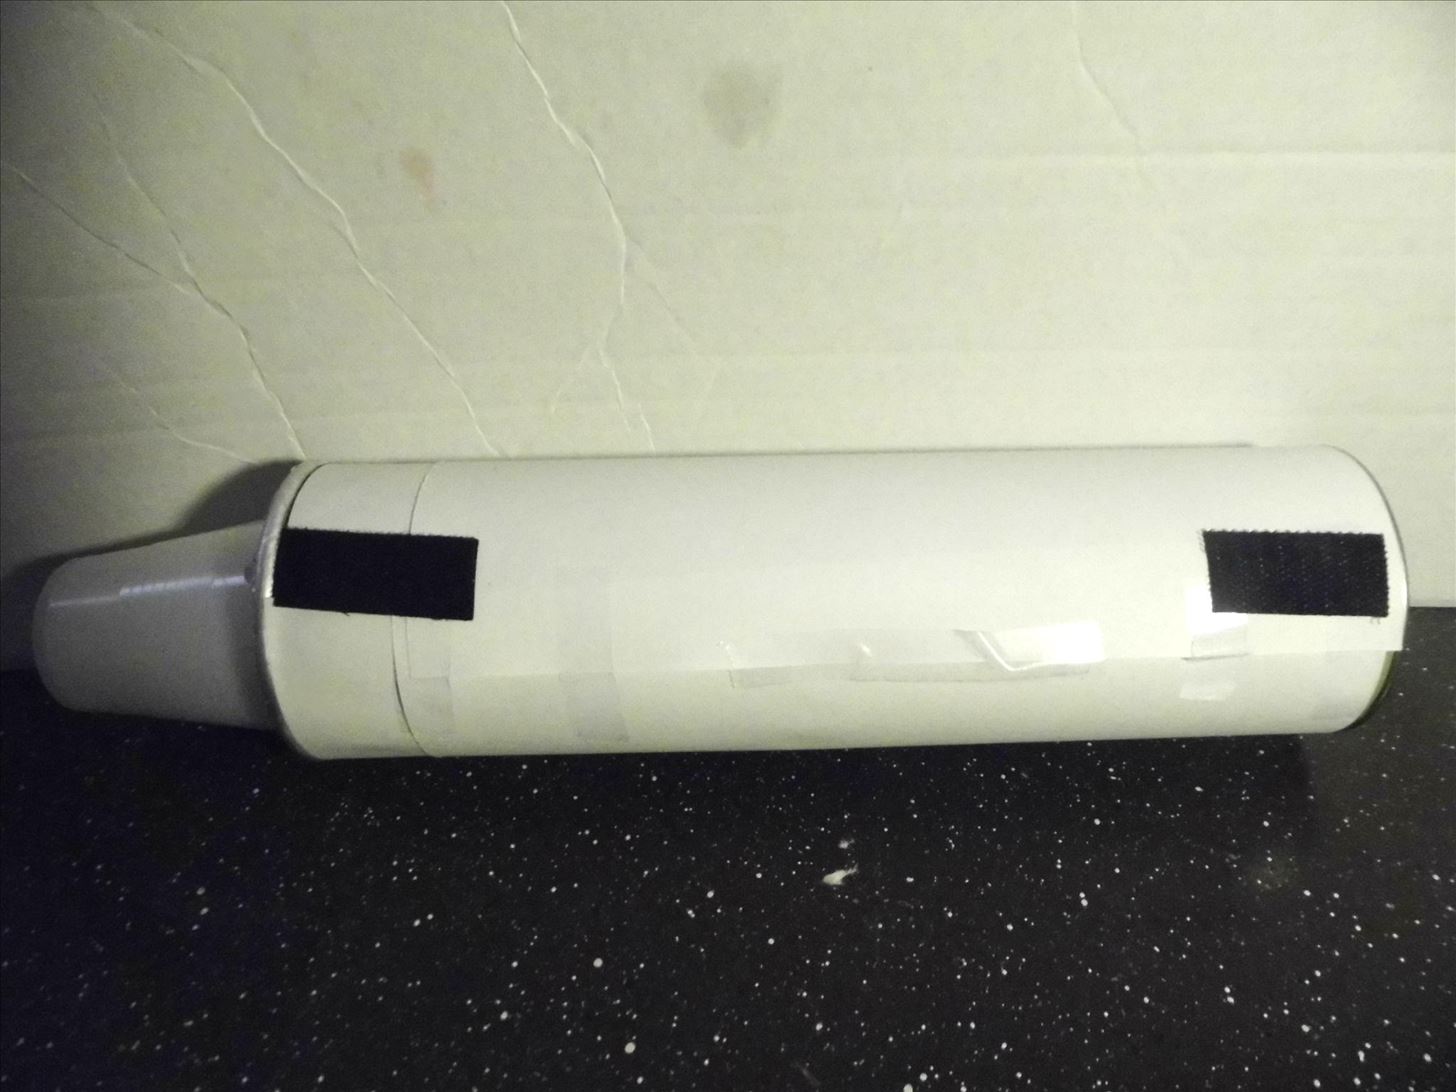
Next, you will want to decorate your can (unless you don't mind the whole "Pringles" look). I chose to cover mine in white construction paper, as my bathroom has a mostly white theme. Paint would work, too.
Step 6: Apply Velcro
Cut your Velcro into four 1-inch pieces. Apply two to the can. Make sure they are neatly aligned.
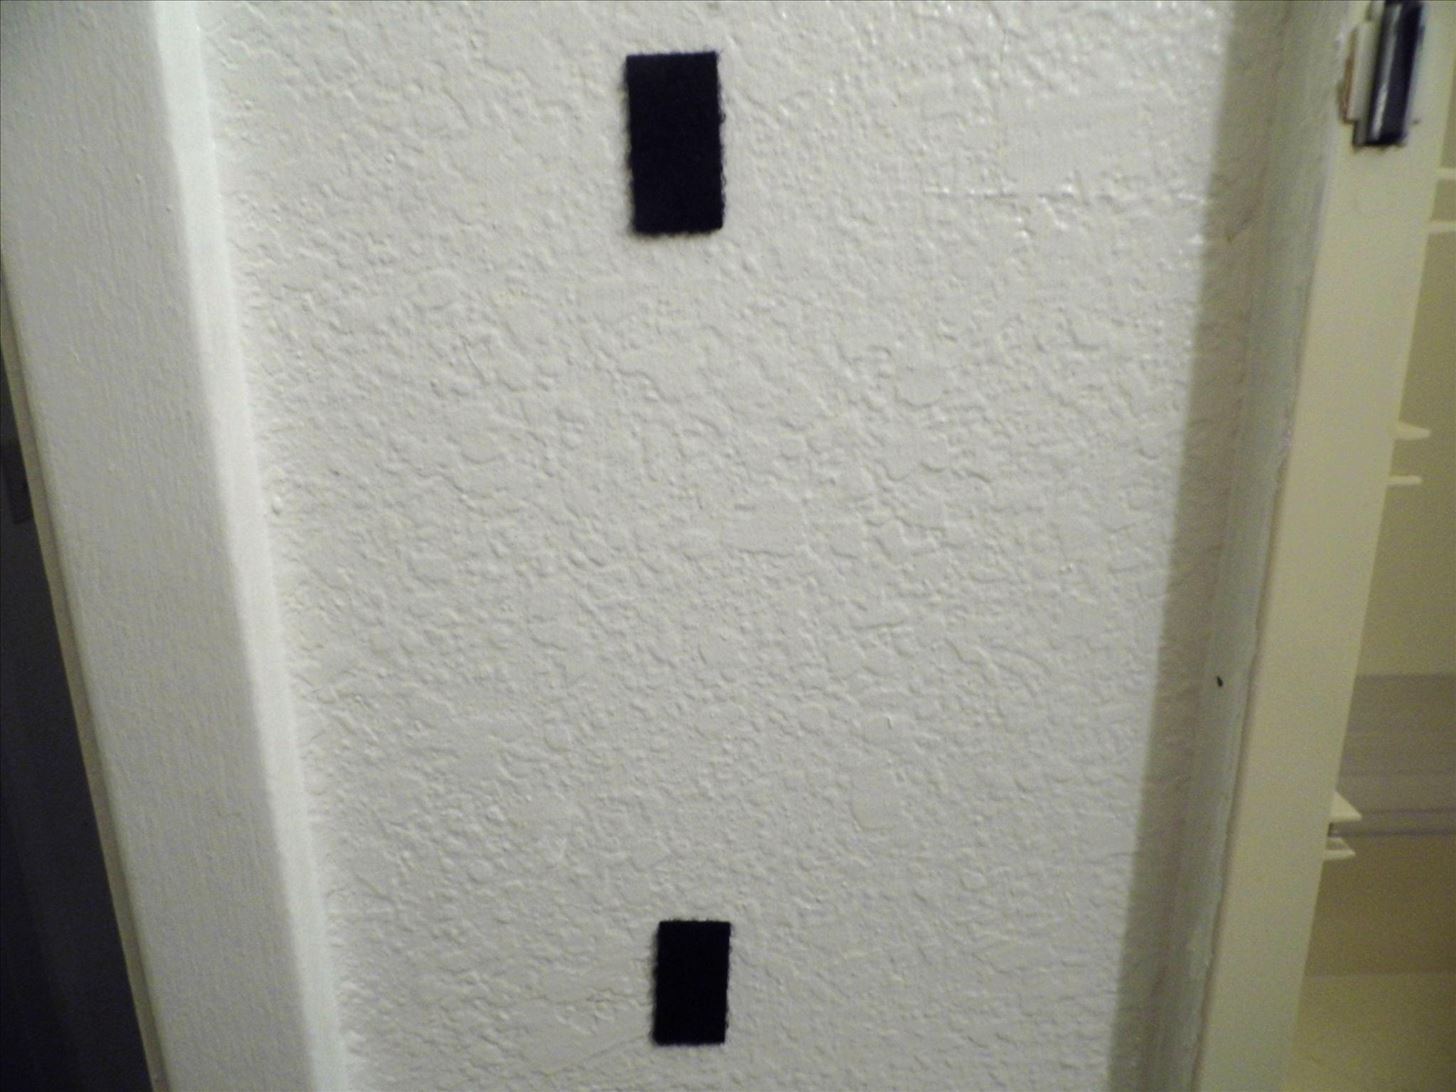
Then, use your can as a guide and apply the other two to your bathroom wall where ever you wish for your dispenser to go. Make sure they are neatly arranged.
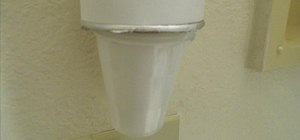
You're Done!
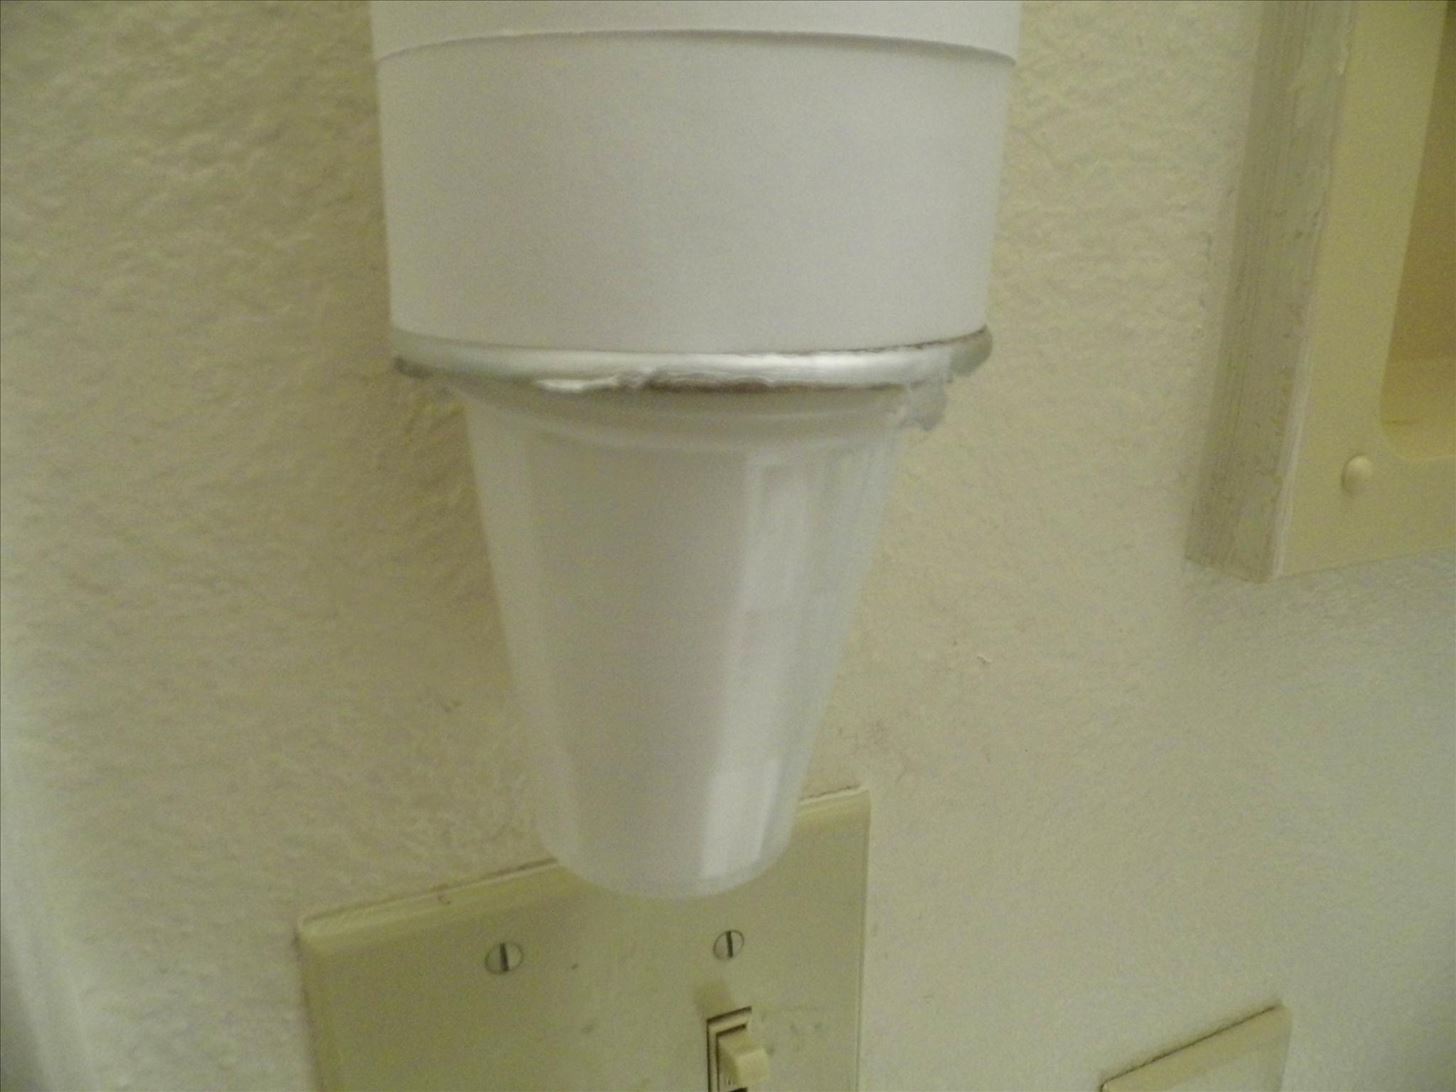
You're now done! Simply press the Velcro together to hang your new dispenser.

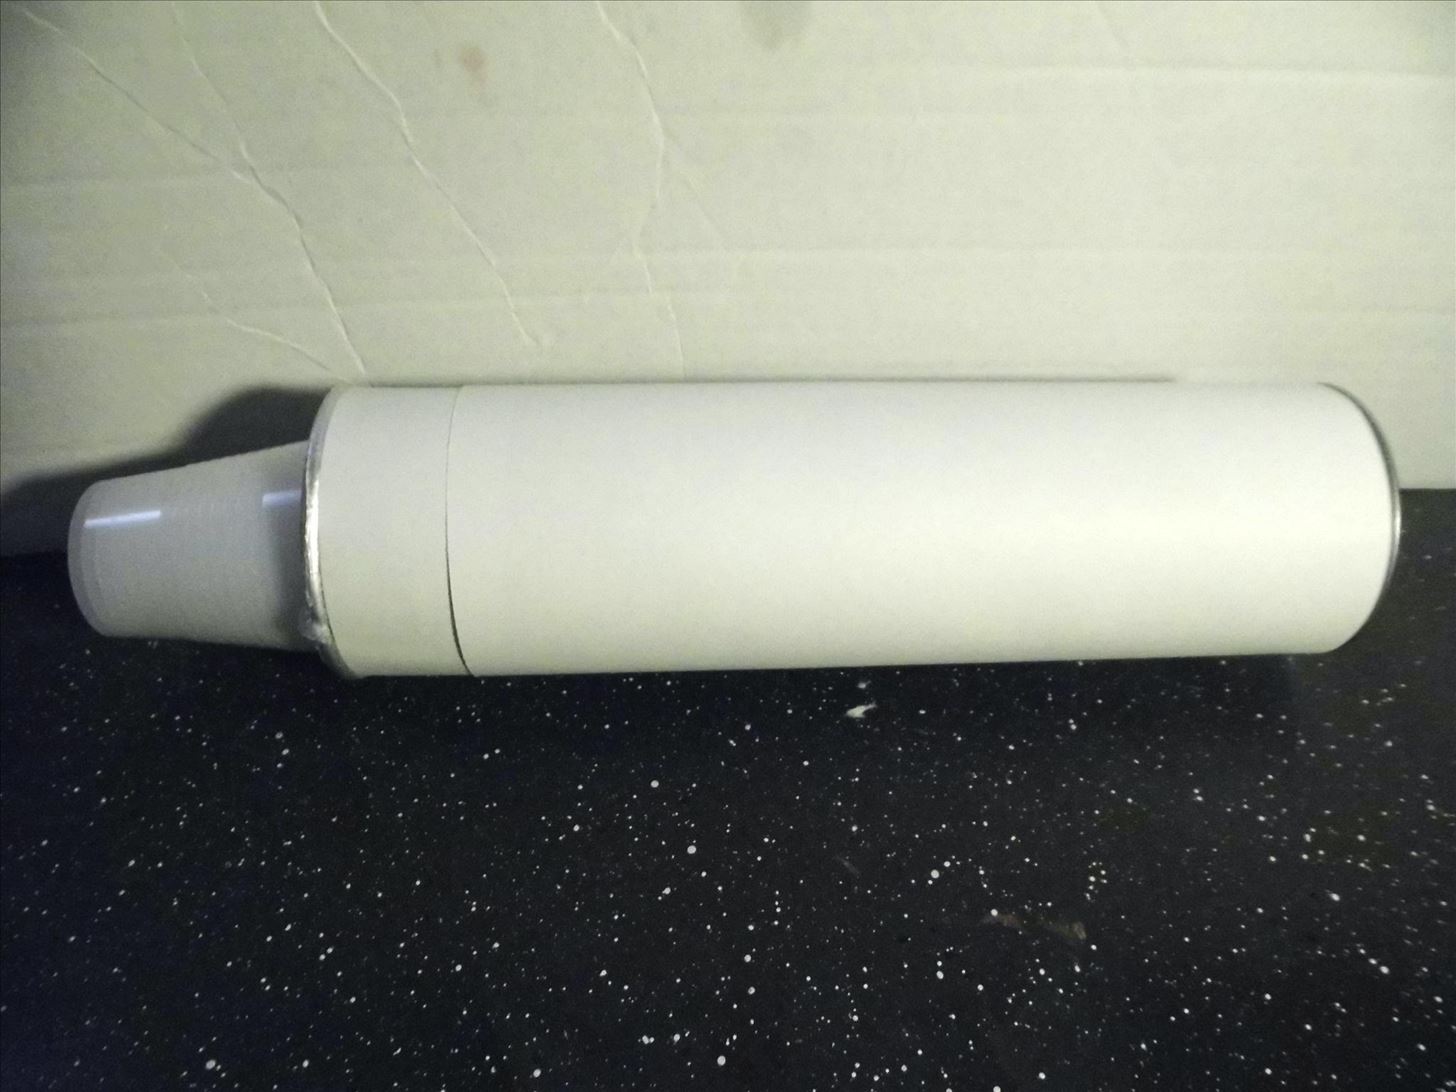
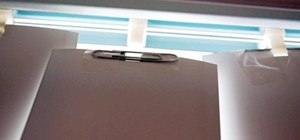
Here is a closeup. As you can see, the cups are staying nicely.
What would you make a cup dispenser out of? Tell us about it in the comment section below!
Just updated your iPhone? You'll find new emoji, enhanced security, podcast transcripts, Apple Cash virtual numbers, and other useful features. There are even new additions hidden within Safari. Find out what's new and changed on your iPhone with the iOS 17.4 update.


Be the First to Comment
Share Your Thoughts