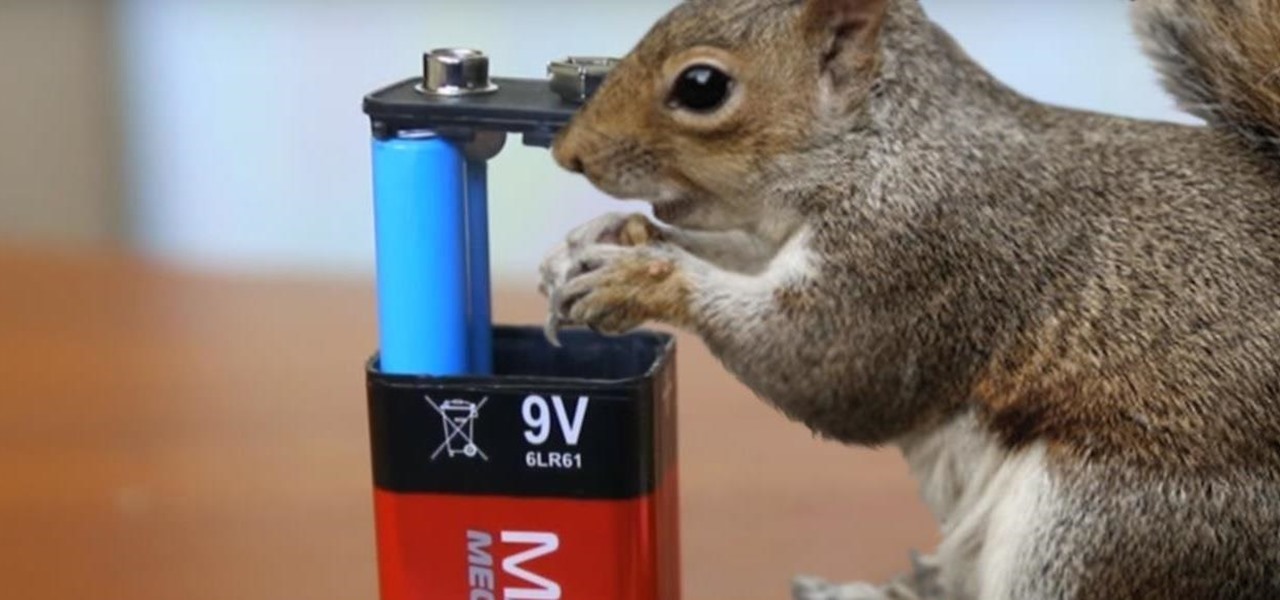

Sometimes the best way to hide things is in plain sight. Whether you're trying to sneak some medication past security at a concert with a zero-tolerance policy, or you're just worried that maybe Omar comin', YouTuber MrGear has a clever way to put your mind at ease.
In the video below, he shows us how we can store important or treasured items in five places few would think to look. Out of the five, the best one is definitely the 9-volt battery mini safe.
- Don't Miss: How to Make an Impossible-to-Find Doortop Safe
What You'll Need
- 9-volt battery with cylindrical alkaline cells (many common 9-volt batteries use these cells)
- X-Acto knife
- scissors
- wire (optional)
- hot glue gun or soldering iron (optional)
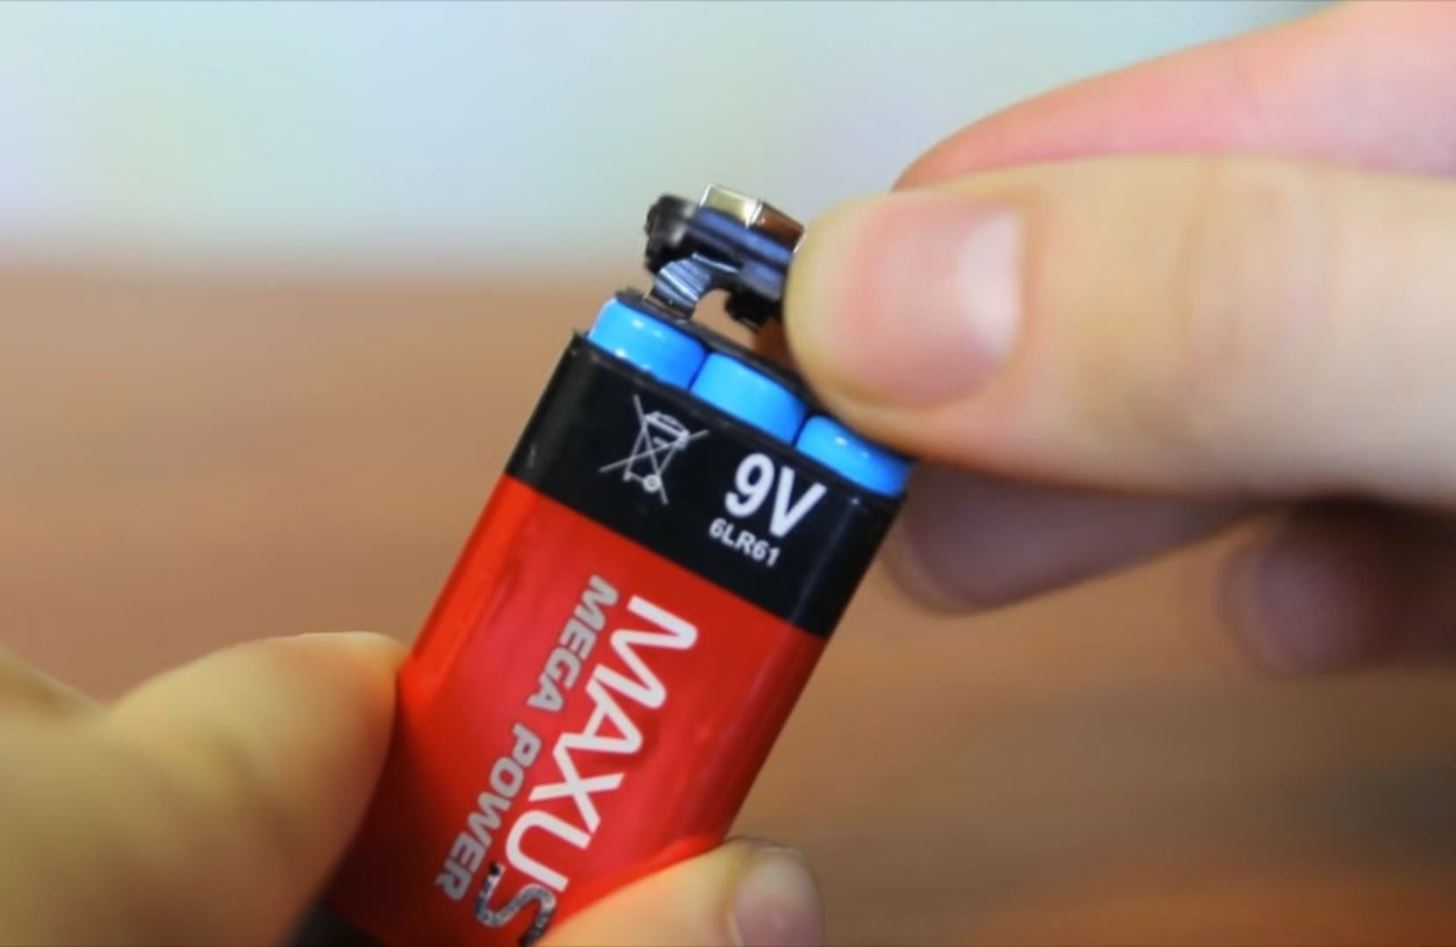
Step 1: Open the Battery
Take the X-Acto knife and slice around the edge at the top of the battery.

Cut through until you're able to remove the plastic piece that the battery connectors are attached to.
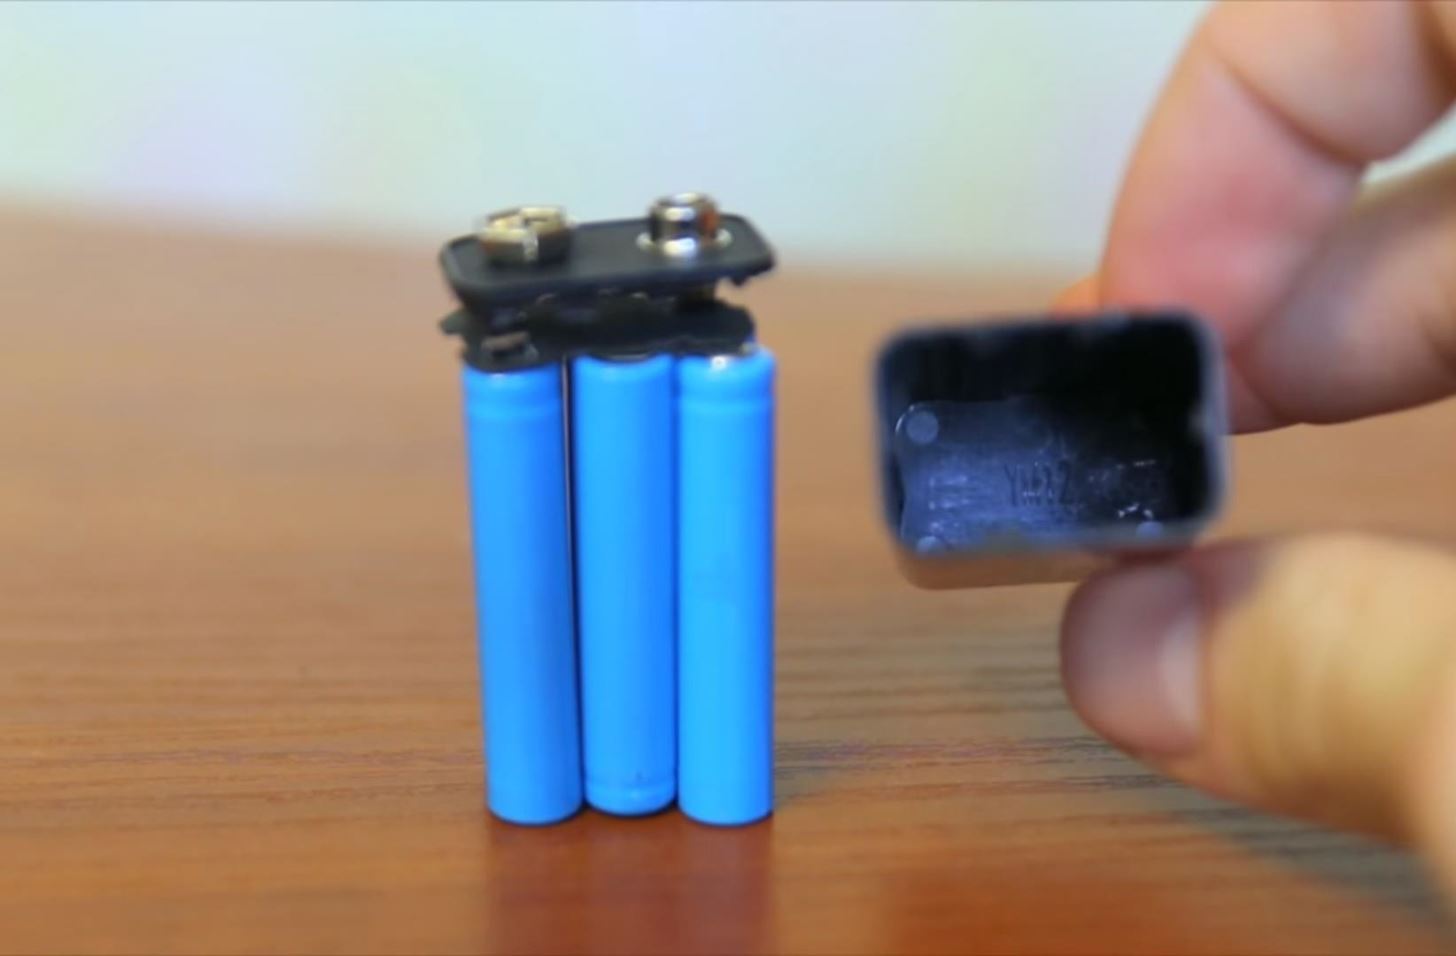
Step 2: Remove the Cylindrical Cells
Pull out the connectors and the cylindrical cells, which are just six 1.5-volt batteries.
Now, you've got a choice to make depending how secret you'd like to make your 9-volt safe. We'll start with the simpler version first, and save the more clandestine version for later.
Step 3: Clip the Ribbons (Skip to Step 4 if You Want It to Still Work)
To make the simpler version, just clip the ribbons attached to the battery cells, so that they are no longer attached to the connector.
Your simple 9-volt battery safe is done. All you have to do is stick the items you'd like to keep secret inside, pop the connector back onto the case, and be on your way.
Step 4: (Working Version) Remove Some of the Cylindrical Cells
If you think you're going to need to be a little more sly by actually using the 9-volt battery safe to fool people, keep two of the cylindrical cells attached so that your safe will remain a functional (albeit less powerful) battery. You'll also have a little less storage room inside your "safe."
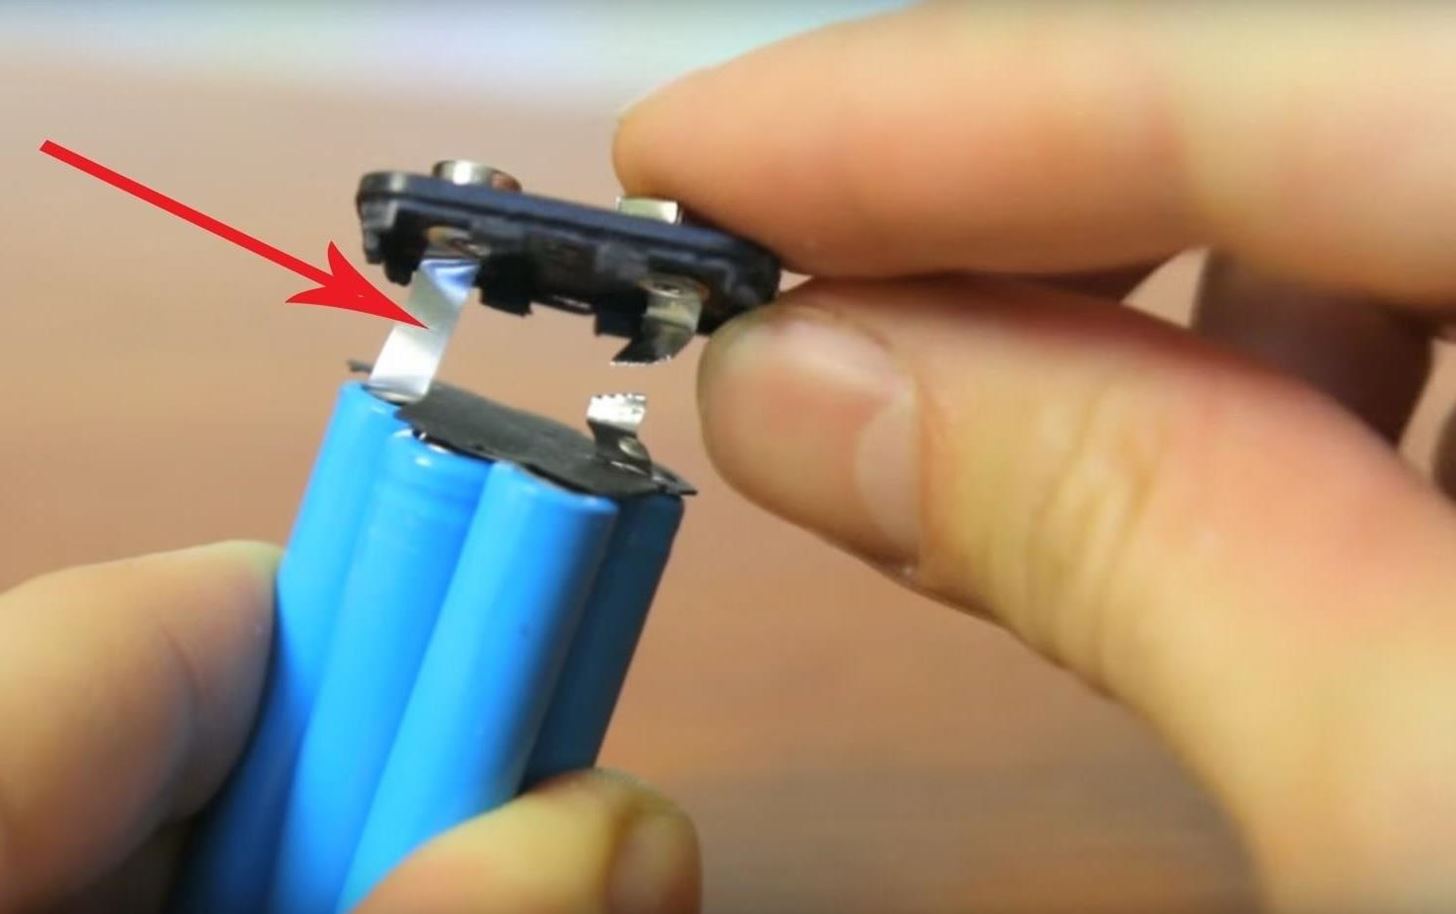
Instead of cutting both ribbons, just clip the ribbon below the negative connector (the female, or wider, flatter, connector).
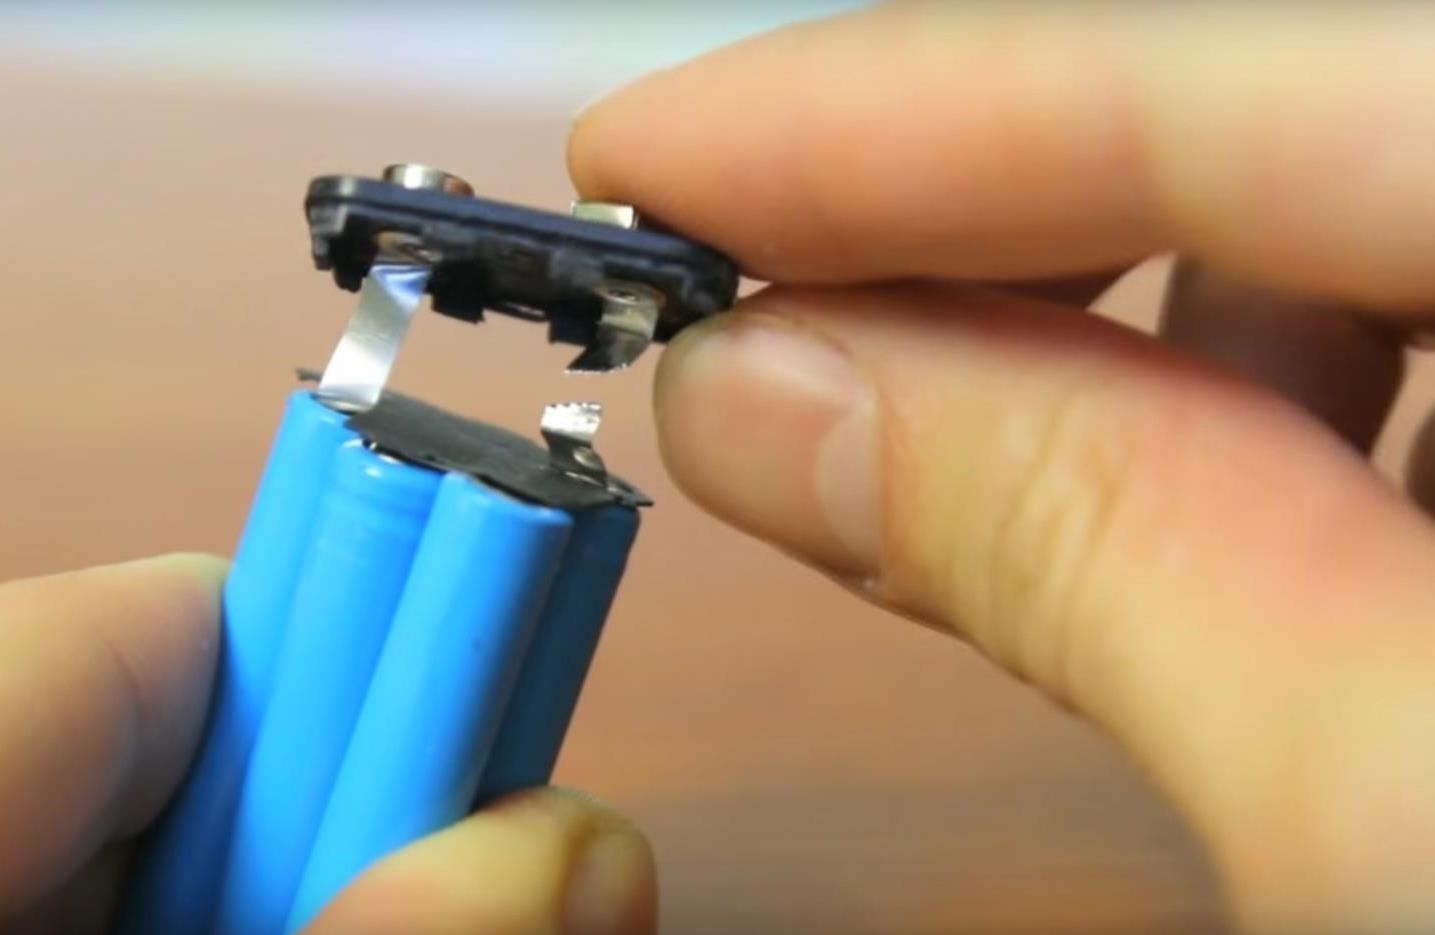
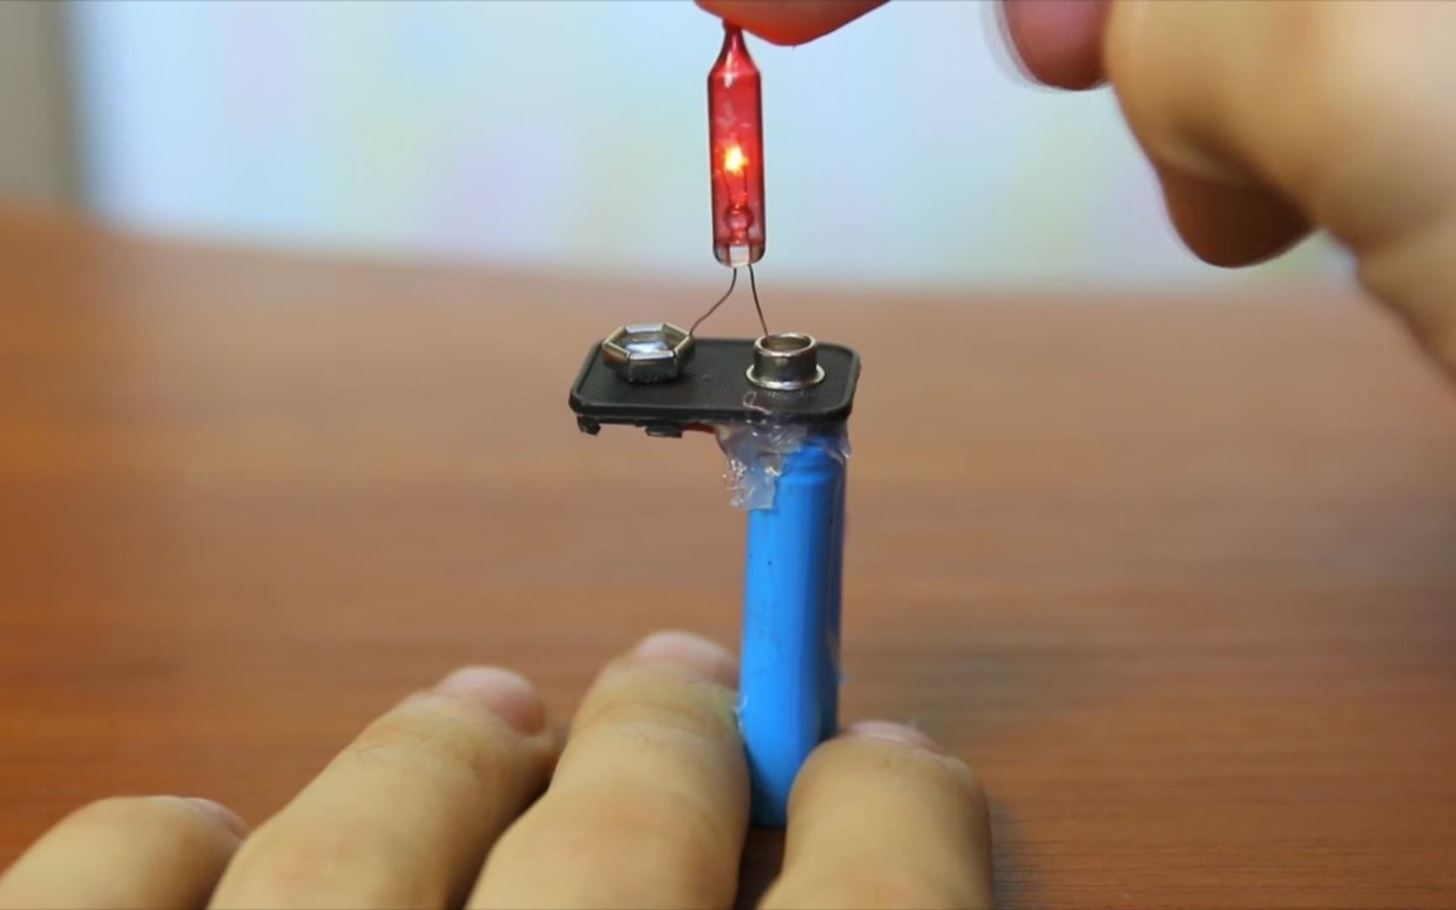
You're going to want to carefully unravel the cells. There will still be one cell attached to the positive connector—this cell will remain, as well as the cell directly attached to it.
So, before you make the cut, it should look something like this:

Since we just need the first two cells, you're going to want to snip the ribbon between the second and third cells.
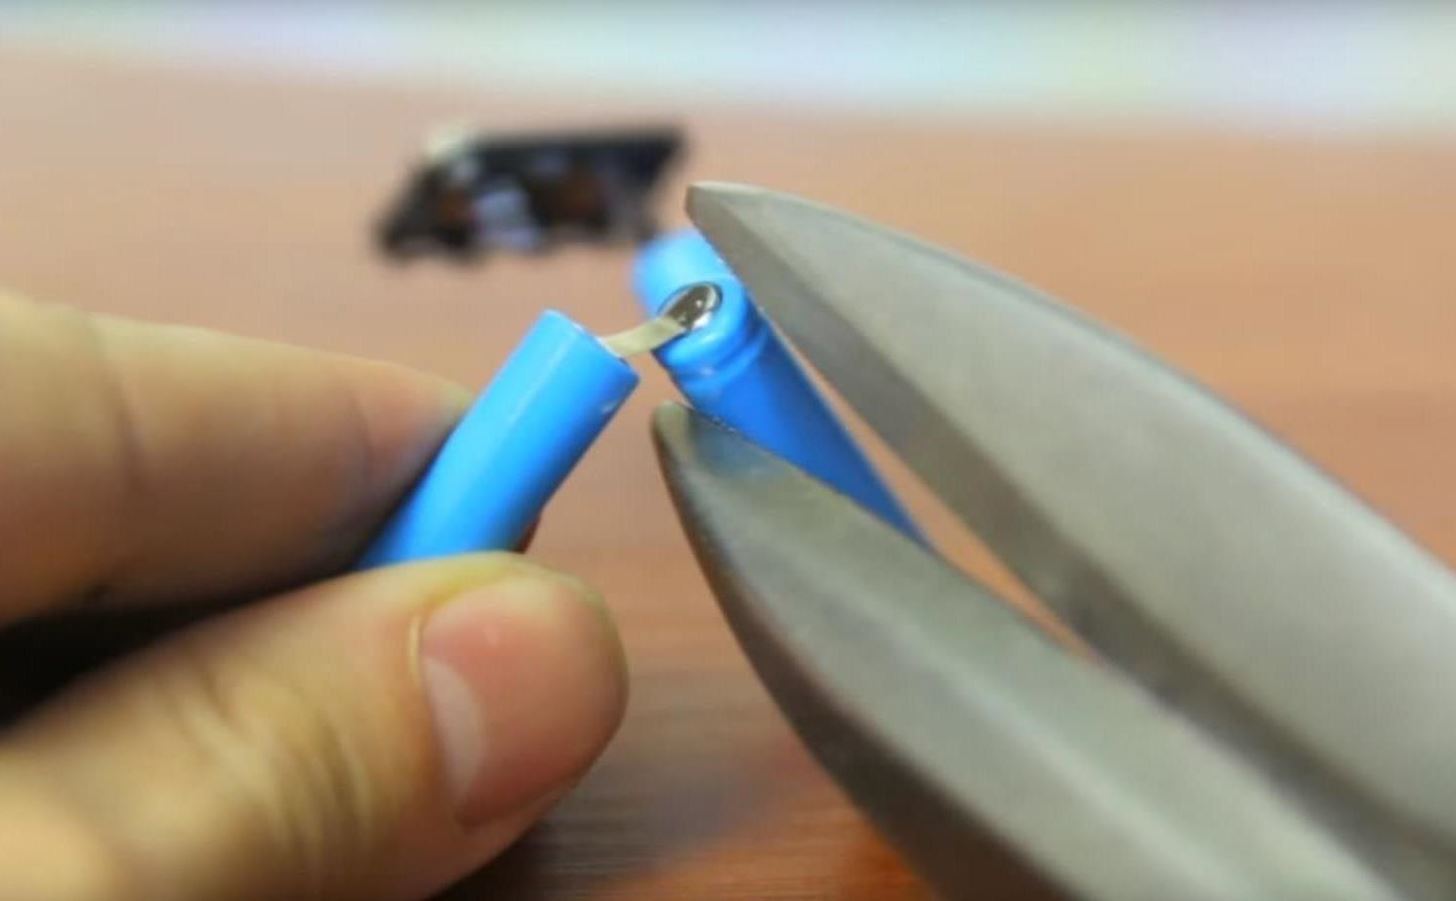
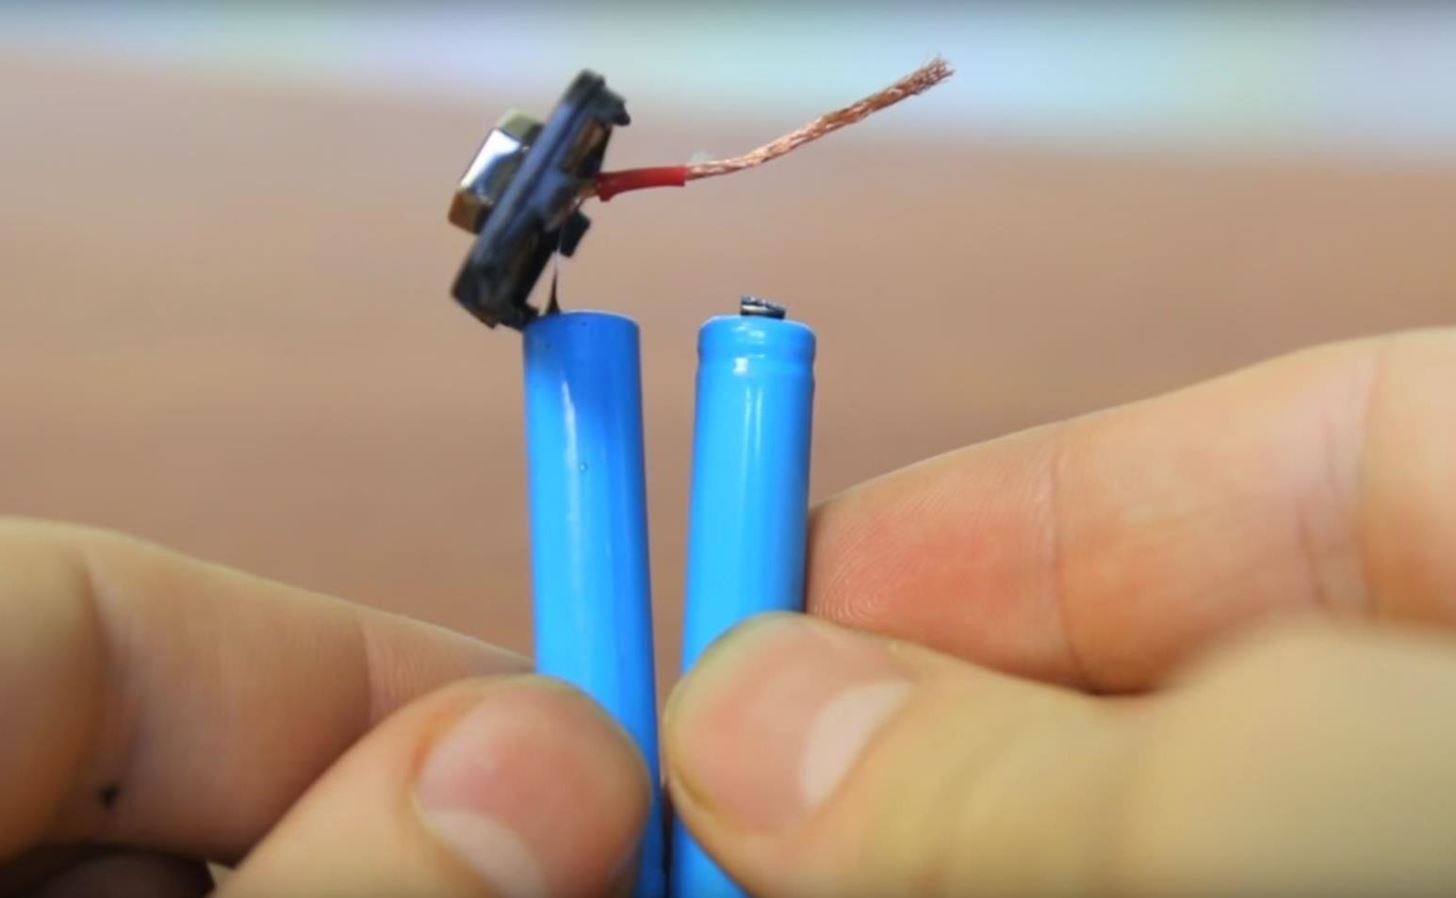
And you should be left with this:

Step 5: Reattach Remaining Cells
Next, we'll need that wire and a hot glue gun (or a soldering iron if you have one). Glue or solder one end of the wire beneath the negative terminal, where we previously disconnected the ribbon.
Once that dries, glue or solder the other end of the wire to the positive end of the second battery cell.
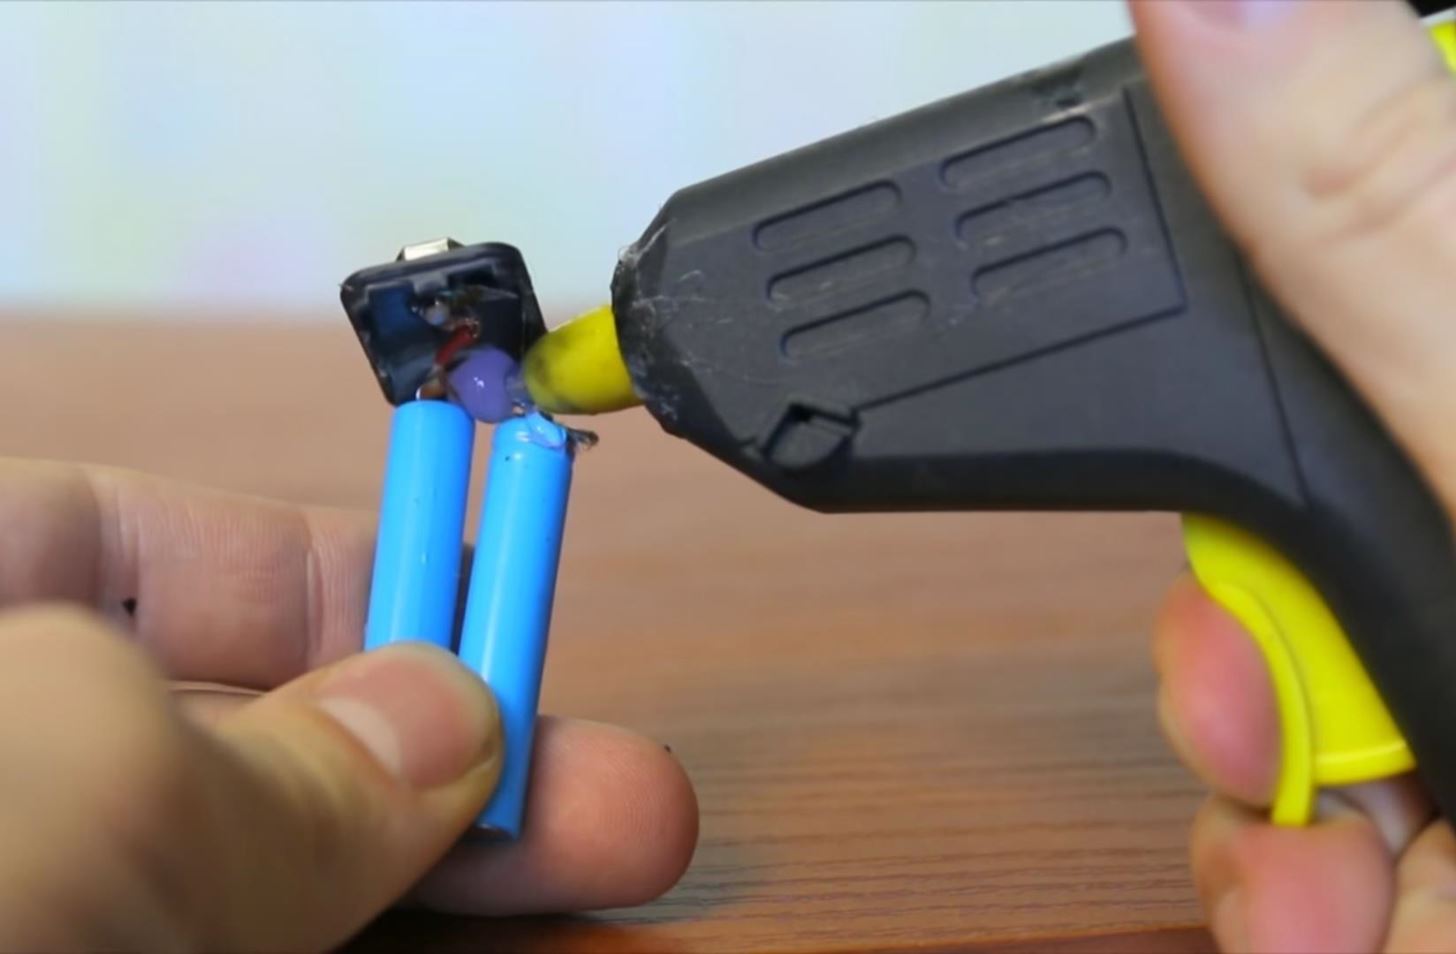
You can then glue or solder both cells to the underside to keep them in place. This way, you won't have to worry about the cells moving around inside your safe, and the amount and shape of the storage area will remain consistent.
Once you've done this, your battery safe should still have 3 volts of power to help keep up the illusion.
Step 6: Load Your Safe
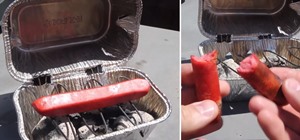
Now all you've got to do is load up your battery safe. If you're putting hard, rigid objects in your safe, you might want to consider wrapping them up first. Nine-volt batteries don't rattle—it'll be a dead giveaway if someone hears something shaking around in there.
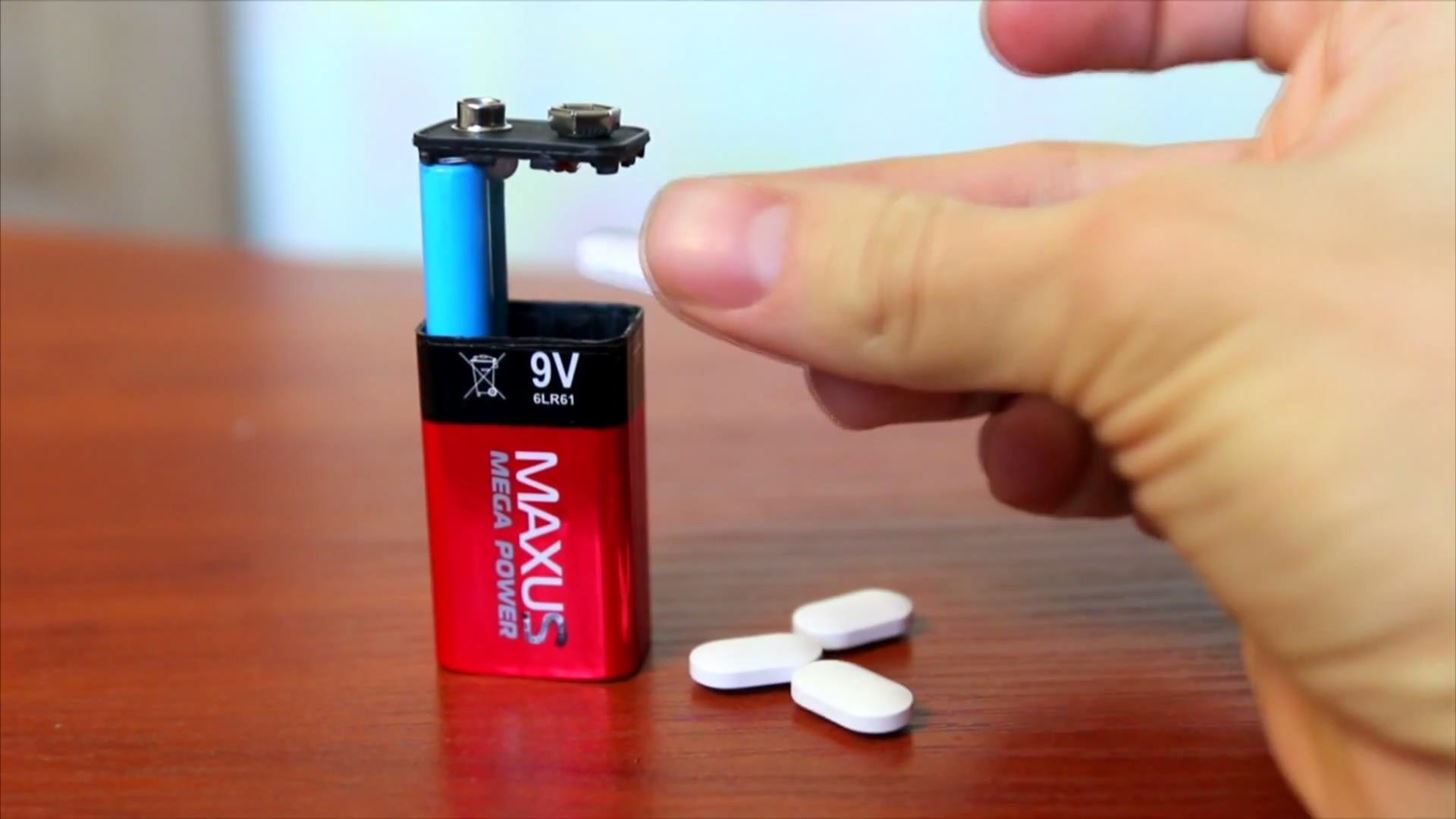
Press the top back down, and you're good to go. When you need to get back inside, just pry the top of the 9-volt battery off with your fingernail, or a credit card, guitar pick, or similar item.
MrGear has a couple other tips for making hidden storage compartments out of household places in his video, so check those out too for ways to hide money and jewelry.
More DIY Safes You Can Make at Home:
Just updated your iPhone? You'll find new emoji, enhanced security, podcast transcripts, Apple Cash virtual numbers, and other useful features. There are even new additions hidden within Safari. Find out what's new and changed on your iPhone with the iOS 17.4 update.


1 Comment
I think it's a great place for my spare key. Thanks for your idea
Share Your Thoughts