
Summer is here, and temperatures are rising. Instead of shelling out for an expensive new air conditioning unit, why not build one yourself with a few bucks worth of old computer parts?
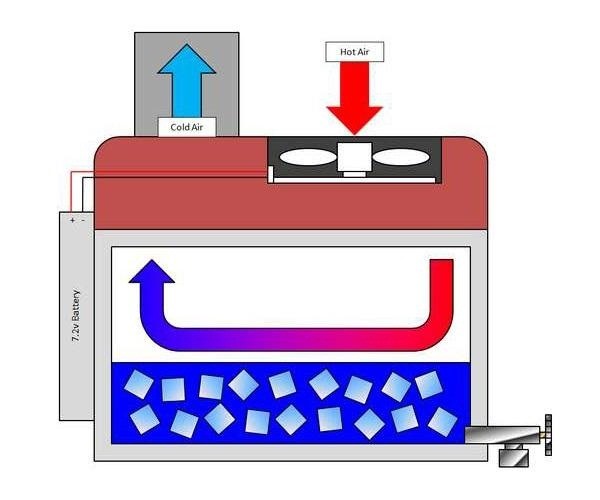
There's a number of ways you can go about doing this (and some really fun ways to make your design unique), but the concept is generally consistent. The main idea is to use a computer fan to draw warm air into ice, and then direct the chilled air out of your makeshift AC unit.
Here's the general plan, but feel free to experiment and get creative once you've got the basic idea down.
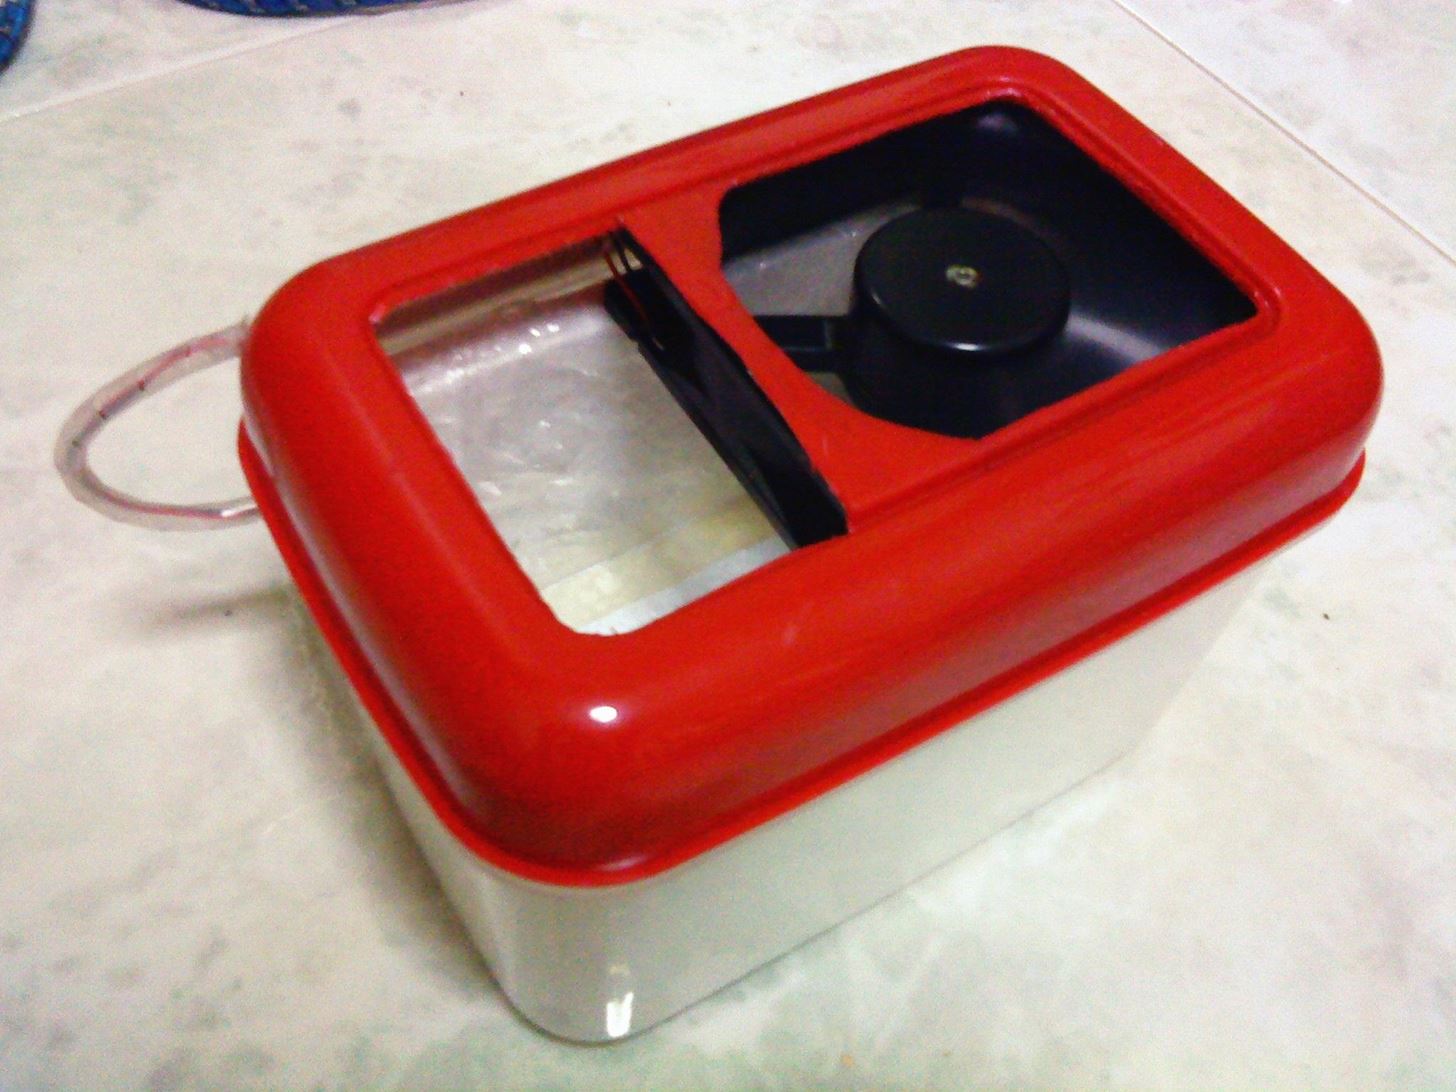
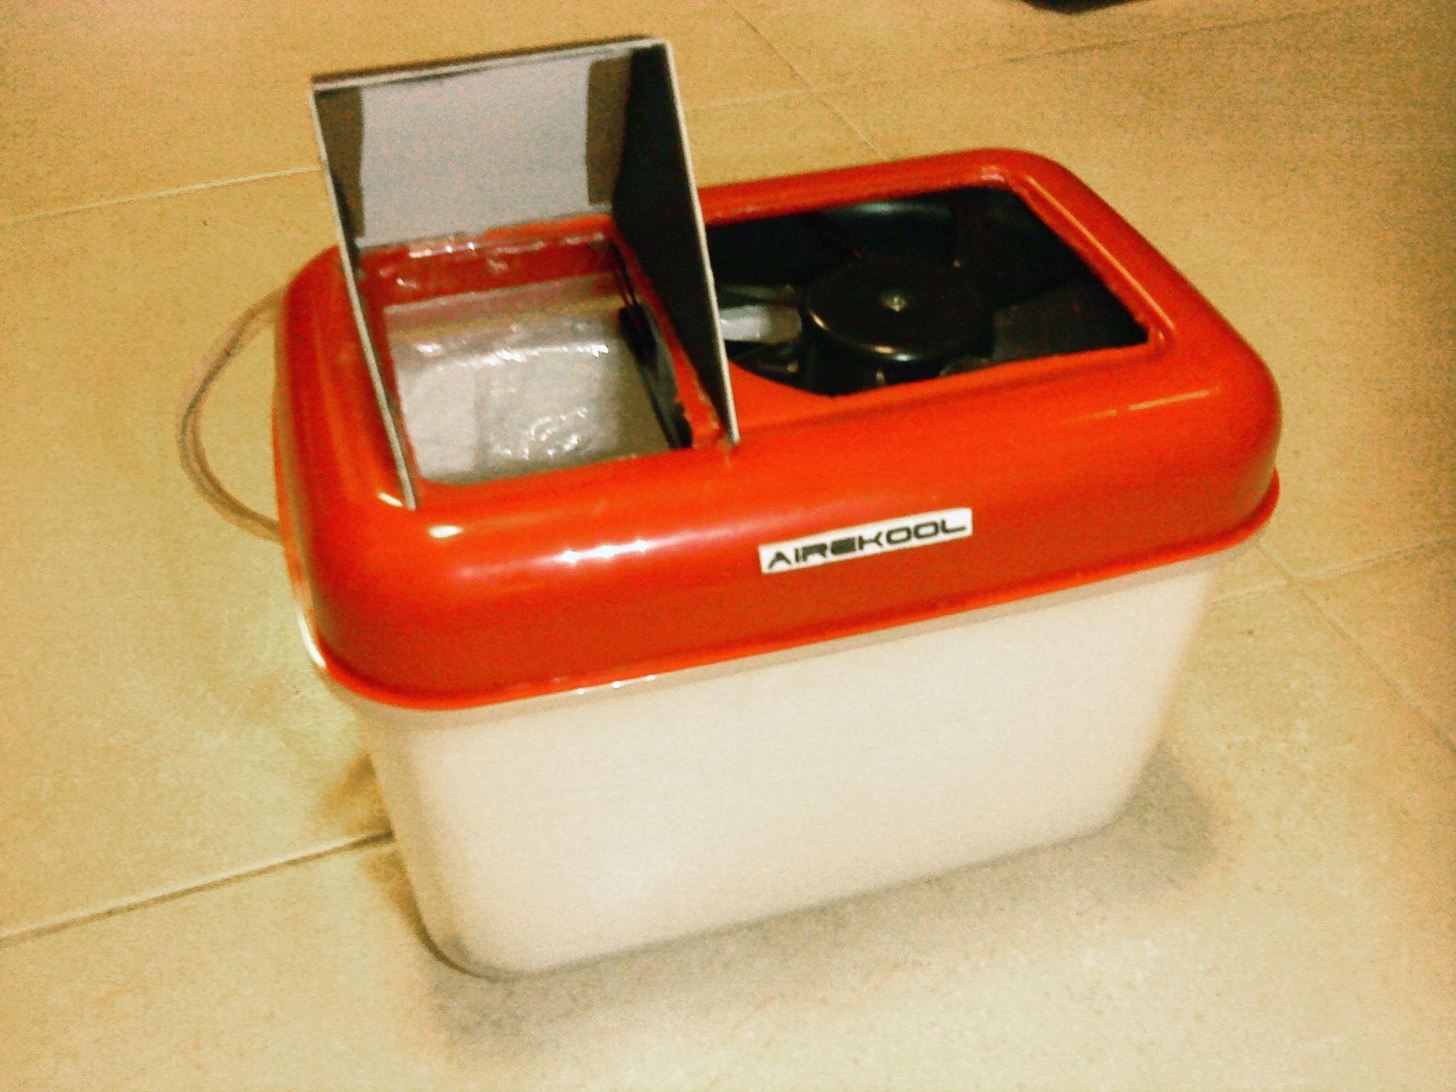
Step 1: Choose a Container
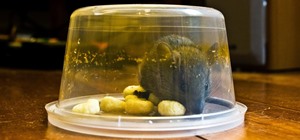
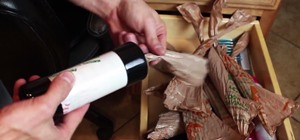
You'll need a container of some sort to hold the ice. Styrofoam makes a great insulator, so those cheap foam coolers are a great place to start. They'll run you anywhere from $5 to $15, but there are certainly alternatives. If nothing else, you can simply cut and tape together slices of Styrofoam to make the "walls" and use a thin layer of plastic to prevent leaks. Tape is preferable as some glues will not work or may even damage the foam.
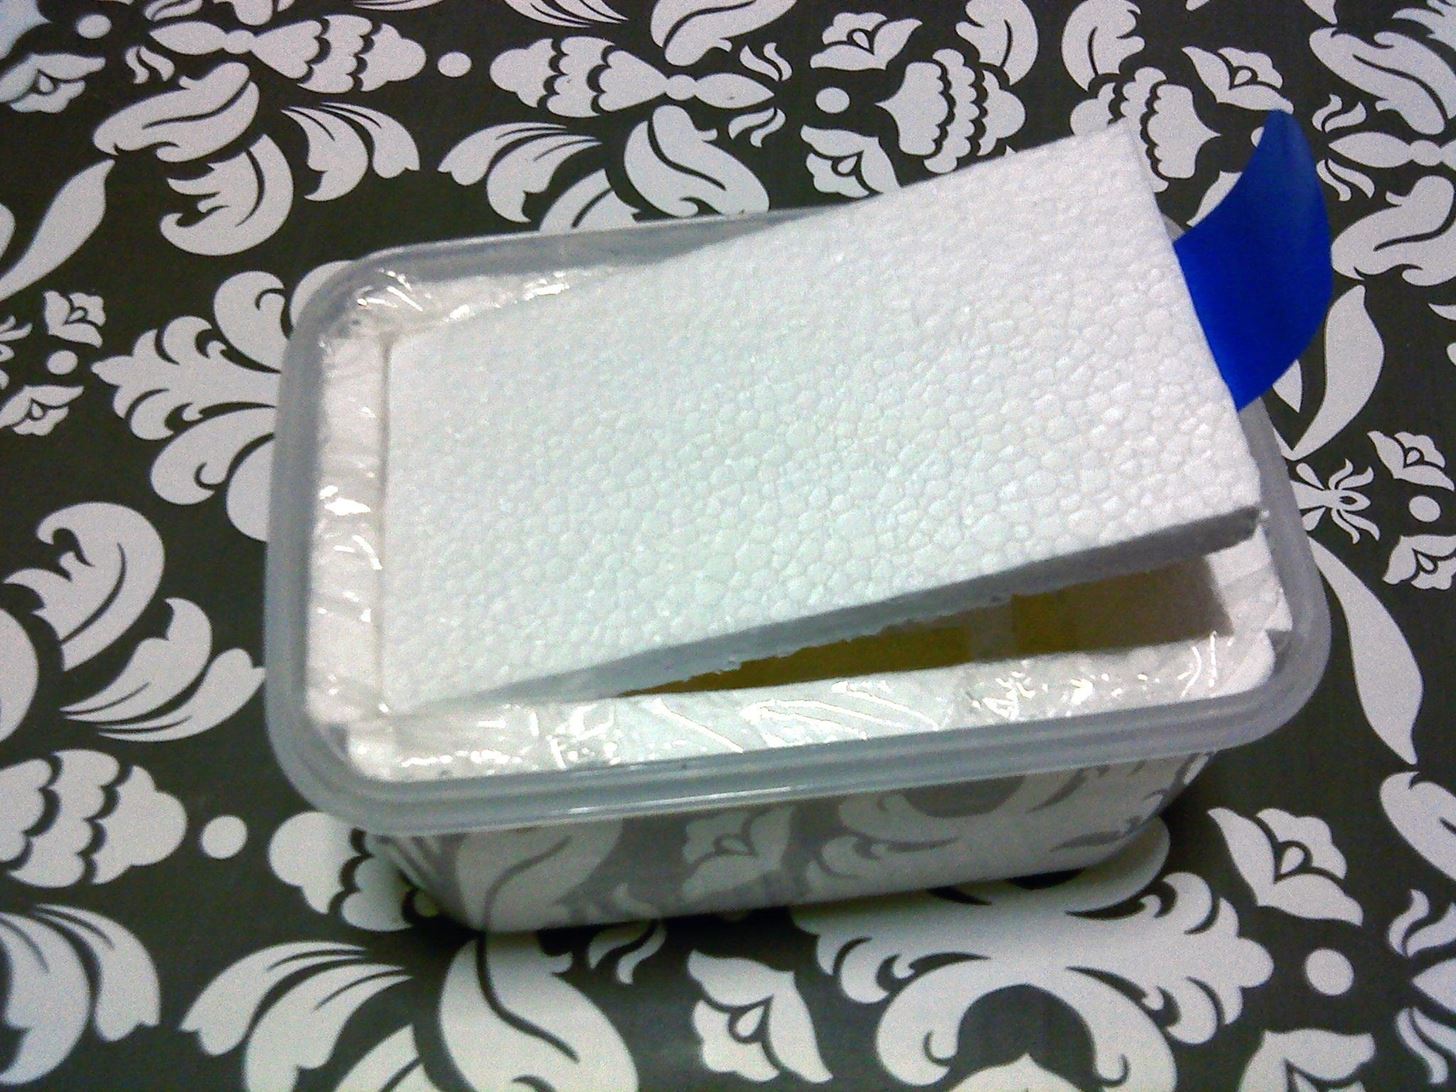
If your container does not have one, also measure and cut a snug lid for it, to prevent the ice from melting too quickly. Any sized container will work (more ice will let you cool a larger space), but remember that the larger the container is, the bigger the fan you will need.
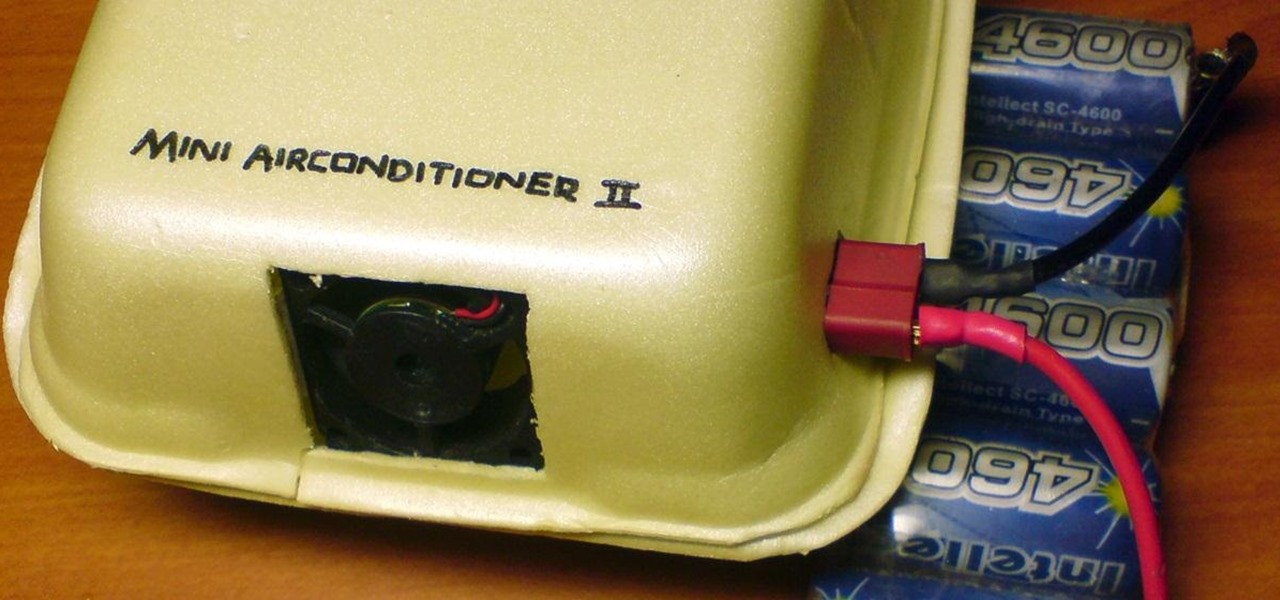
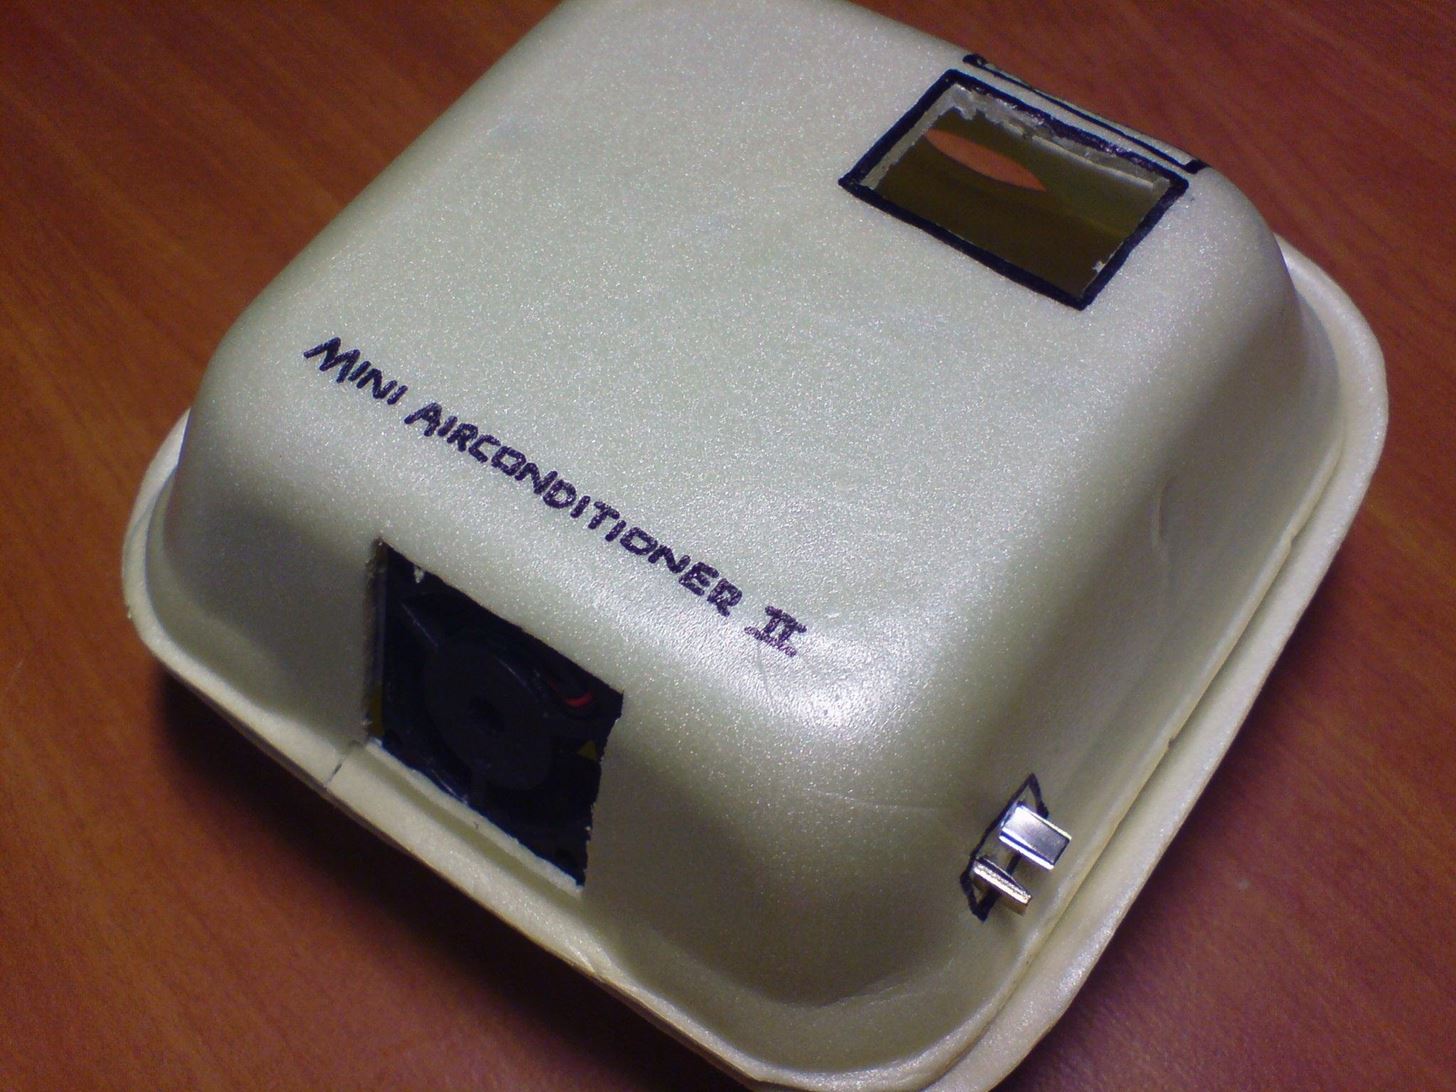
Step 2: Place the Fan
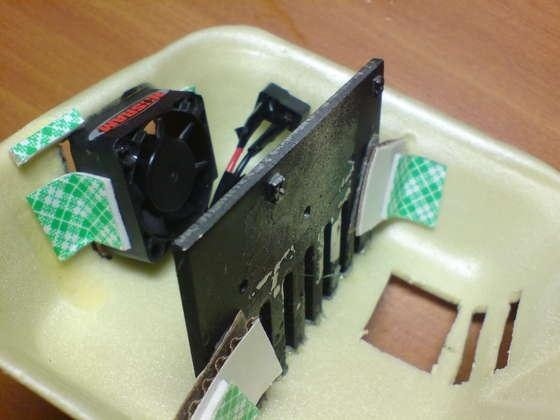
Mount or cut a space for the fan to go into in the Styrofoam. Mounting tape or similar is again preferable over glue, although there are many ways you can go about placing the parts. Just remember that you want the fan to be blowing into the container where the ice will be.
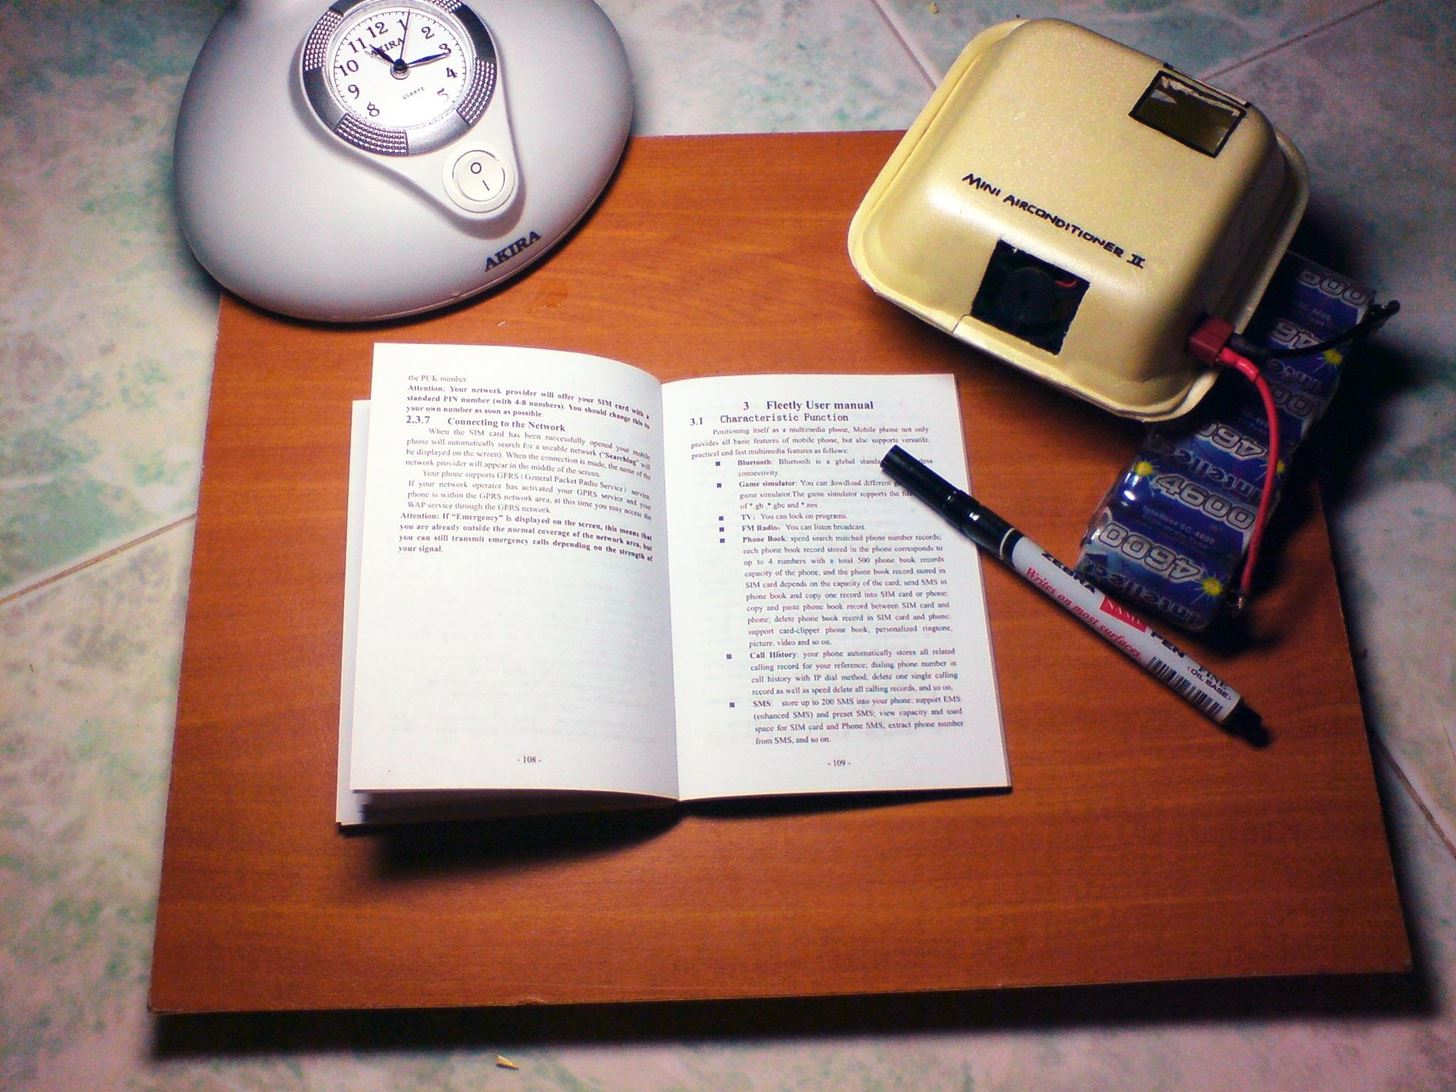
Make sure that the fan is properly working and that you have a way to give it power. Make sure any wires are placed outside of the unit so that they do not get wet. You may choose to run them to any outlet jack, or alternatively use a portable solution such as rechargeable AA batteries. This will depend on the size and power needs of your fan.
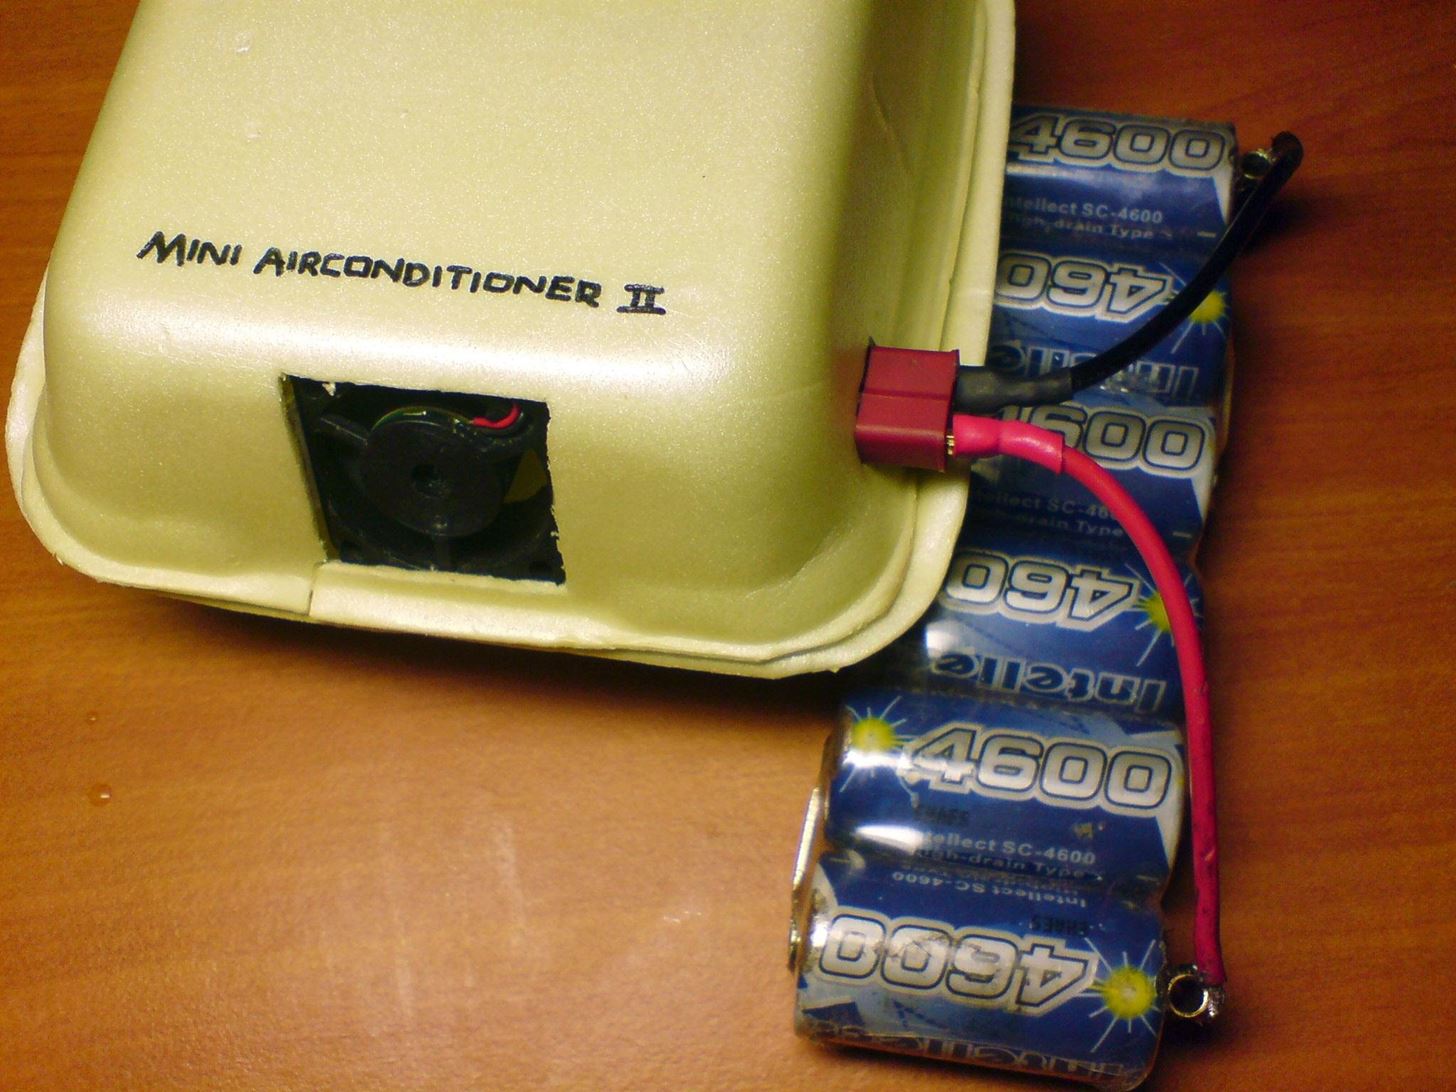
You might also want to consider using one or more heat sinks, and placing them between the fan and the ice. This will help to dissipate the cold air in the unit.
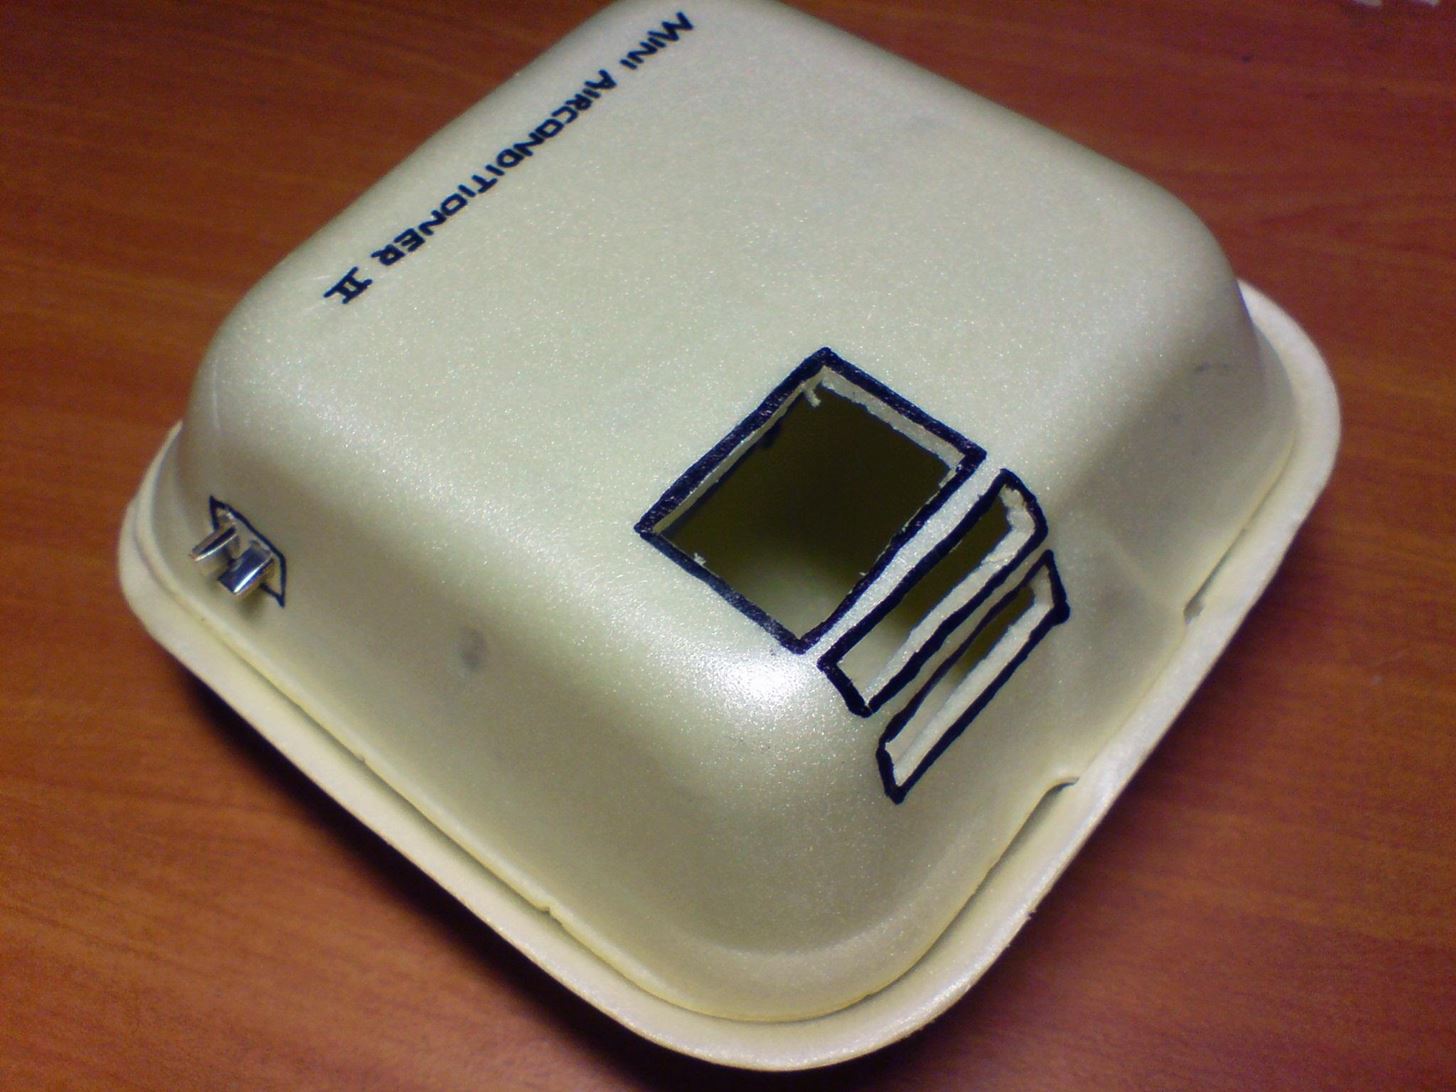
Step 3: Cut the Vents
You will now need one or more "vents" for the chilled air to exit through. Remember that you want the fan to blow warm air into the ice container and then through the vents.
Step 4: Customize!
At this point, you should have a good enough idea of the concept to start experimenting. Different sized containers and fans will give different results. See what works best for your needs and space. Perhaps even try to rig up a portable unit and take it with you next time you spend the day outdoors!
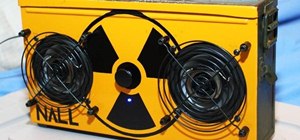
For more instructions and tips on building the two air conditioners seen above, you can read farhanians' "Personal Portable Spot Cooler" and "Mini Desktop Air Conditioner" on Instructables.
Just updated your iPhone? You'll find new emoji, enhanced security, podcast transcripts, Apple Cash virtual numbers, and other useful features. There are even new additions hidden within Safari. Find out what's new and changed on your iPhone with the iOS 17.4 update.


4 Comments
Brilliant! Just got to make sure you keep those ice-cube trays in high rotation to keep cool throughout the day.
This would be a good idea for a little studio apartment!
This would be a great idea here in California. Every place I've lived in had no air conditioner and either had casement, jalousie or just impossible-to-work-with sliding windows that normal AC units couldn't fit in. The only other option would be to get one of those floor units, but if you've got jalousies, it's pointless even trying. And with casements, it's just a pain to try and and close the gap where the vent goes. Even if you get a floor unit to work, you're wasting valuable floor space in a tiny apartment. Cooling off with these ice "coolers" during the really hot days might just be the best bet for some people.
just stick a cup or bowl or bottle of ice/water in front of a fan; it will do the same thing as this with none of the building anything or hassle
why are you making a complicated container to hold ice in front of a fan when all you need is ice sitting in front of the fan?
either way you are going to need a constant refreshing of ice. what i do is just keep old soda or juice bottles and partially refill them with water. than i can just rotate the frozen bottles in front of either a box fan or a desk fan. With 2 liter bottles i only need about 3 or 4 in constant rotation to last 24+ hours. by the time the last one finishes the first one is frozen again
i do this even when i have air condition because the area around my computers still ends up warm and i like to have constant cool air flow
Share Your Thoughts