

For those of us with small children, bath time can be very fun. Kids usually love splashing about and playing with their toys in the water! One thing they don't love however, is getting water in their eyes or on their face.
Every parent has been through it. You go to rinse the soap out of their hair and accidentally get some water on their face! What follows is a mass outpouring of teardrops (and in my case screaming). It's not their fault, they are just not used to water being on their face.
I've come up with a solution to prevent water from hitting your child's face during the rinsing process. It sure beats buying a bath cup at the store! The best part is that you more than likely have everything sitting around your house that you will need!
Materials
- Plastic tumbler cup
- Thin flexible plastic
- Marker
- Scissors
- Hot glue gun
- Glue sticks
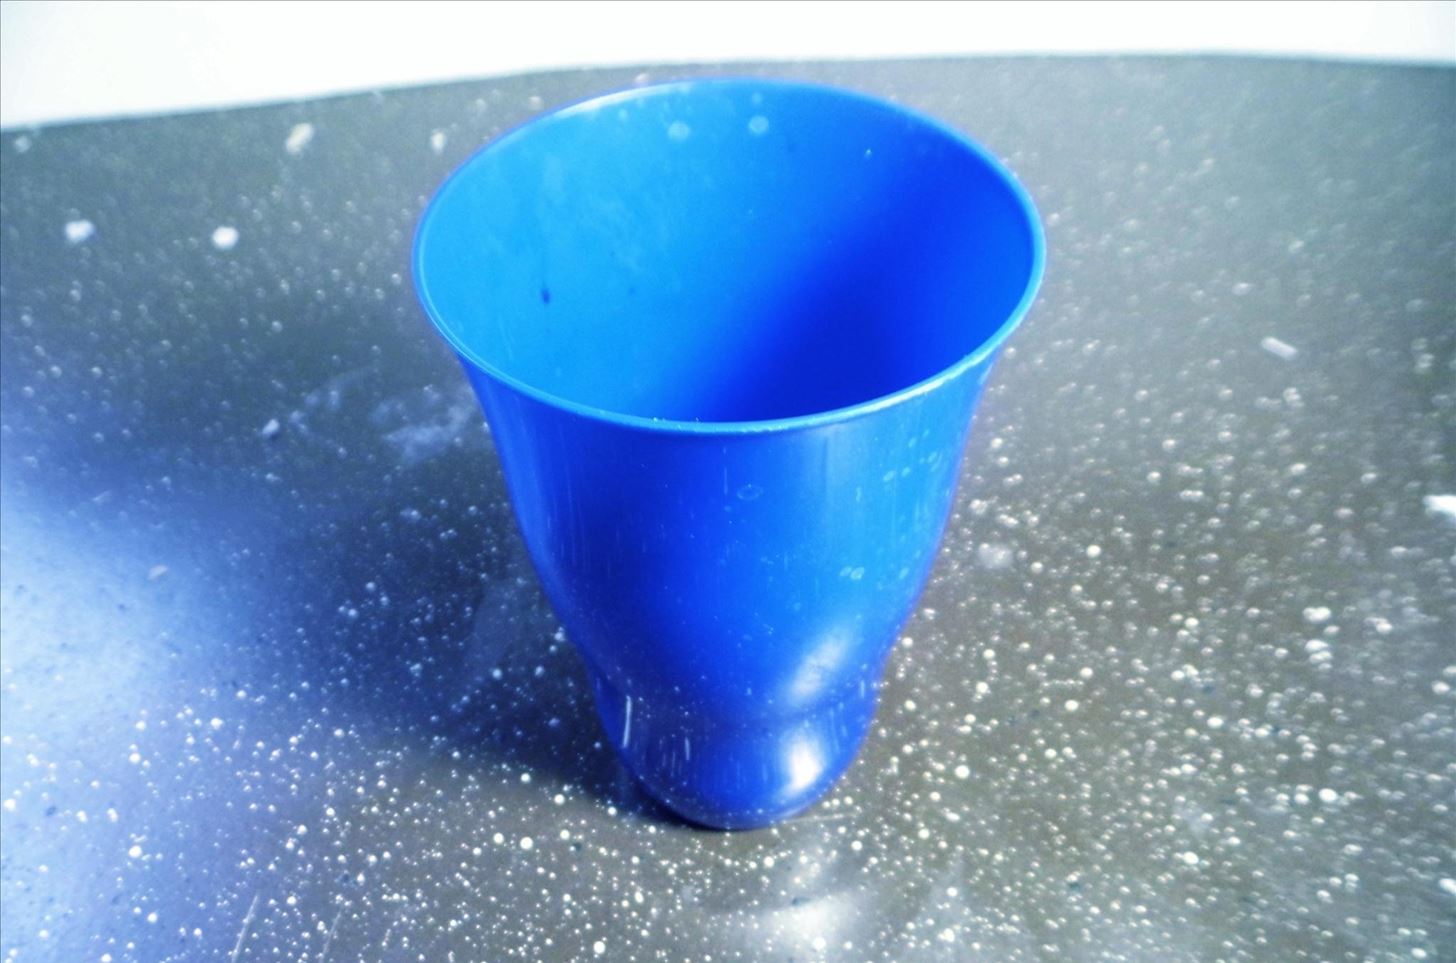
Step 1: Pick Your Cup
Pick a tumbler cup that is a good size for your child's head. As I do not know your child, I cannot say for sure what size. Just make sure it isn't too small.
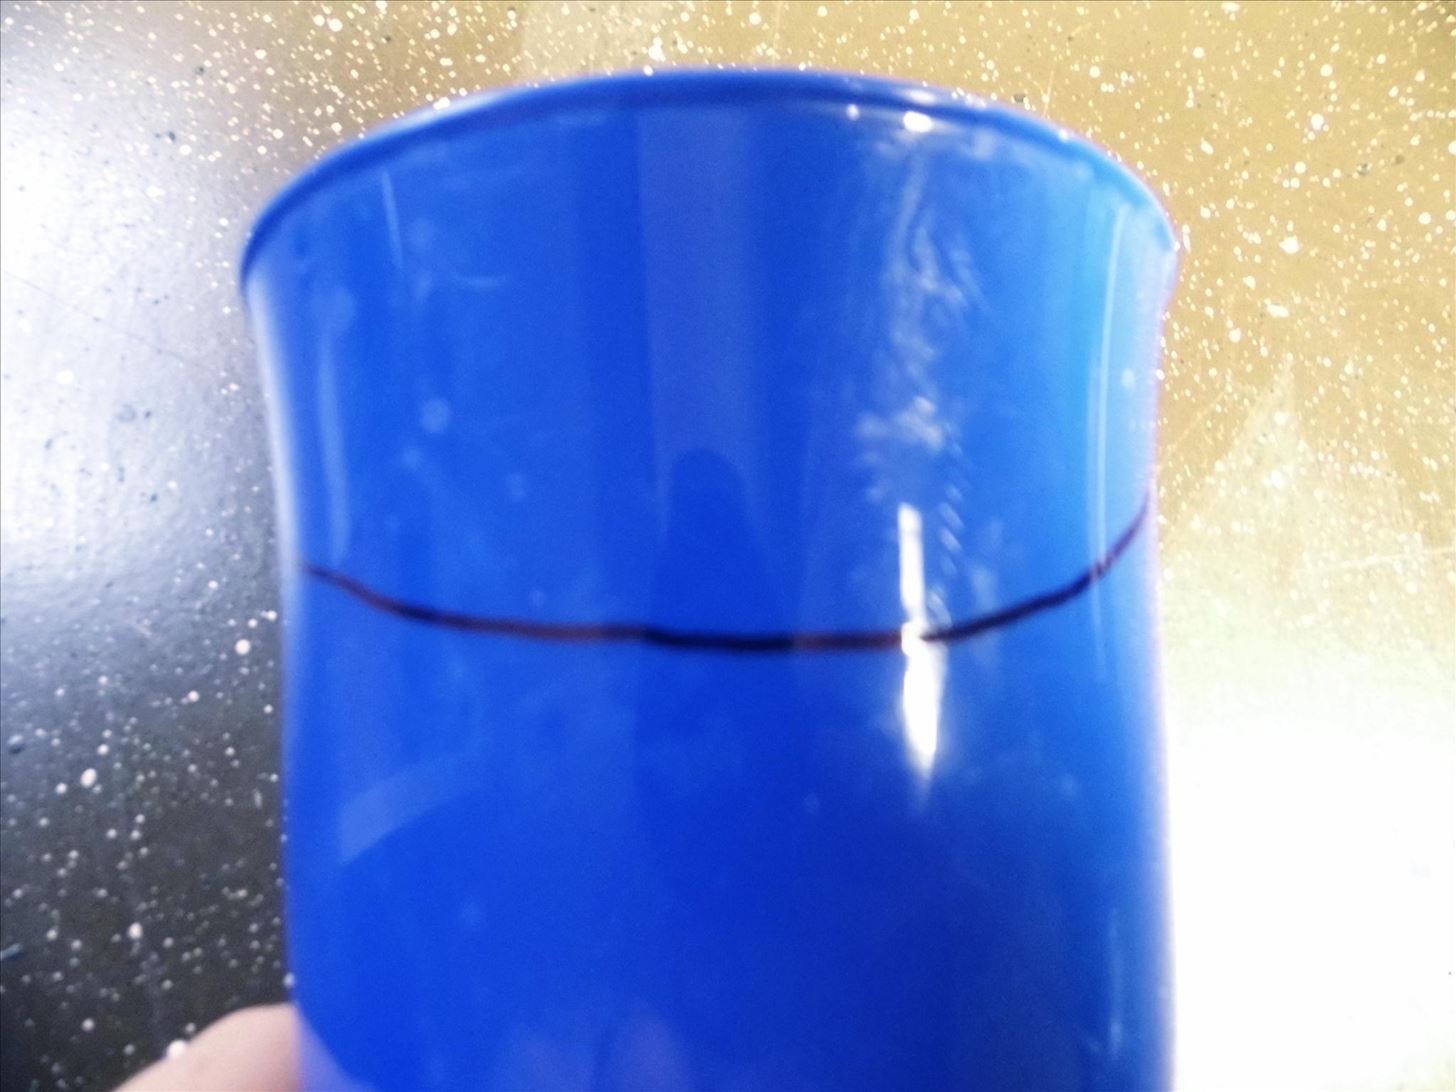
Step 2: Mark Cup
Using your marker, draw a large, flattened "U" shape on one side of the cup at the brim.
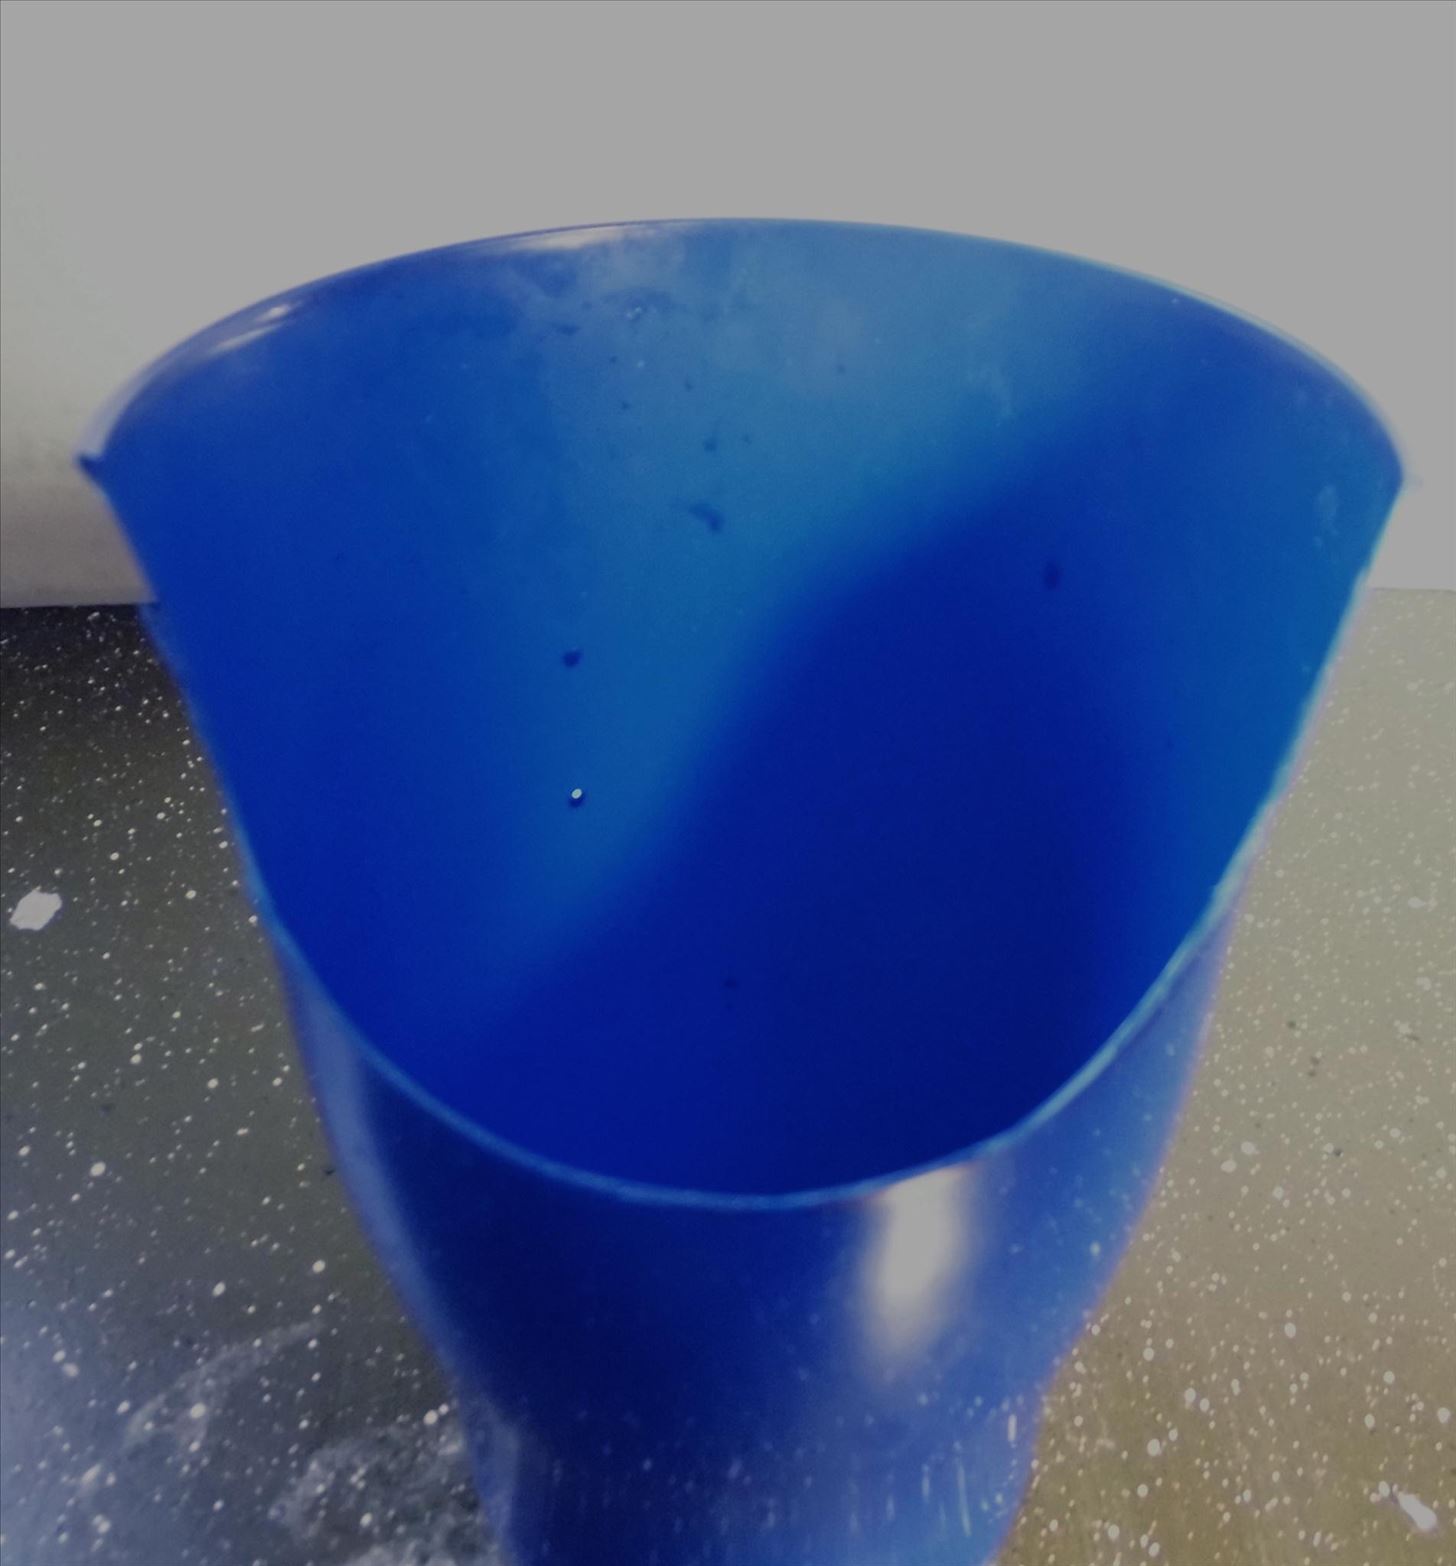
Step 3: Cut
Using your scissors, cut along the line you made in the previous step. Save the piece you cut out.
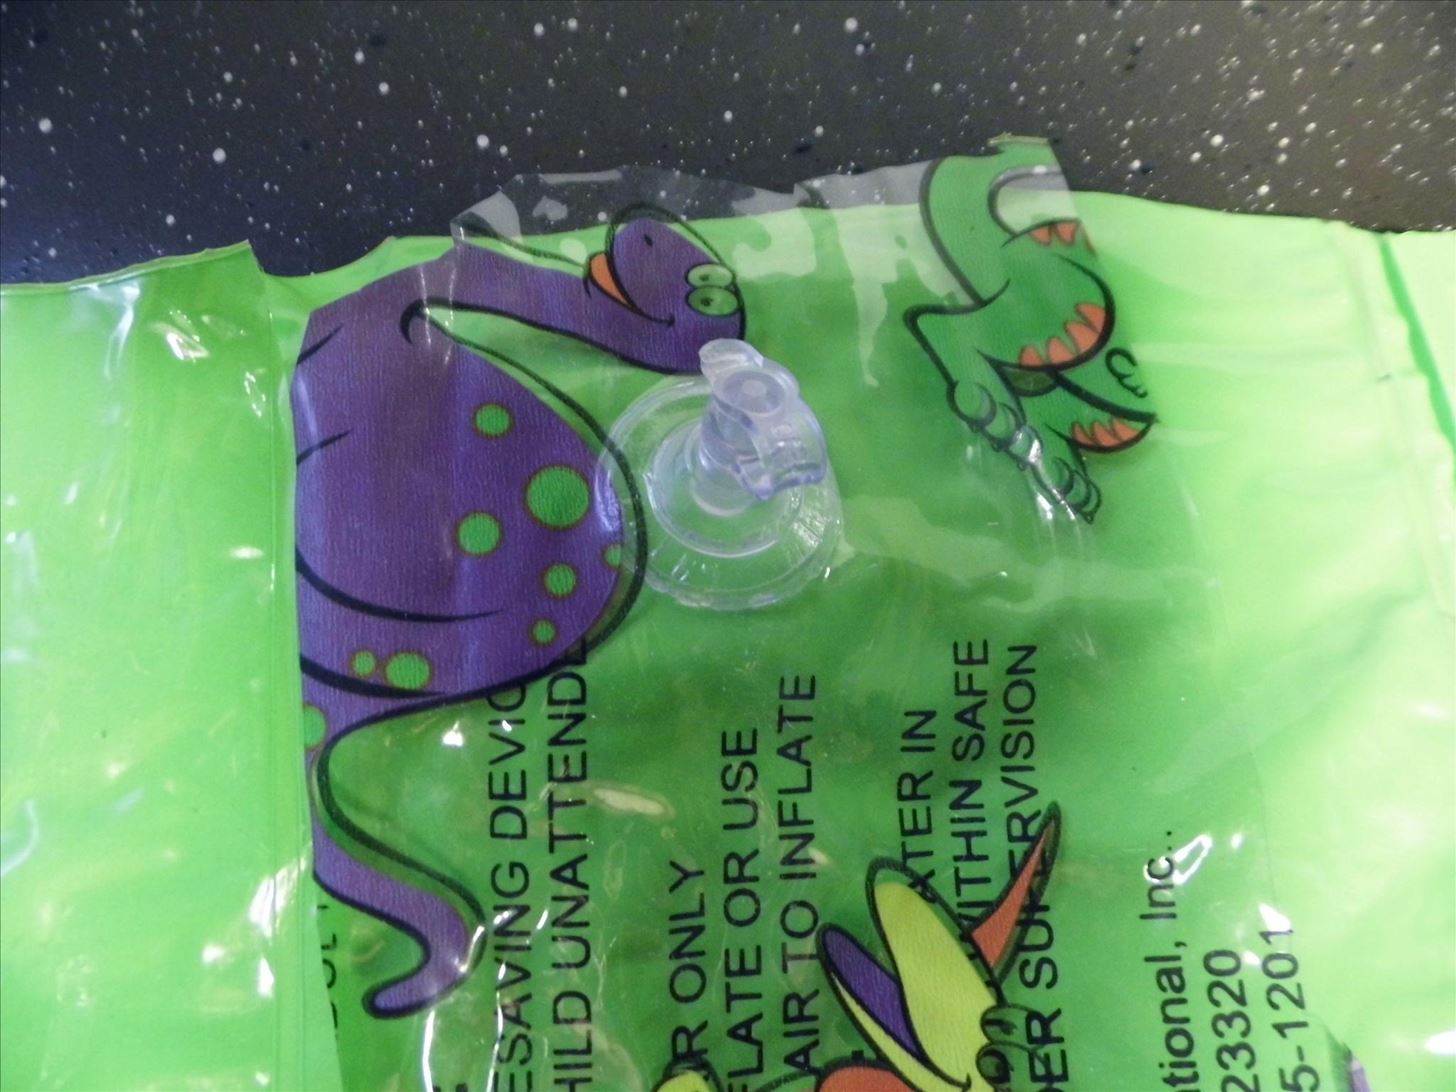
Step 4: Pick Out Plastic
Now pick out your plastic. I decided to use an old inflatable armband, but anything of similar flexibility and thickness would work. Some other good choices would be an old inner tube or a piece from a shower curtain. Store plastic bags are way too thin and should be avoided for this project.
Step 5: Cut Plastic
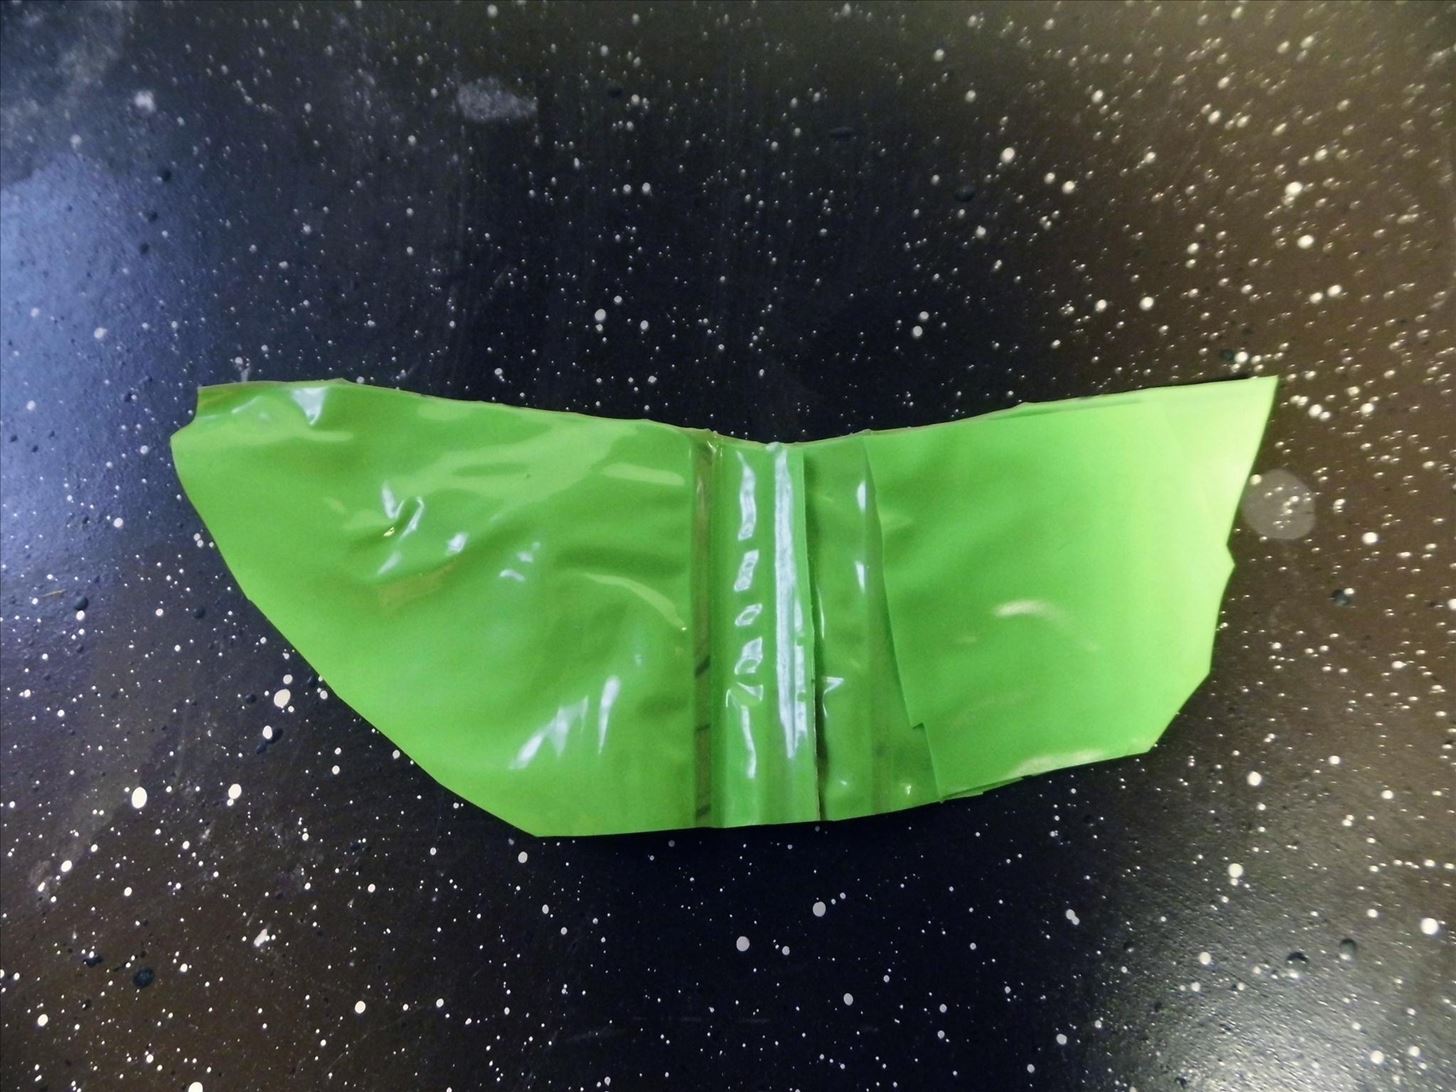
Using the piece you cut from the cup as a guide, trace its shape with the marker onto your plastic.
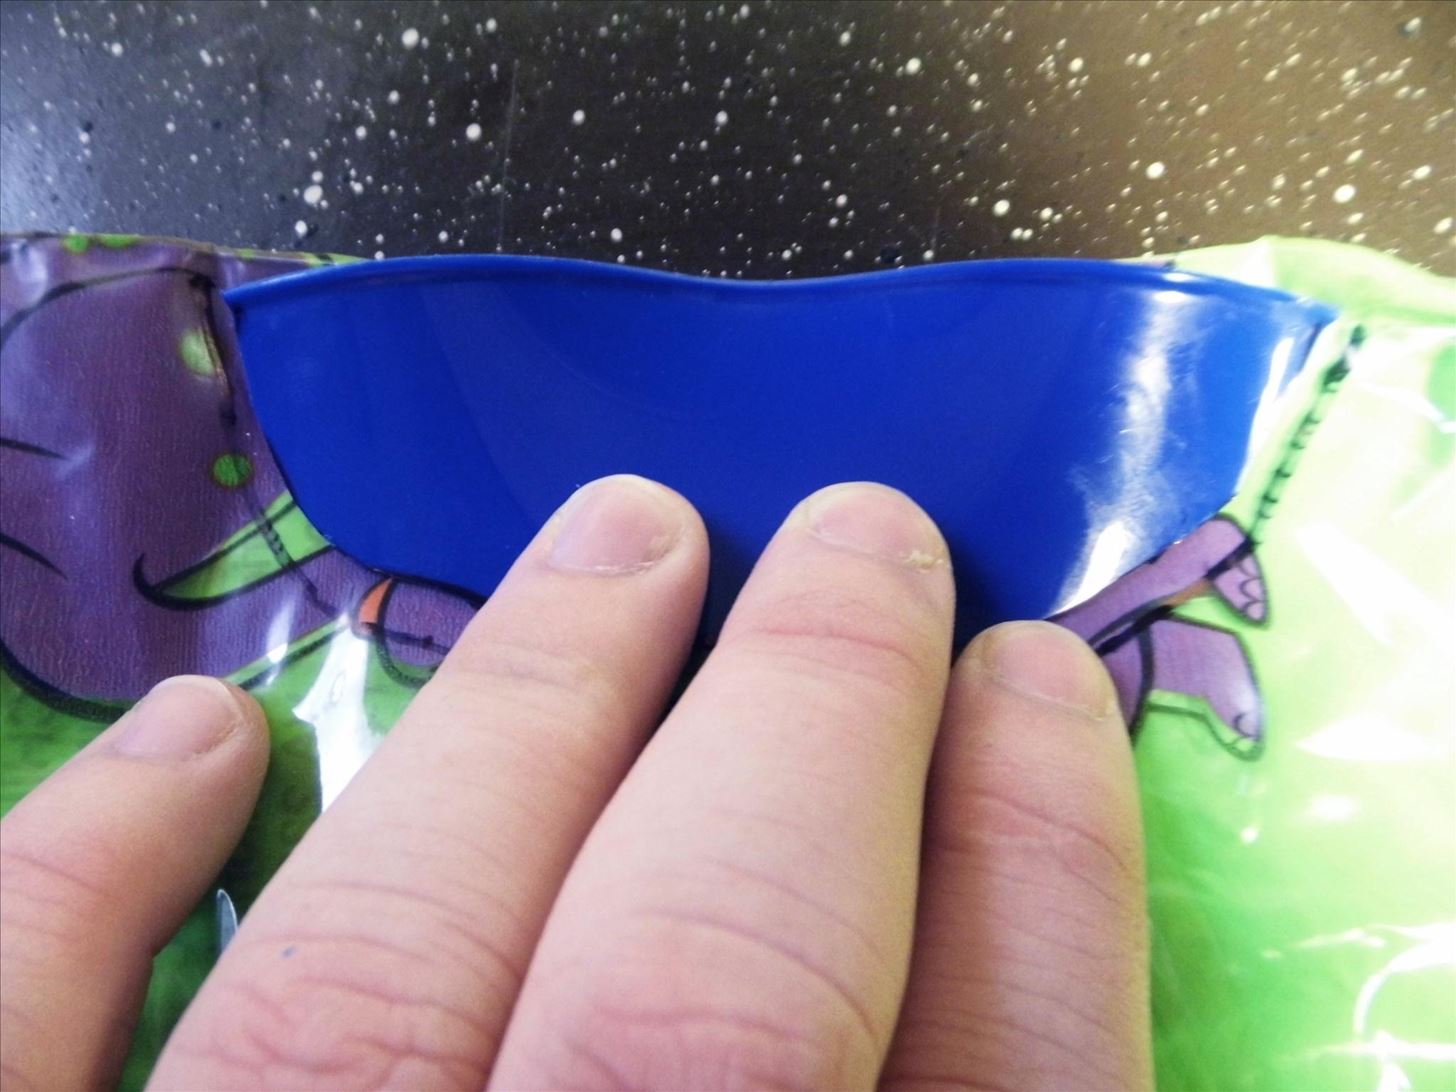
Using your scissors, cut along the line you drew. Be sure to cut a the piece slightly larger than the guide piece.
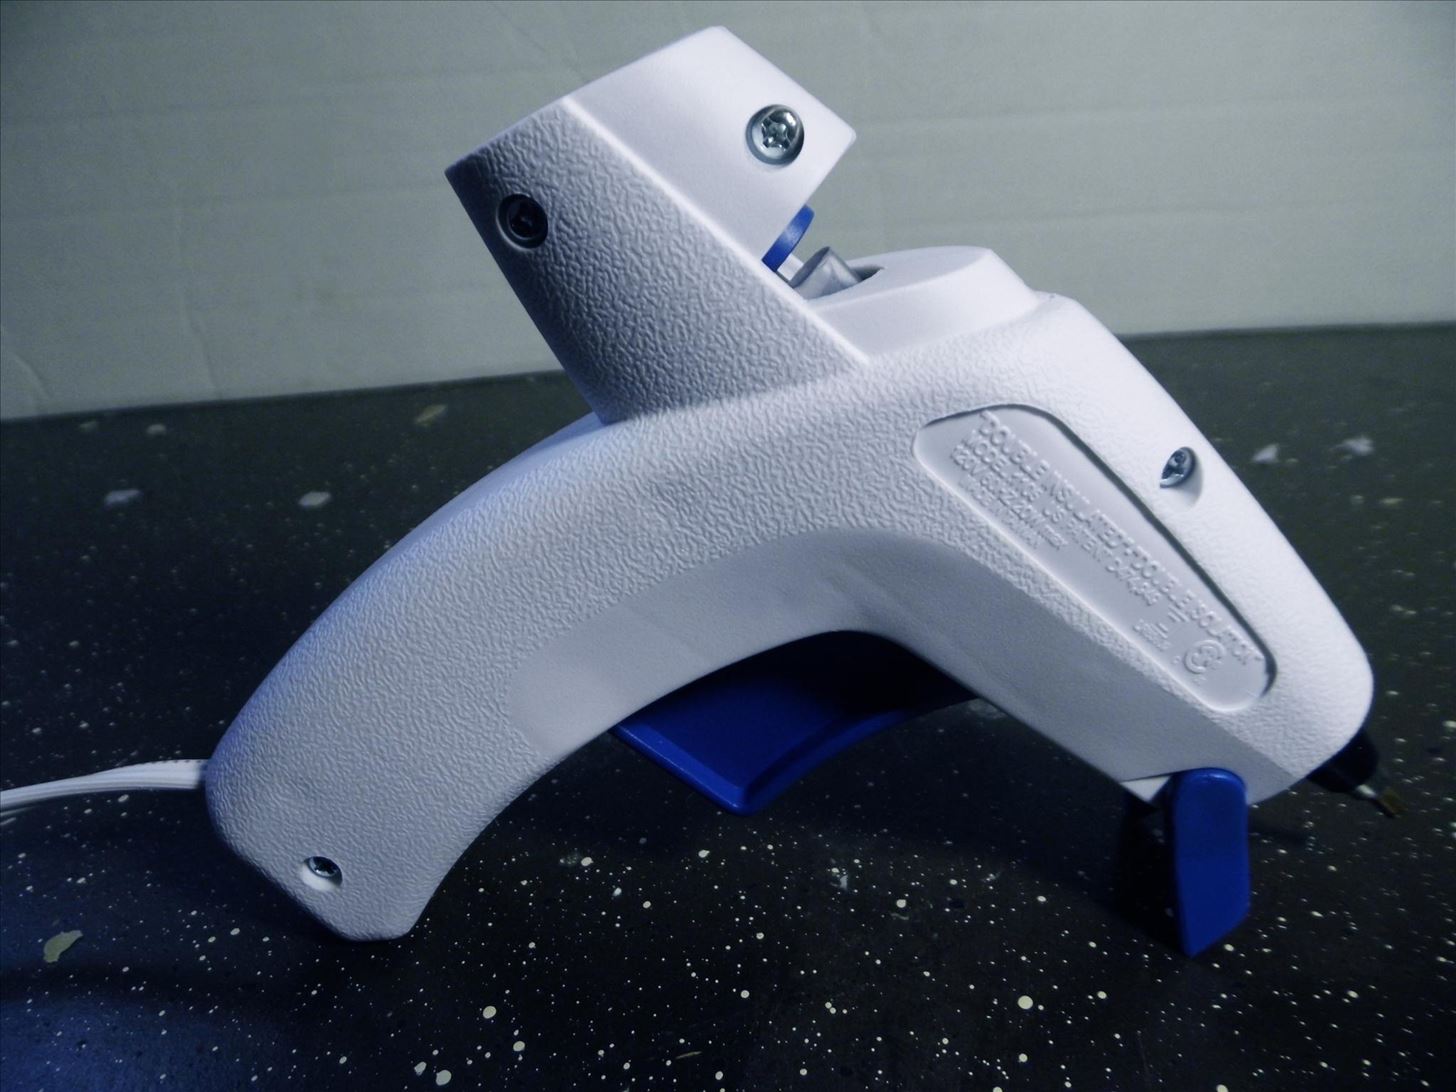
Step 6: Heat Hot Glue Gun
Insert a glue stick into your hot glue gun and begin heating it up.
CAUTION: Hot glue guns can get very hot, and can cause serious burns. Heat your gun up way from your kids. I like to heat it up on the stove because it is too far up for them to reach, and they already kind of know top stay away from it.
Step 7: Attach Plastic to Cup
Once your glue gun is sufficiently heated, CAREFULLY apply glue around the edge of the cut on the cup. Then, press the plastic onto the glue (I also flipped the plastic around so the seal was facing inwards for aesthetic purposes). It is important that you try and apply the glue in one solid line, as this will ensure that when the plastics melt together there is a waterproof seal.
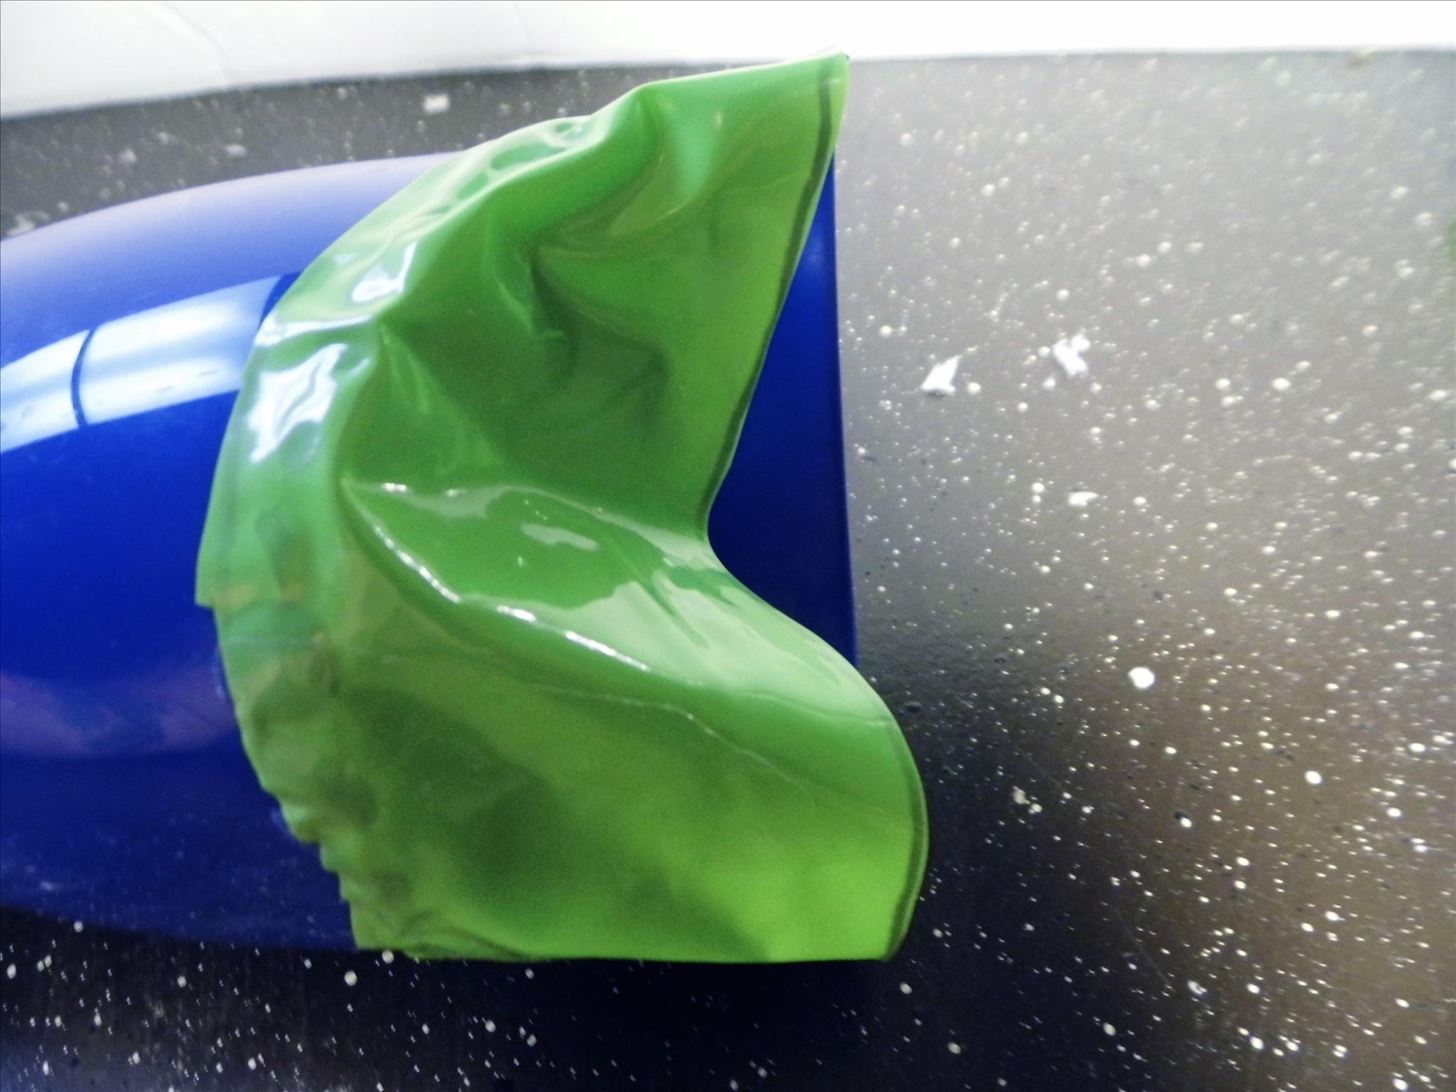
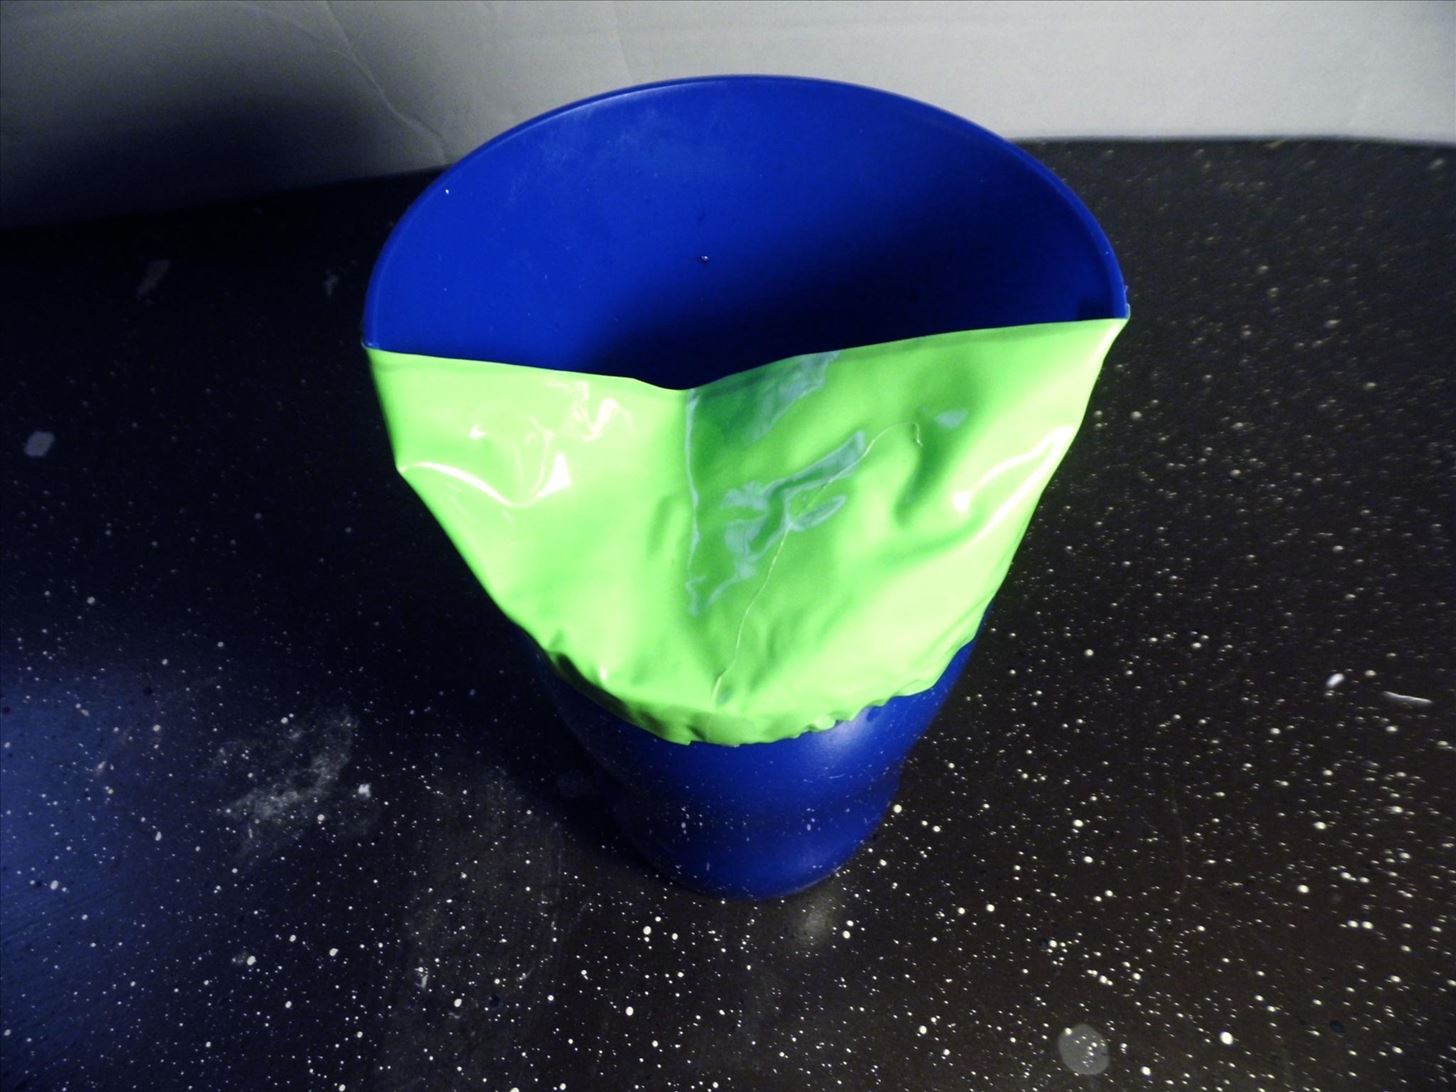
It will look like this when dry:
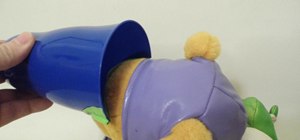
Your bath cup is now finished. When you fill the cup with water during bath time, simply press the soft plastic against your child's forehead and tip the cup back, as demonstrated by this stuffed animal (because I didn't want to post pictures of my child in the bath):
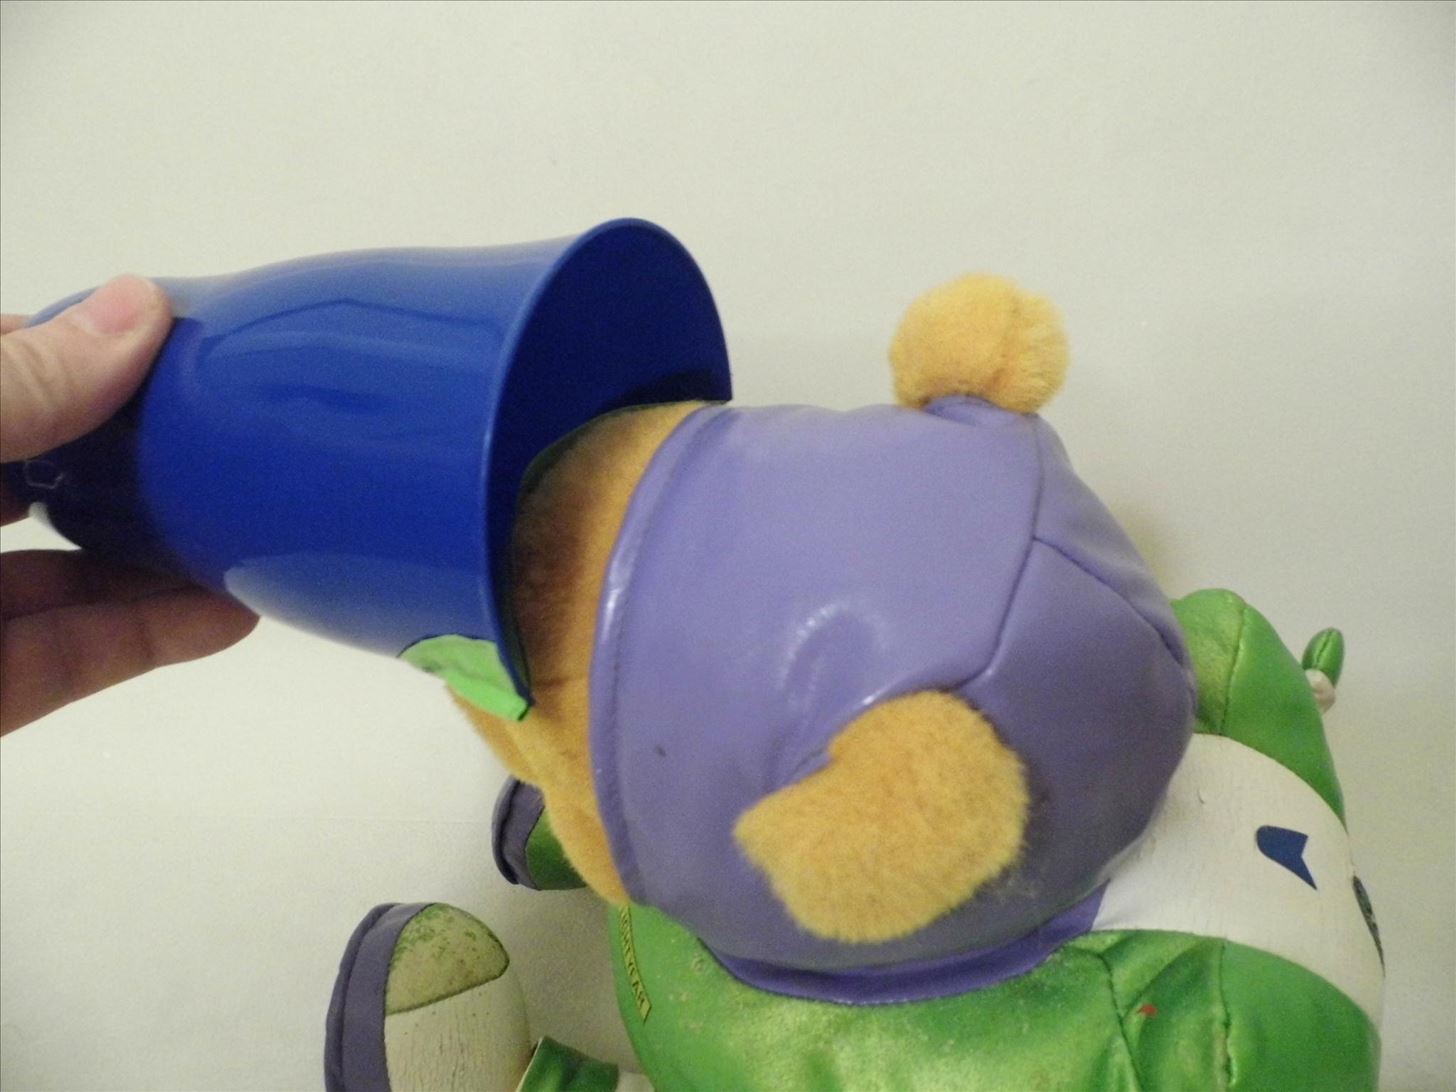
As you can see, the soft plastic folds inwards, protecting the face as water pours out. How would you make this invention better? Sound off below!
Just updated your iPhone? You'll find new emoji, enhanced security, podcast transcripts, Apple Cash virtual numbers, and other useful features. There are even new additions hidden within Safari. Find out what's new and changed on your iPhone with the iOS 17.4 update.


Be the First to Comment
Share Your Thoughts