

For some reason, there's only ever one person in a group of friends that has a cooler. Every time there is a hangout or BBQ, that friend is called and has to lug his expensive, huge plastic cooler around for everyone. Not really fair, is it?
What if you want to have a private BBQ at the park? What if you want to take your beau or ladylove on a picnic? What if you only need a cooler for one use? You shouldn't have to buy a huge plastic cooler (or call your friend).
Today, I'm here to show you how to make an awesome temporary cooler for cheap. It will look cool, and you'll love it!
Materials
- Soda (or beer) box
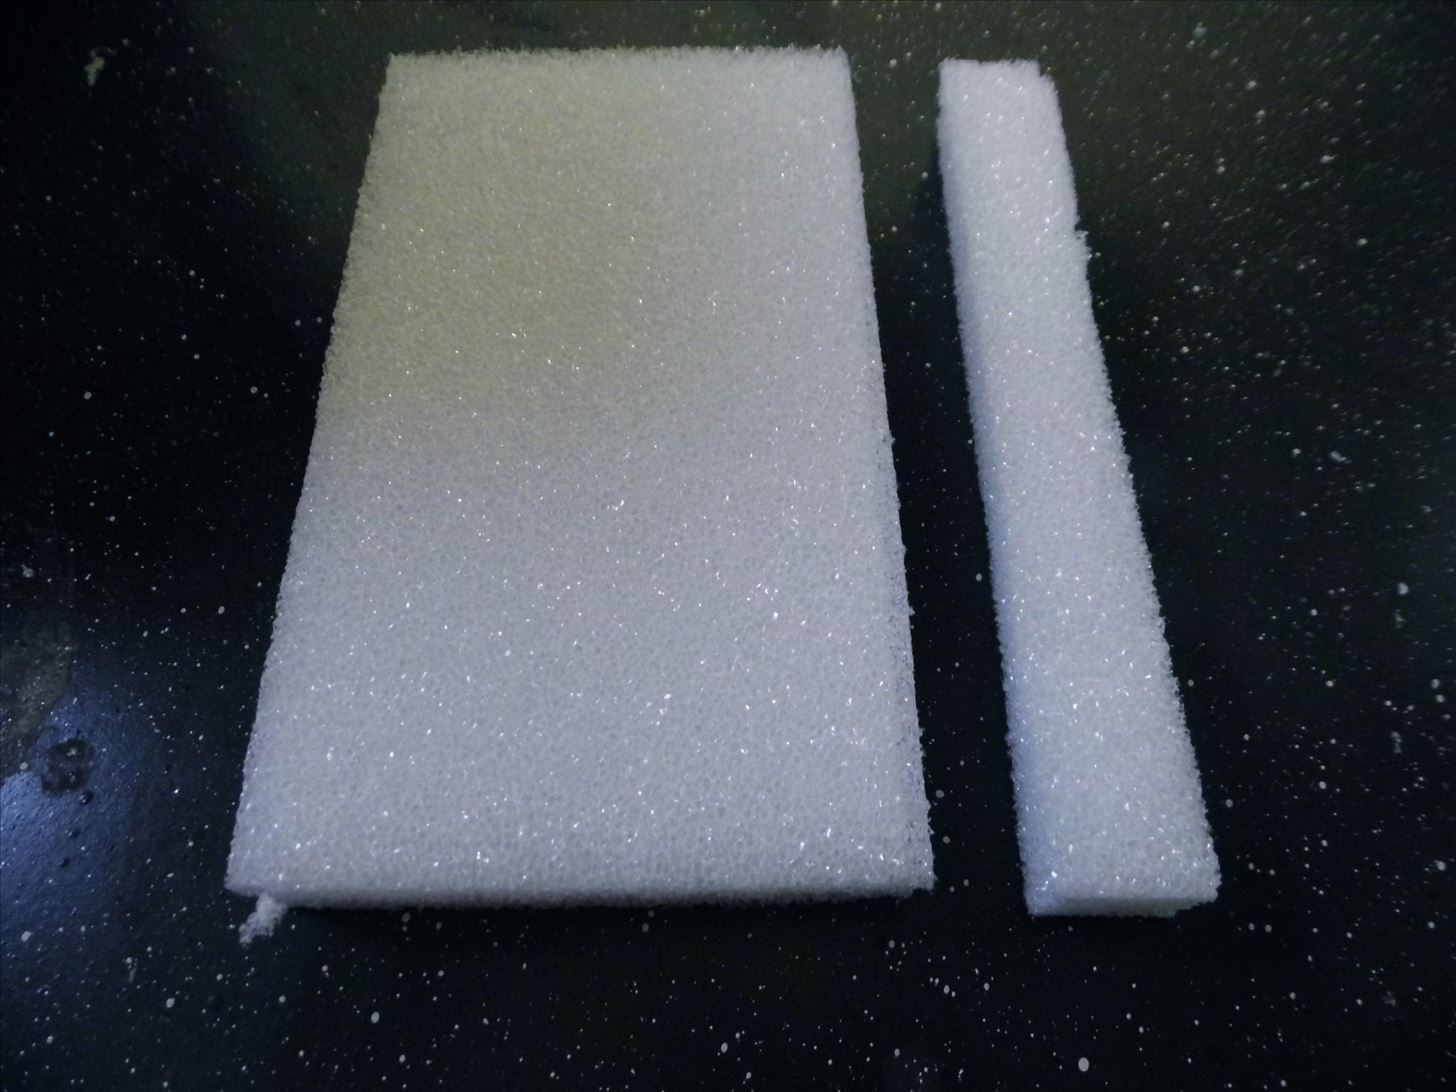
- Styrofoam
- Razor blade
- Marker
- Ruler
- Craft glue
- Something heavy
Step 1: Select Soda Box
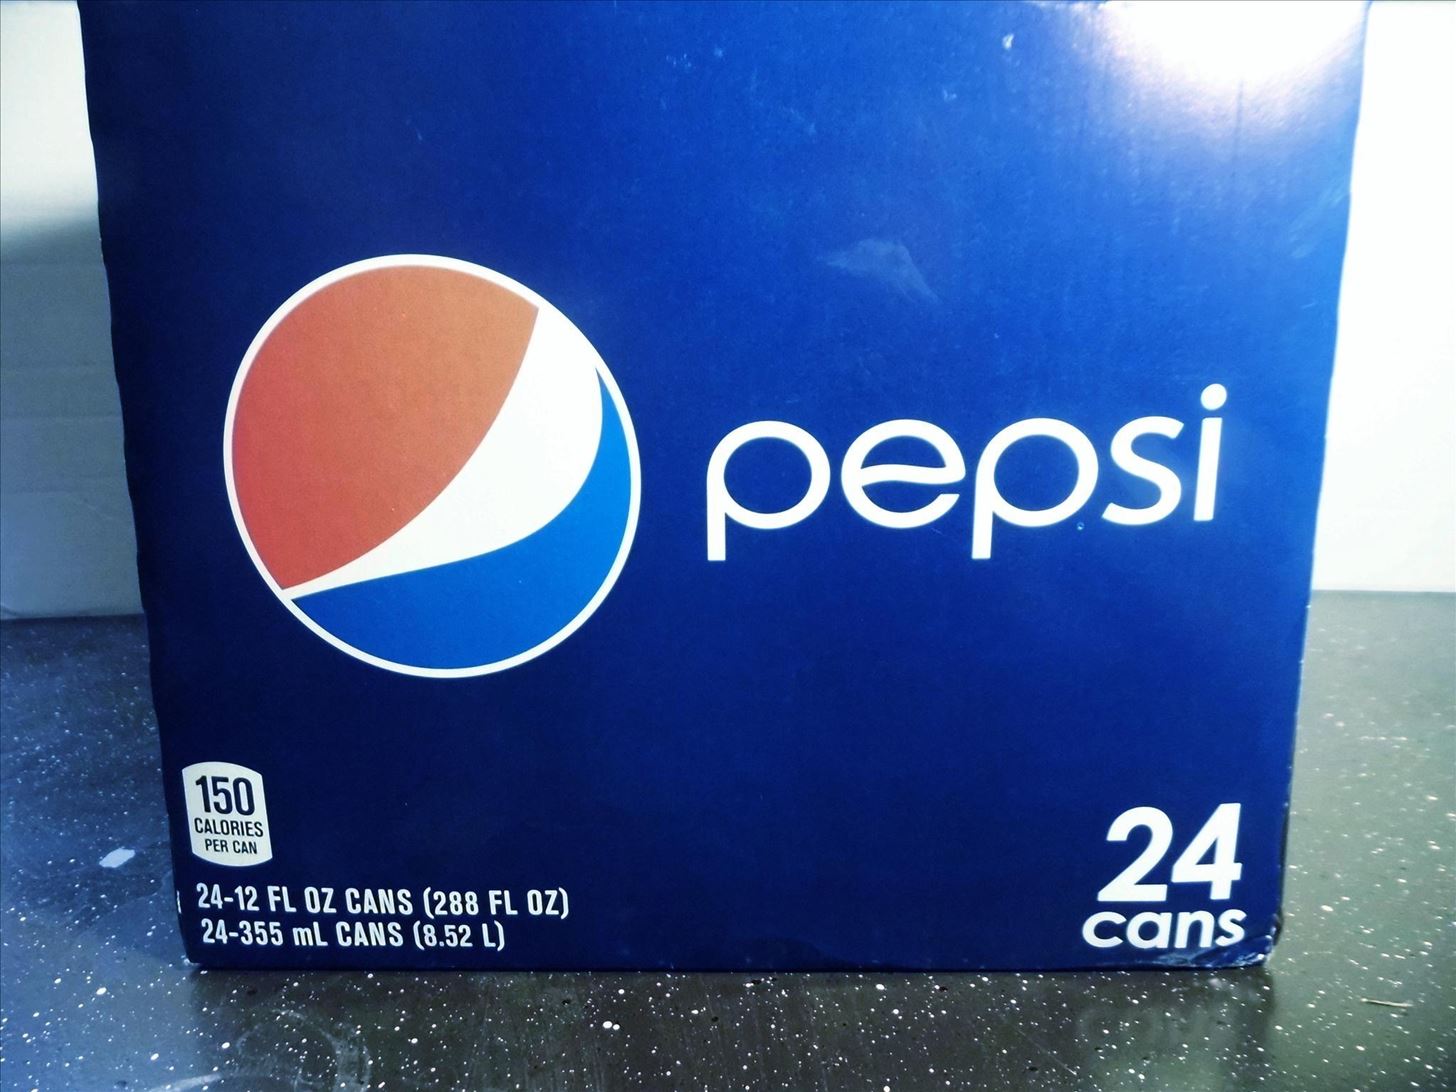
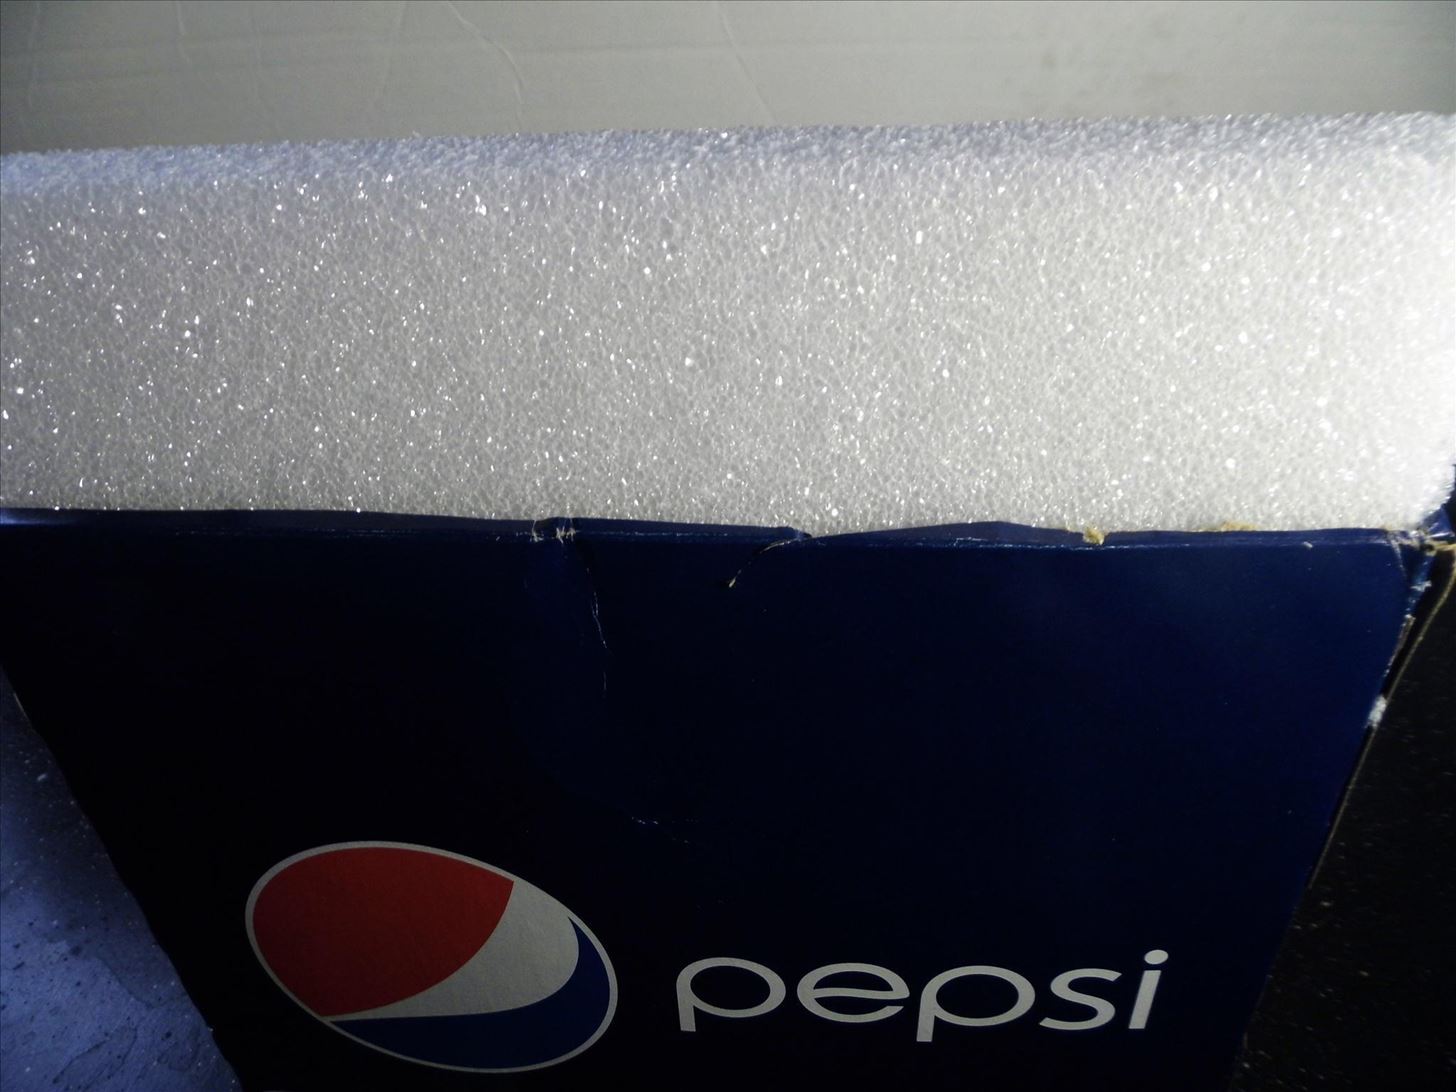
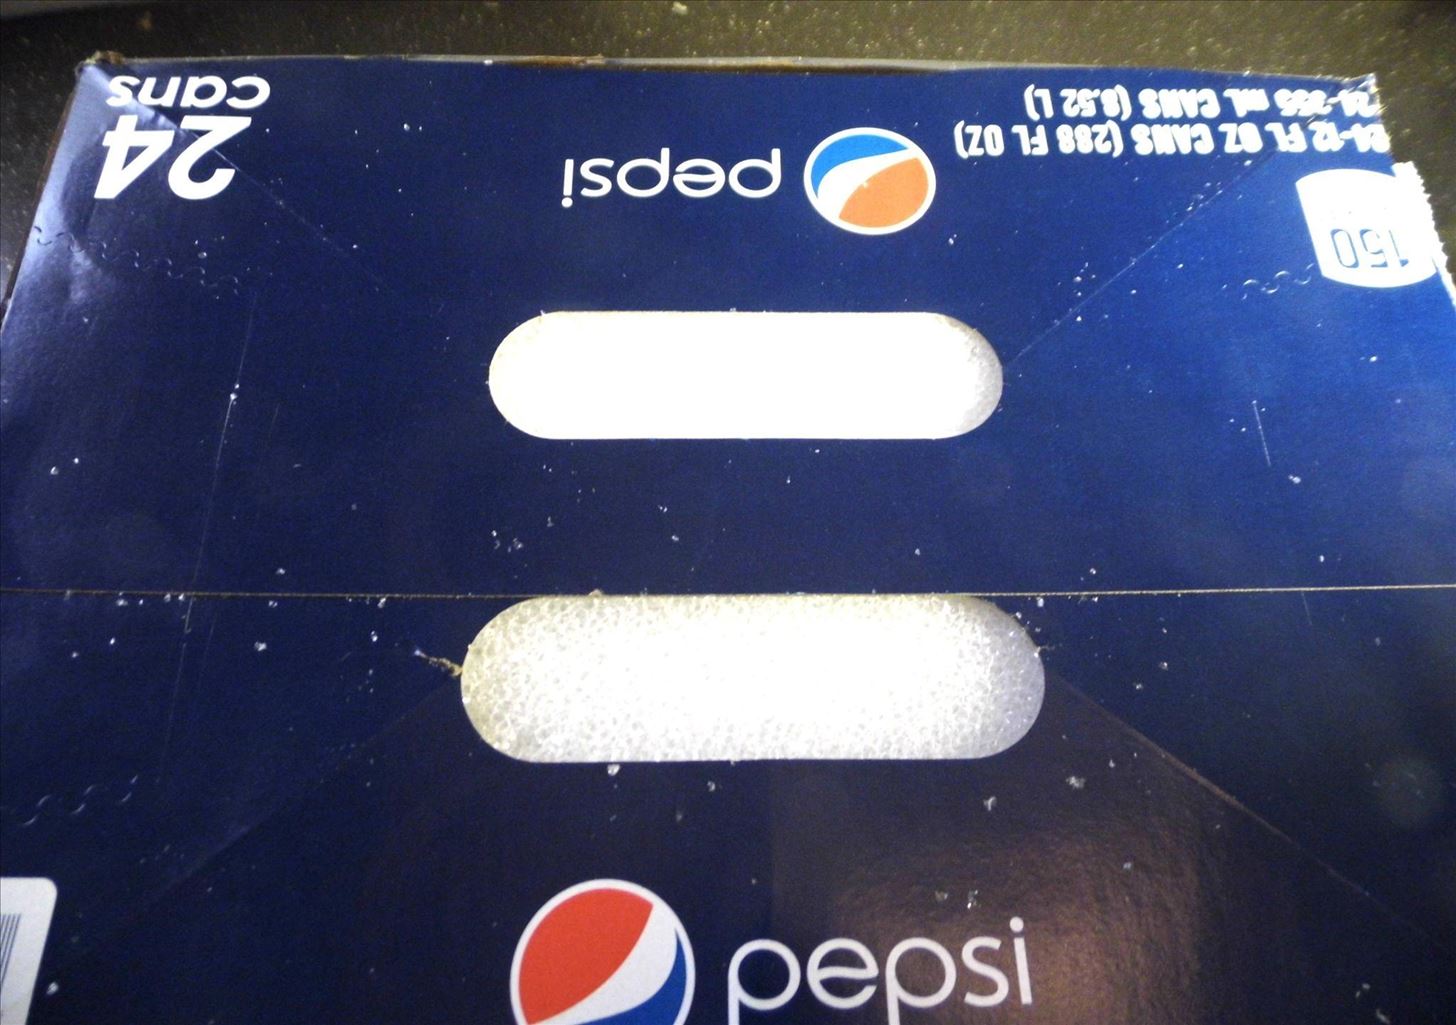
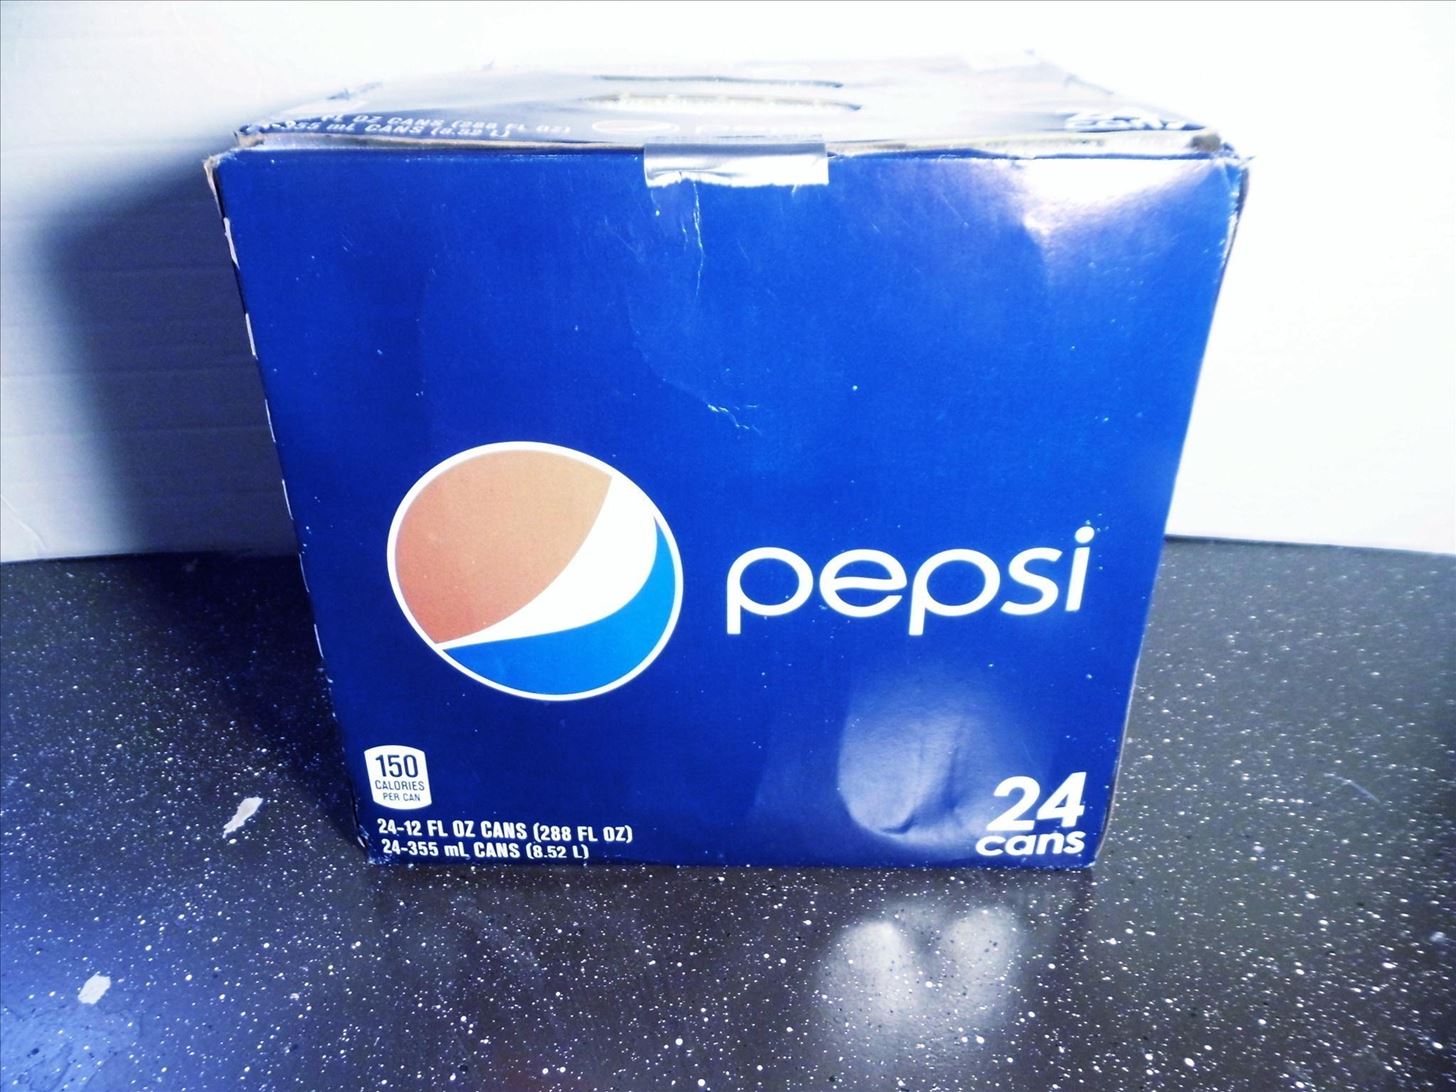
Select the soda (or beer) box you wish to use as a cooler. I chose a 24-can Pepsi box. The bigger the better.
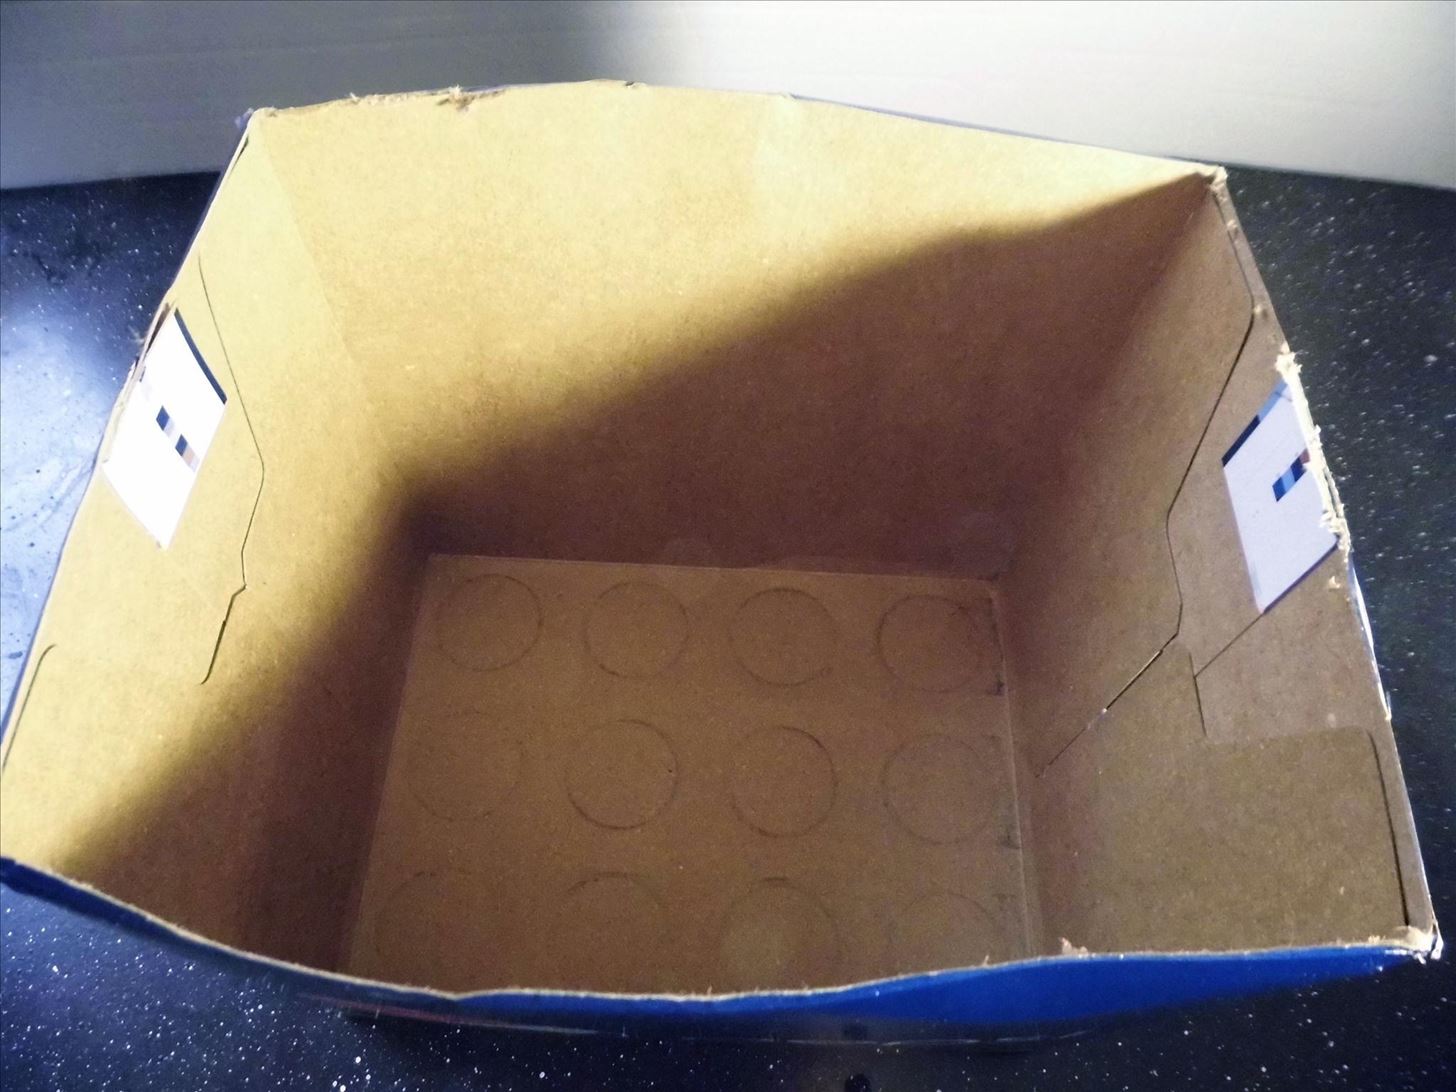
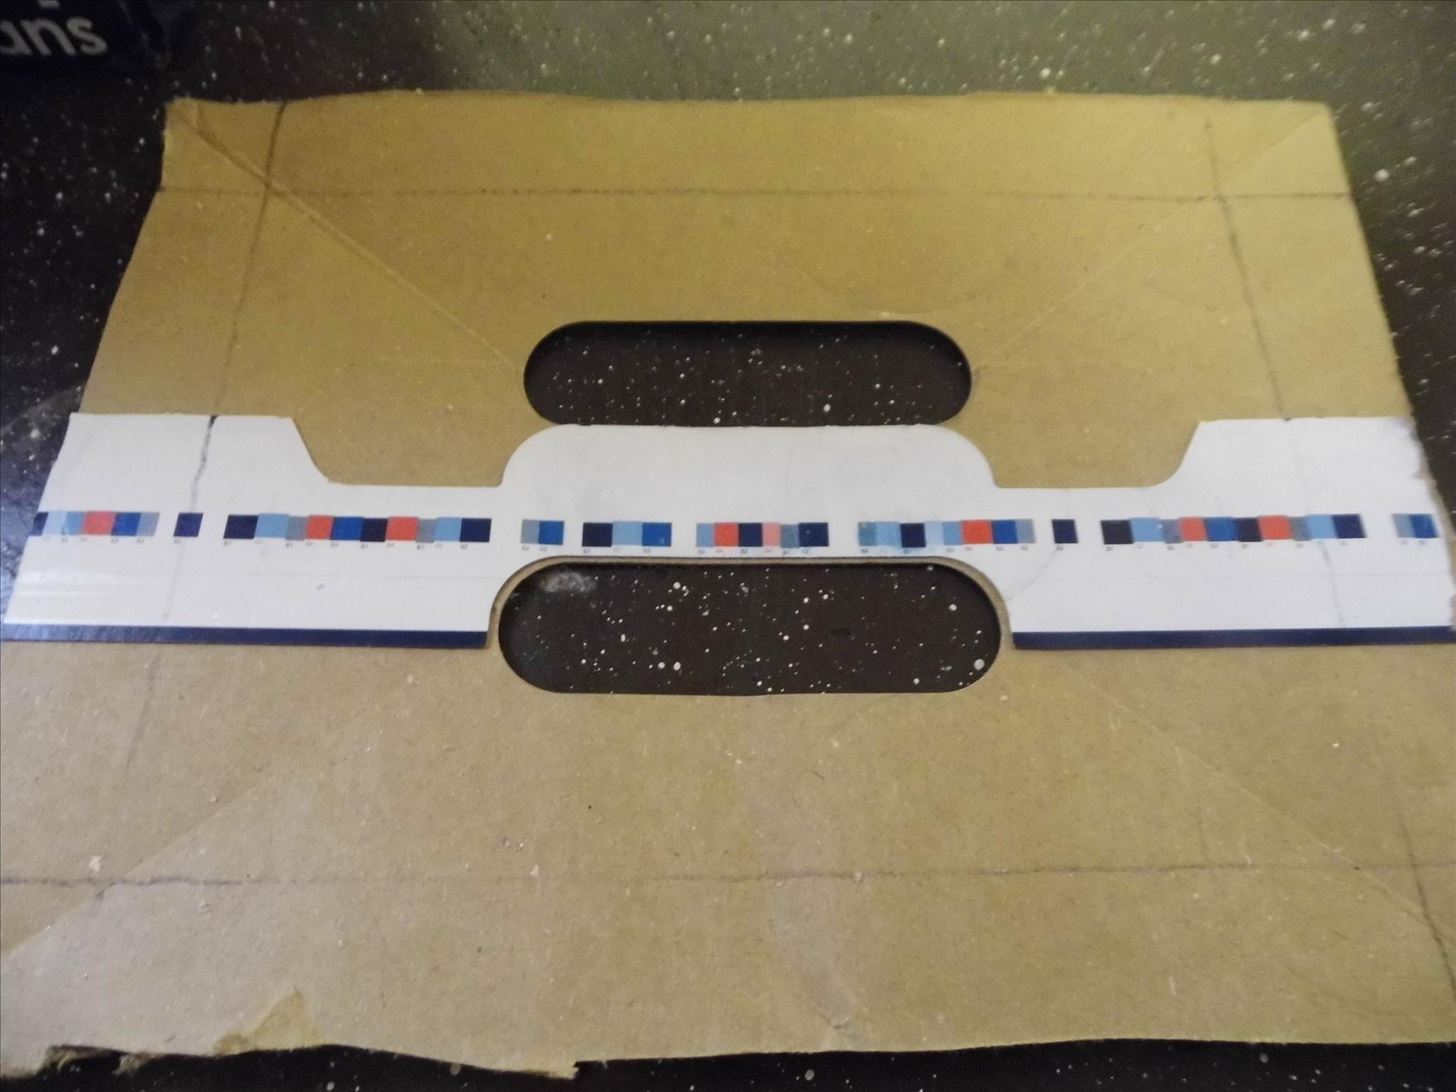
Step 2: Cut Top Off
Using your razor blade, carefully cut the top of the box off. Save it for later.
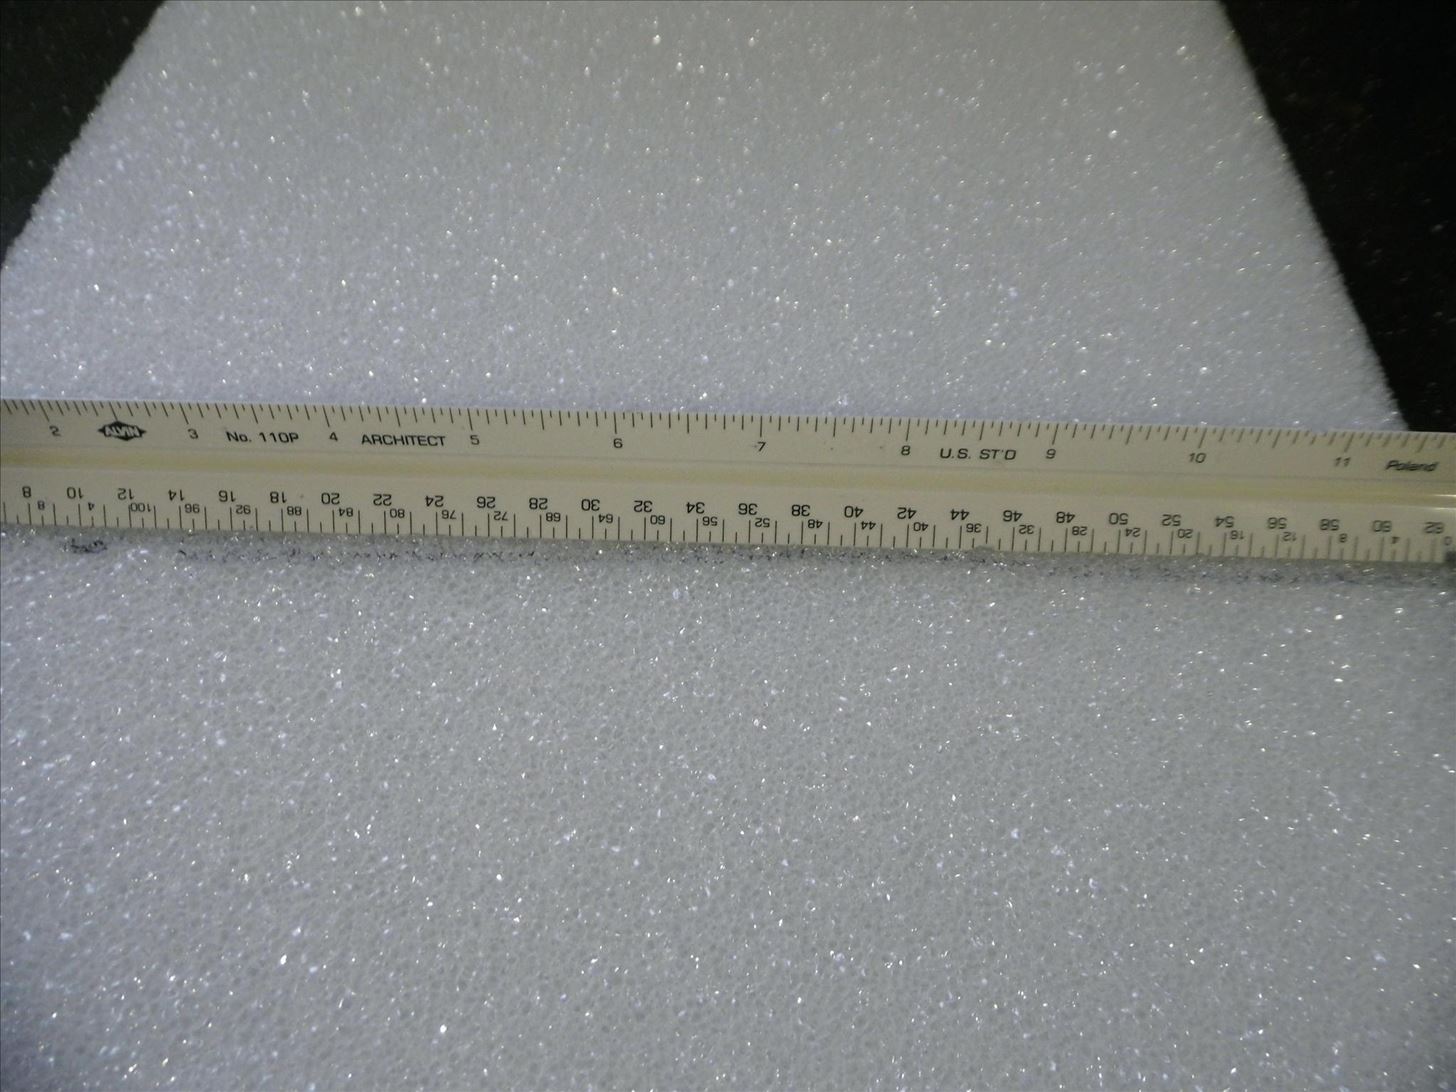
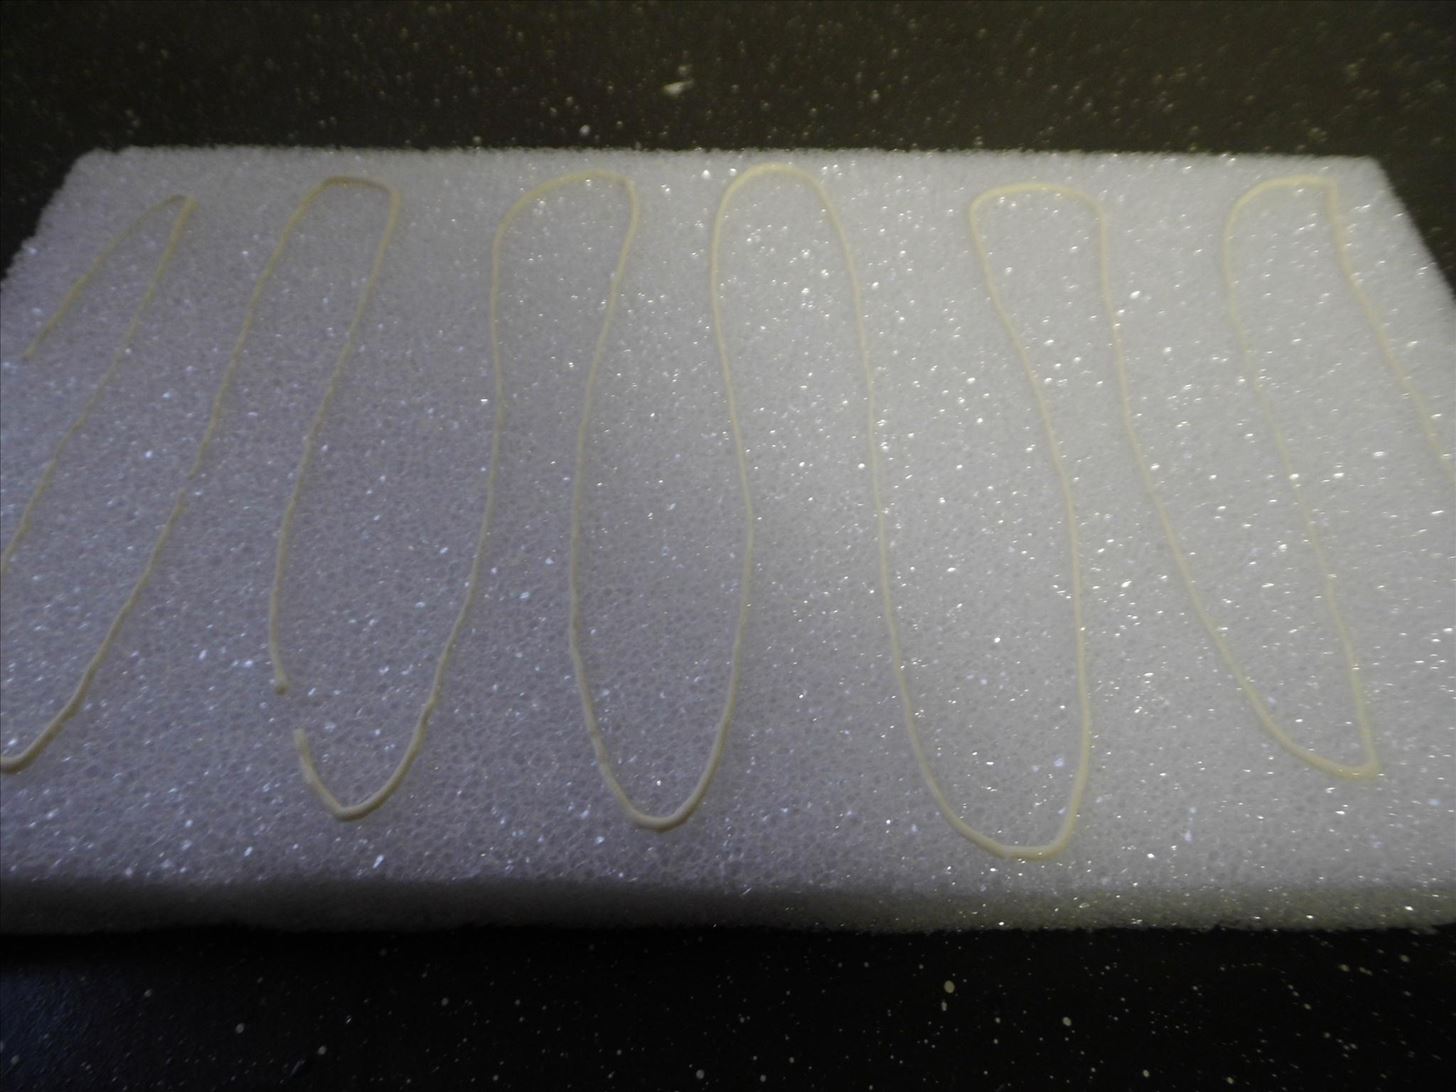
Step 3: Measure Foam for Long Sides of Box
Using your box as a guide, mark a line with your marker along the box into the Styrofoam. Repeat so that you have two same sized sections marked off.
Step 4: Cut Foam
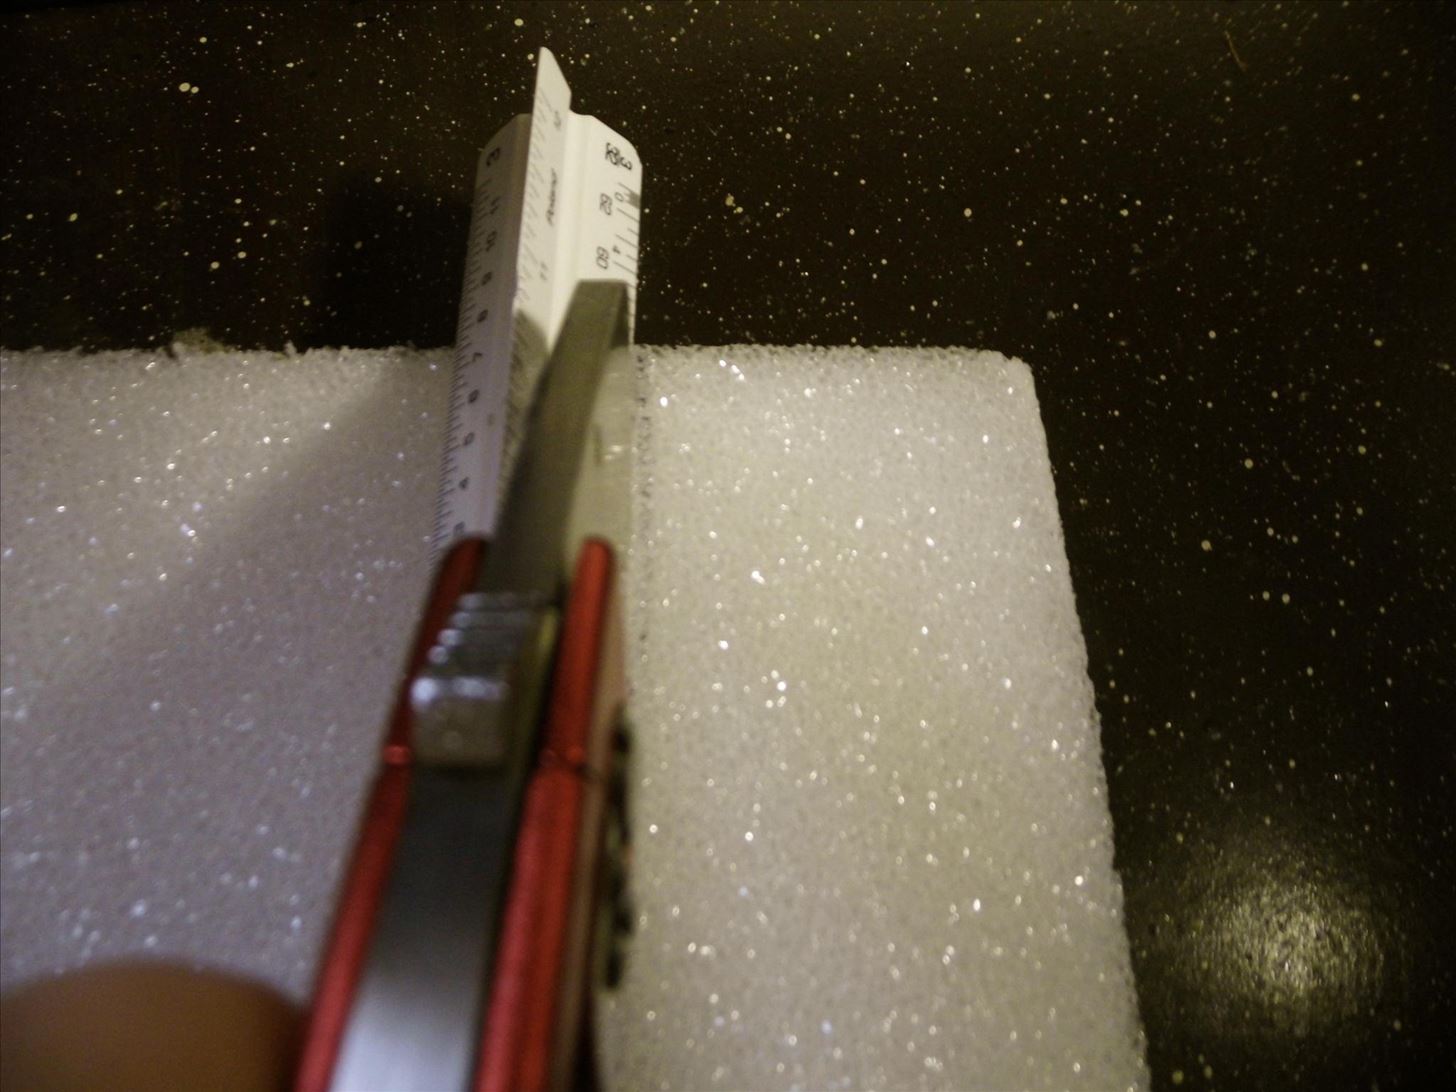
Using a ruler to make sure your line is straight, cut along the lines marked in your previous step with your razor blade.
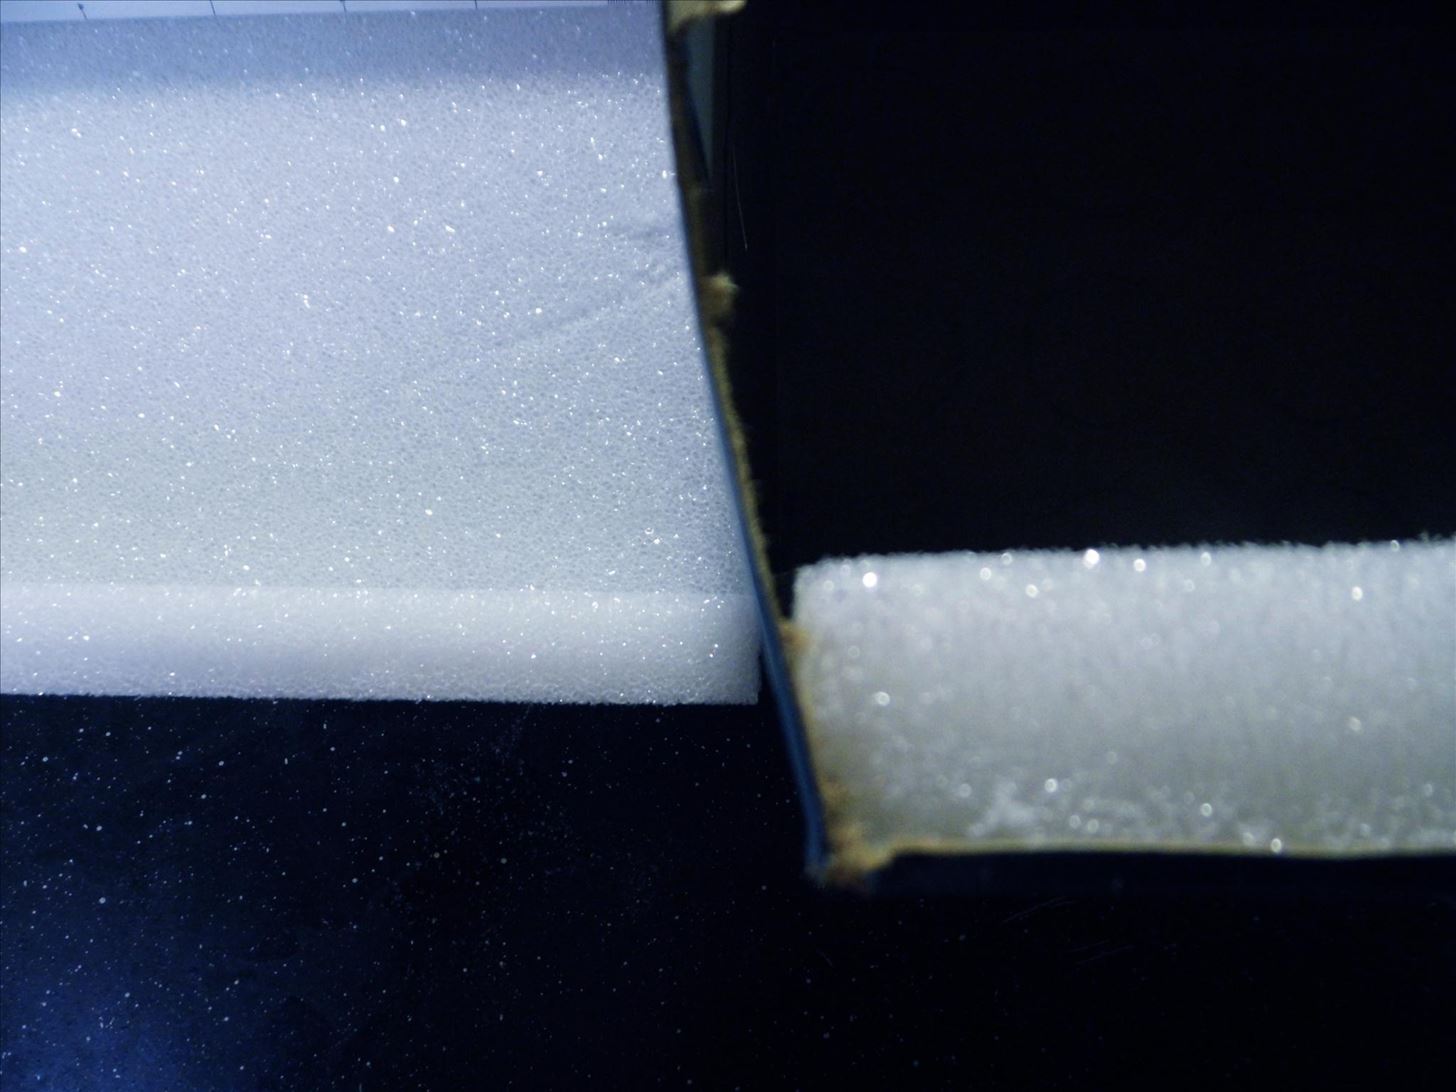
Next, insert your cut foam into the box to see how much excess you need to cut off.
Make a mark with your marker, and use your ruler and razor blade to cleanly cut off the excess.
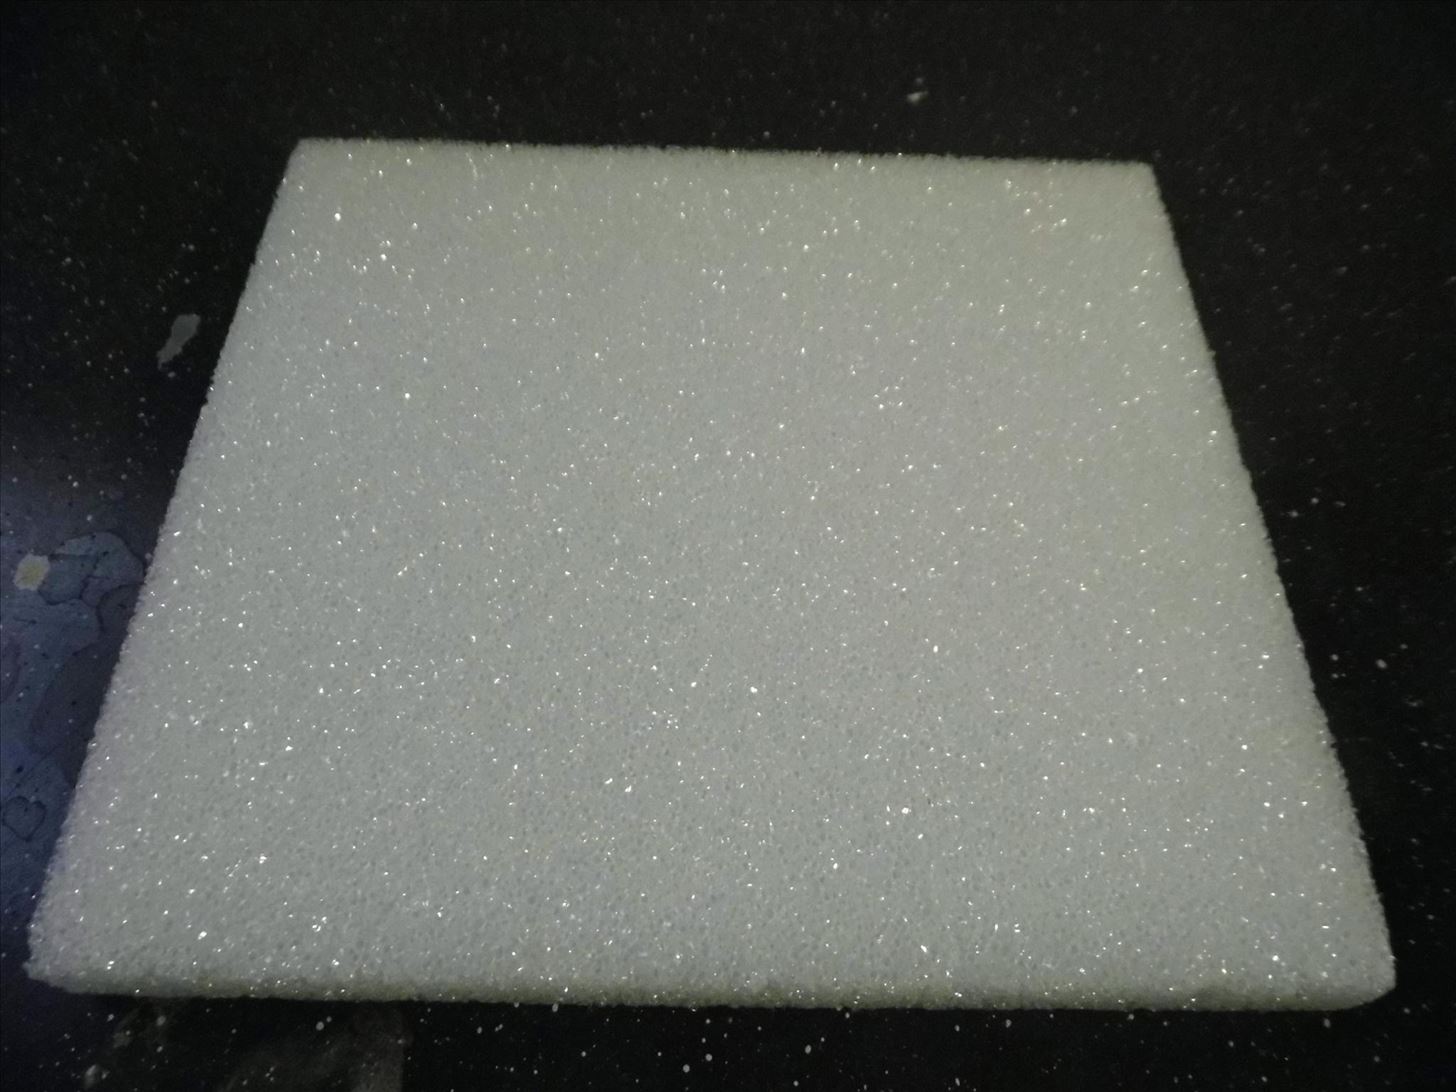
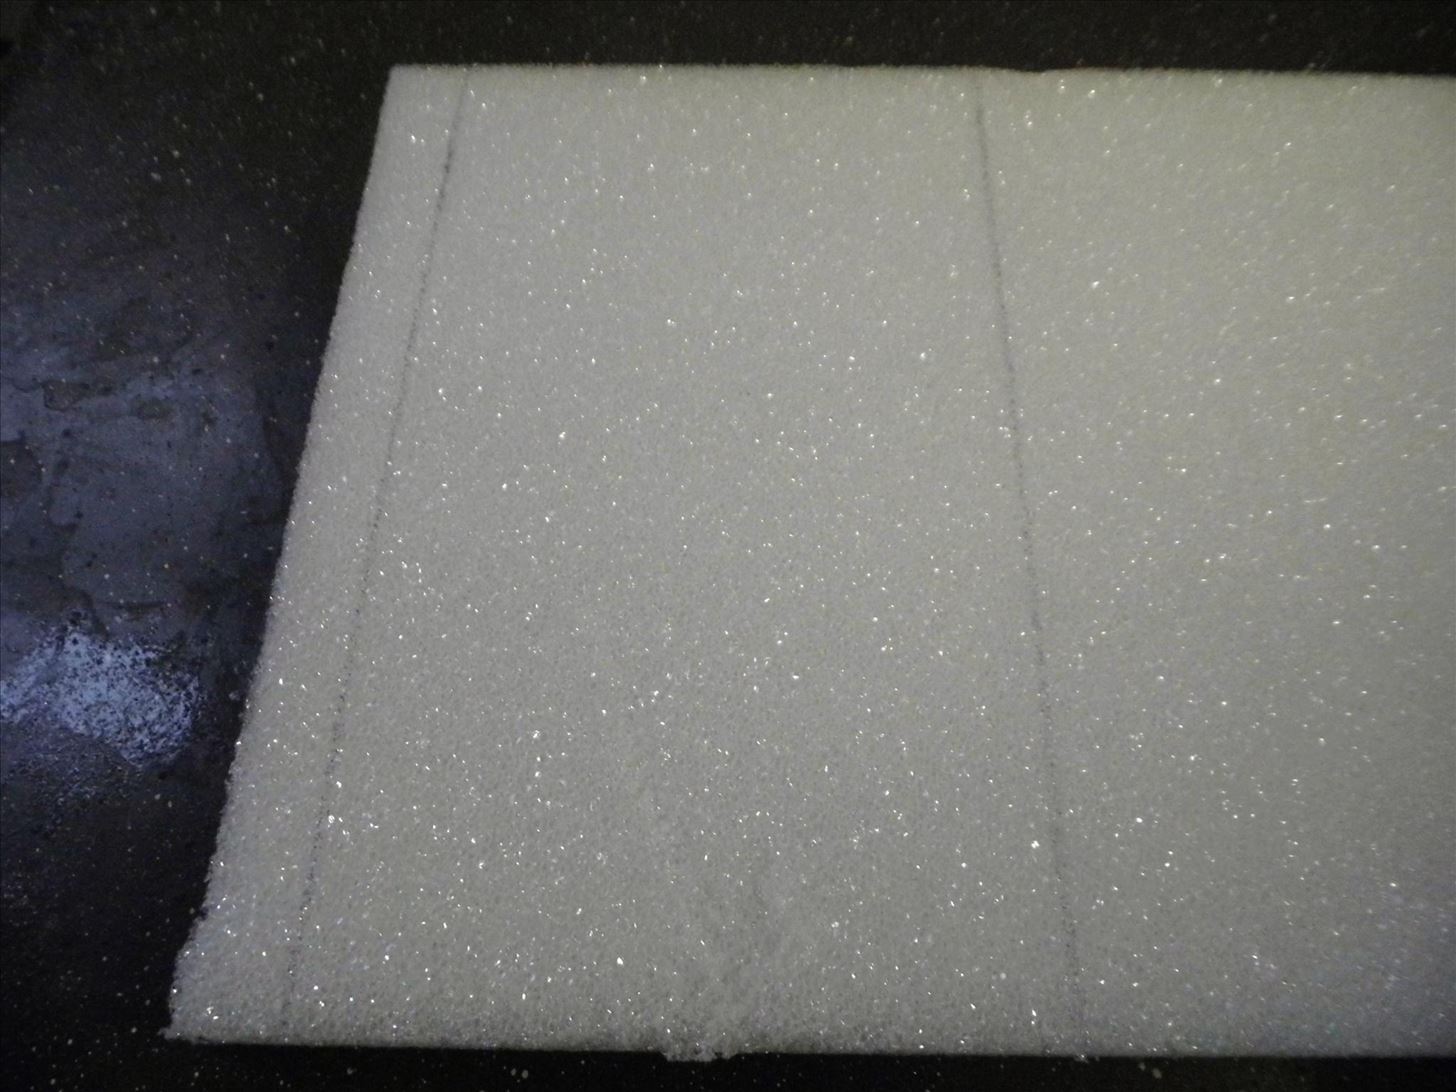
Your cut side pieces should look like this:
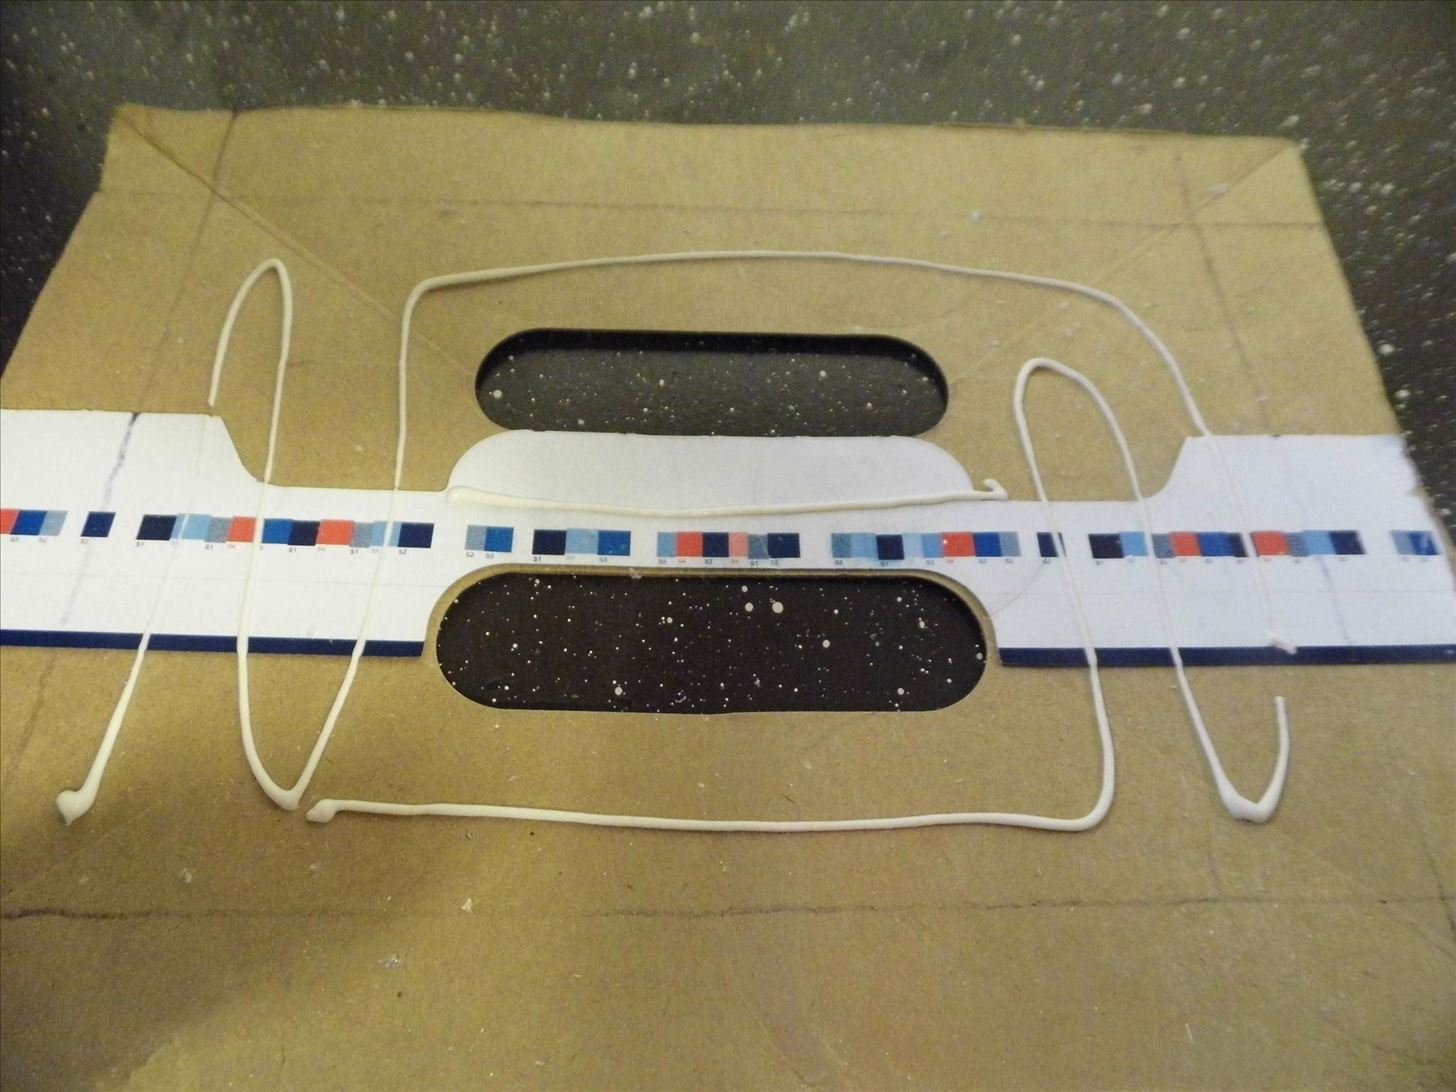
Step 5: Glue Foam
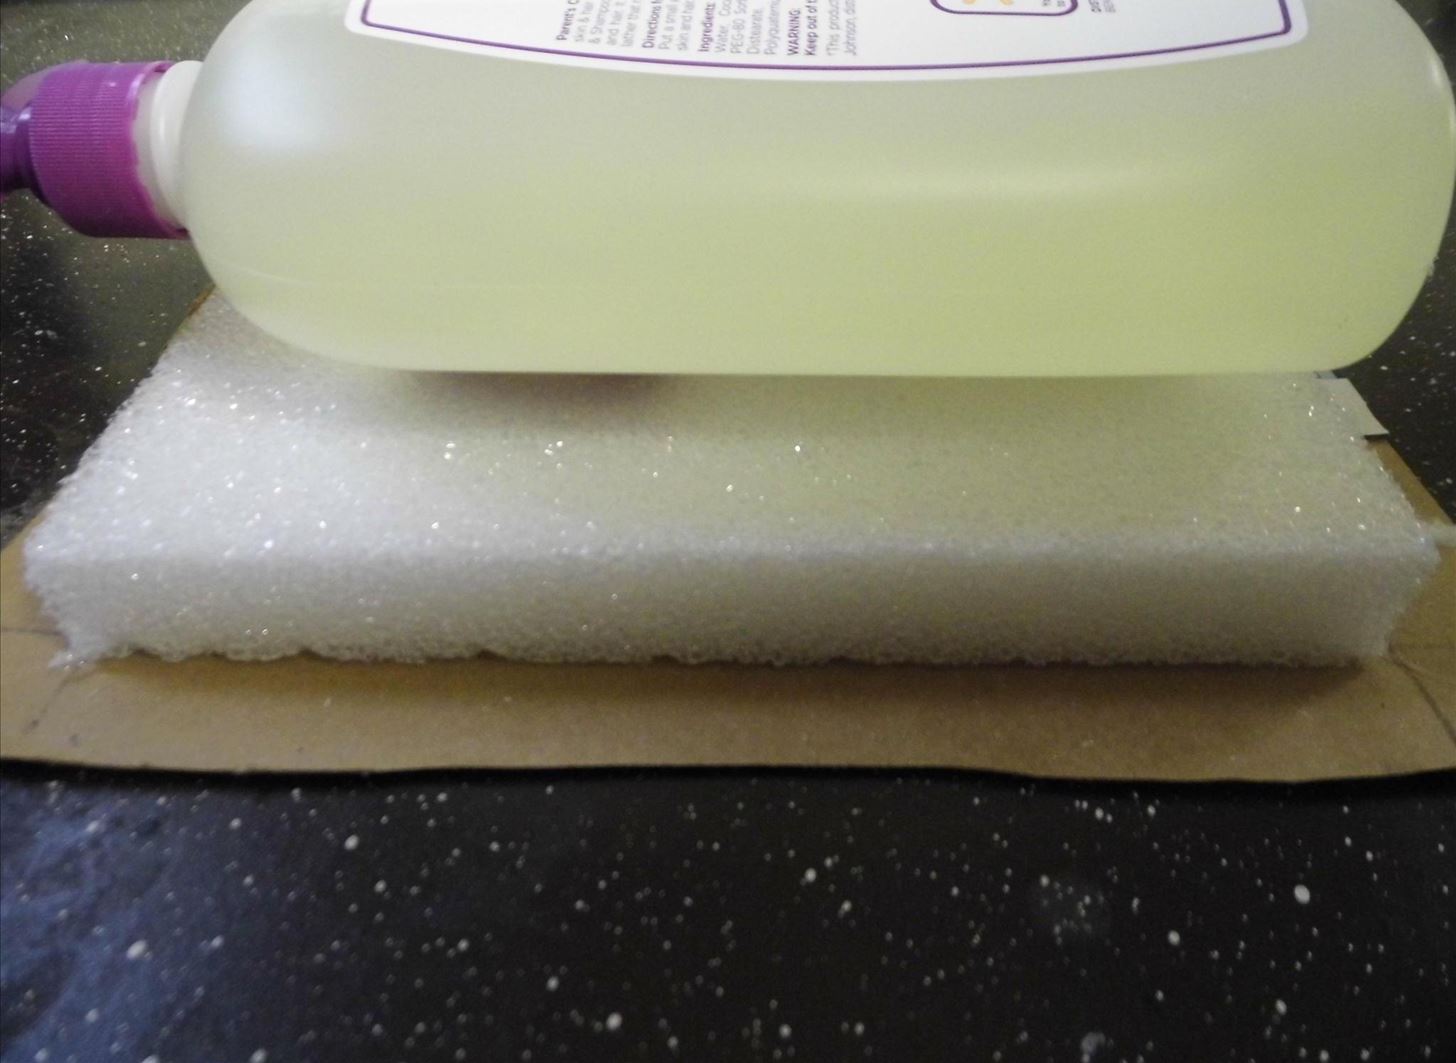
Apply a layer of craft glue to your foam.
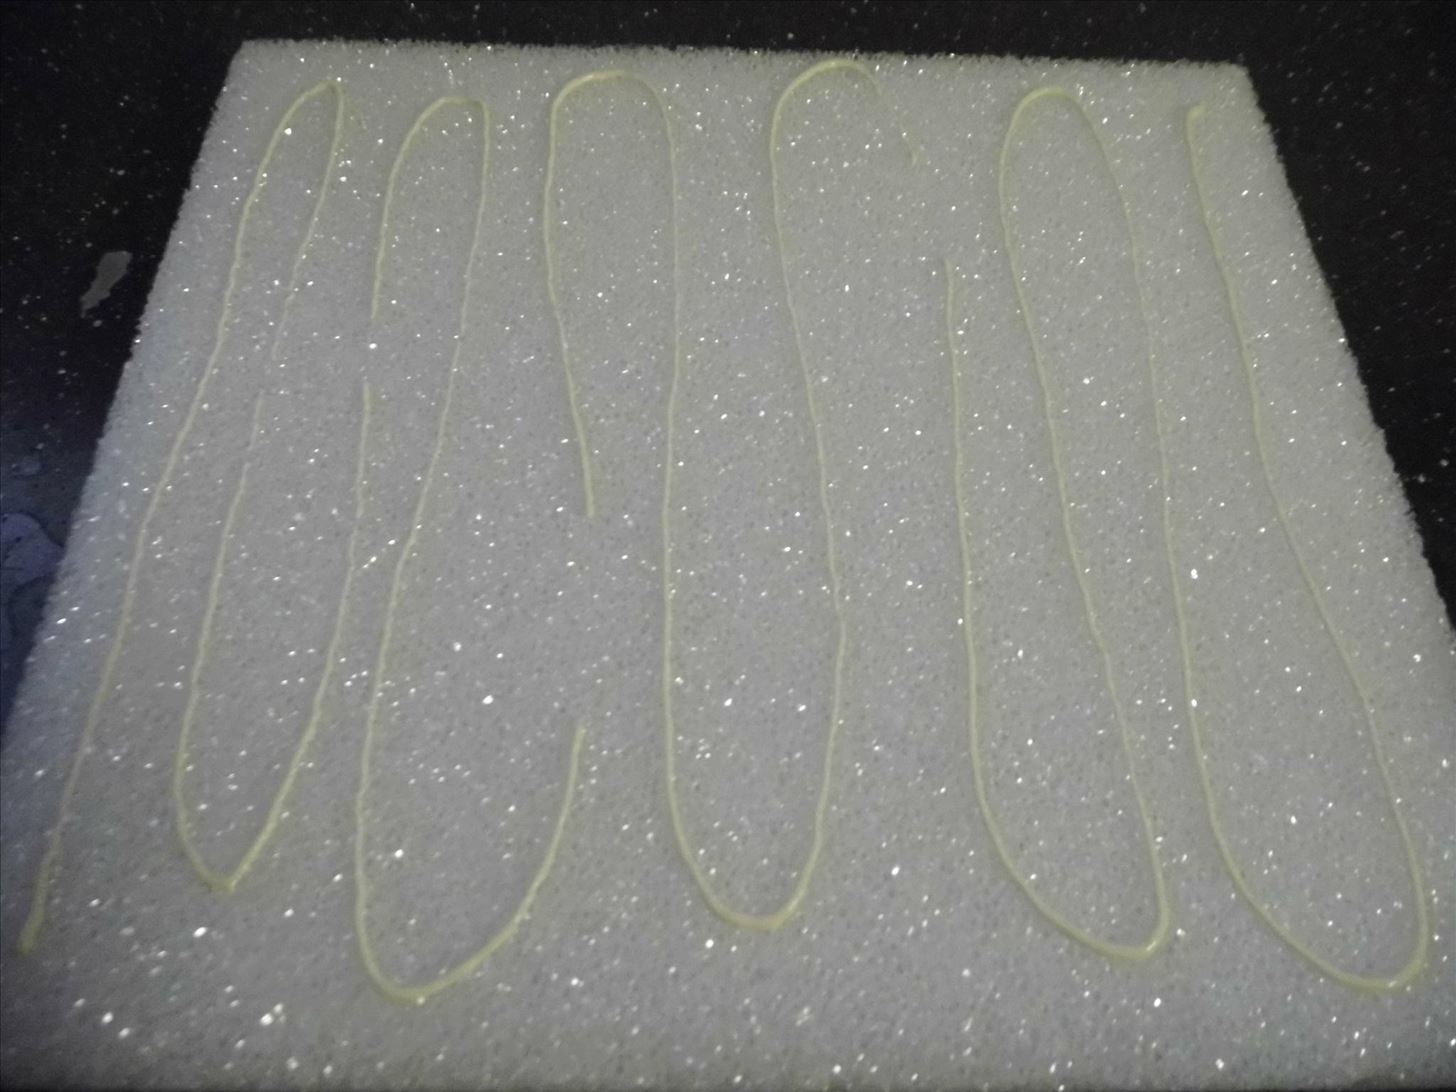
Stick your pieces of foam, one at a time, to the inside of the box and put your heavy object on top to help adhesion. Let them dry.
Step 6: Cut Bottom Foam
Once the front and back are dry, use your box as a guide to cut the bottom. Align the box next to your foam so you can see how big the bottom has to be.
Using your ruler and marker, mark the straight lines that you need to cut for the bottom.
Cut the piece out carefully with your razor blade, using your ruler to keep things tidy.
Step 7: Glue Bottom
Apply a layer of glue to the foam.
Press the foam into the bottom. Use your heavy object to weigh it down. Let things dry.
Step 8: Cut Side Foam
Using your box as a guide, mark your foam with the ruler and marker, just as before, to the dimensions of the sides of your chosen box.

Cut the foam with your razor blade, using your ruler as a guide.

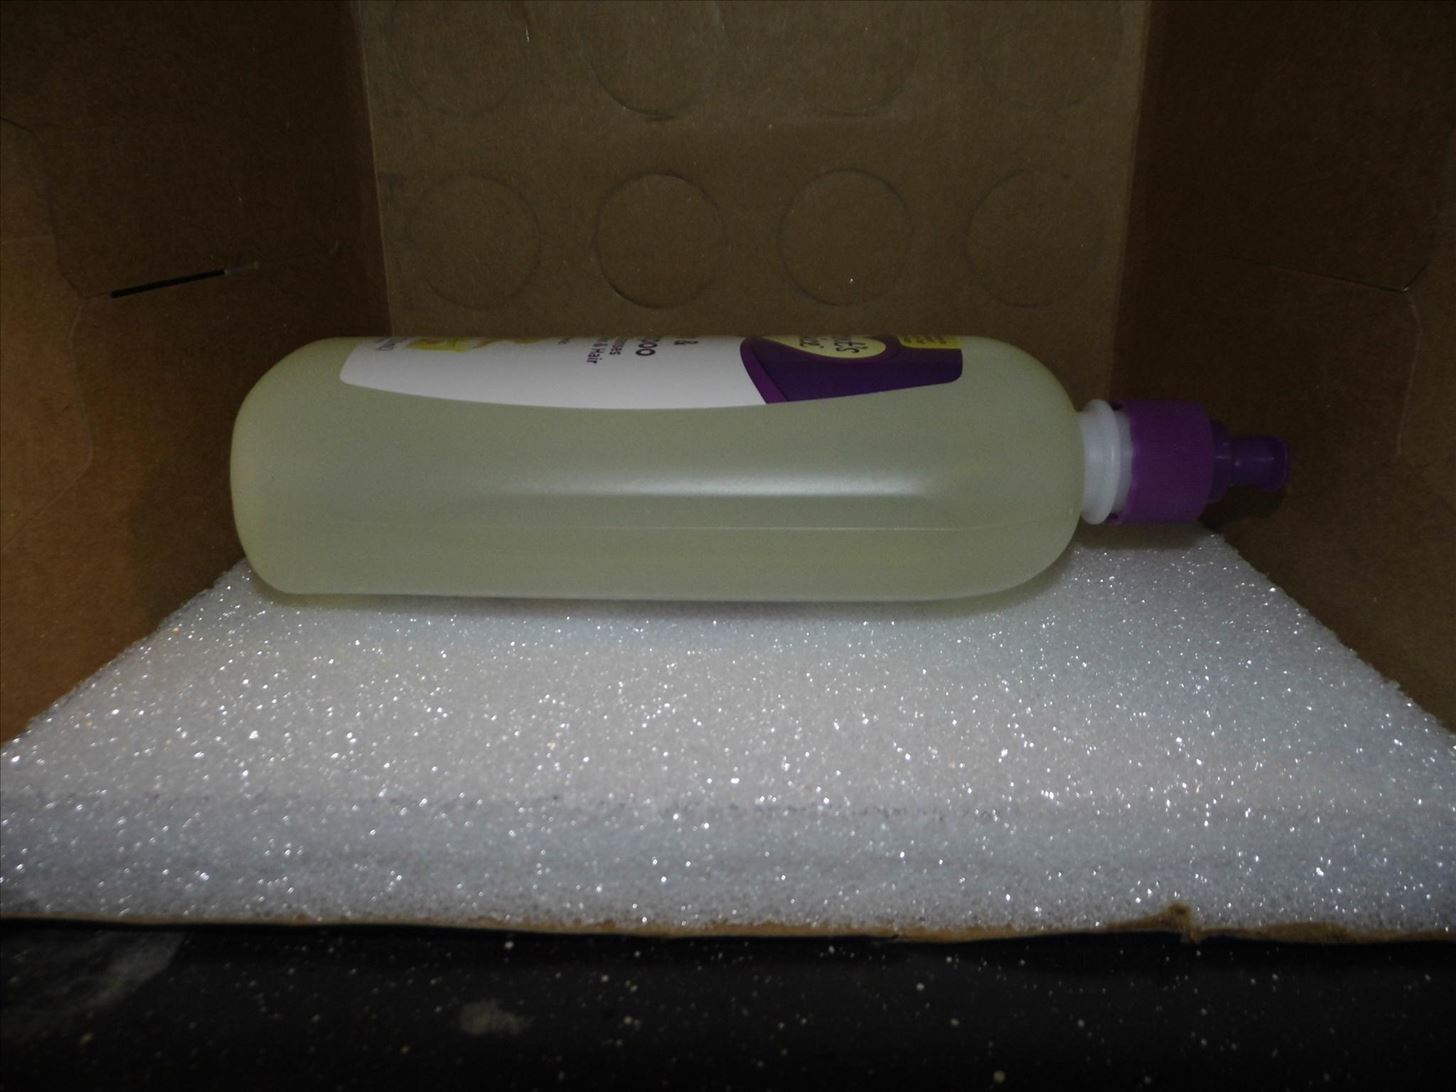
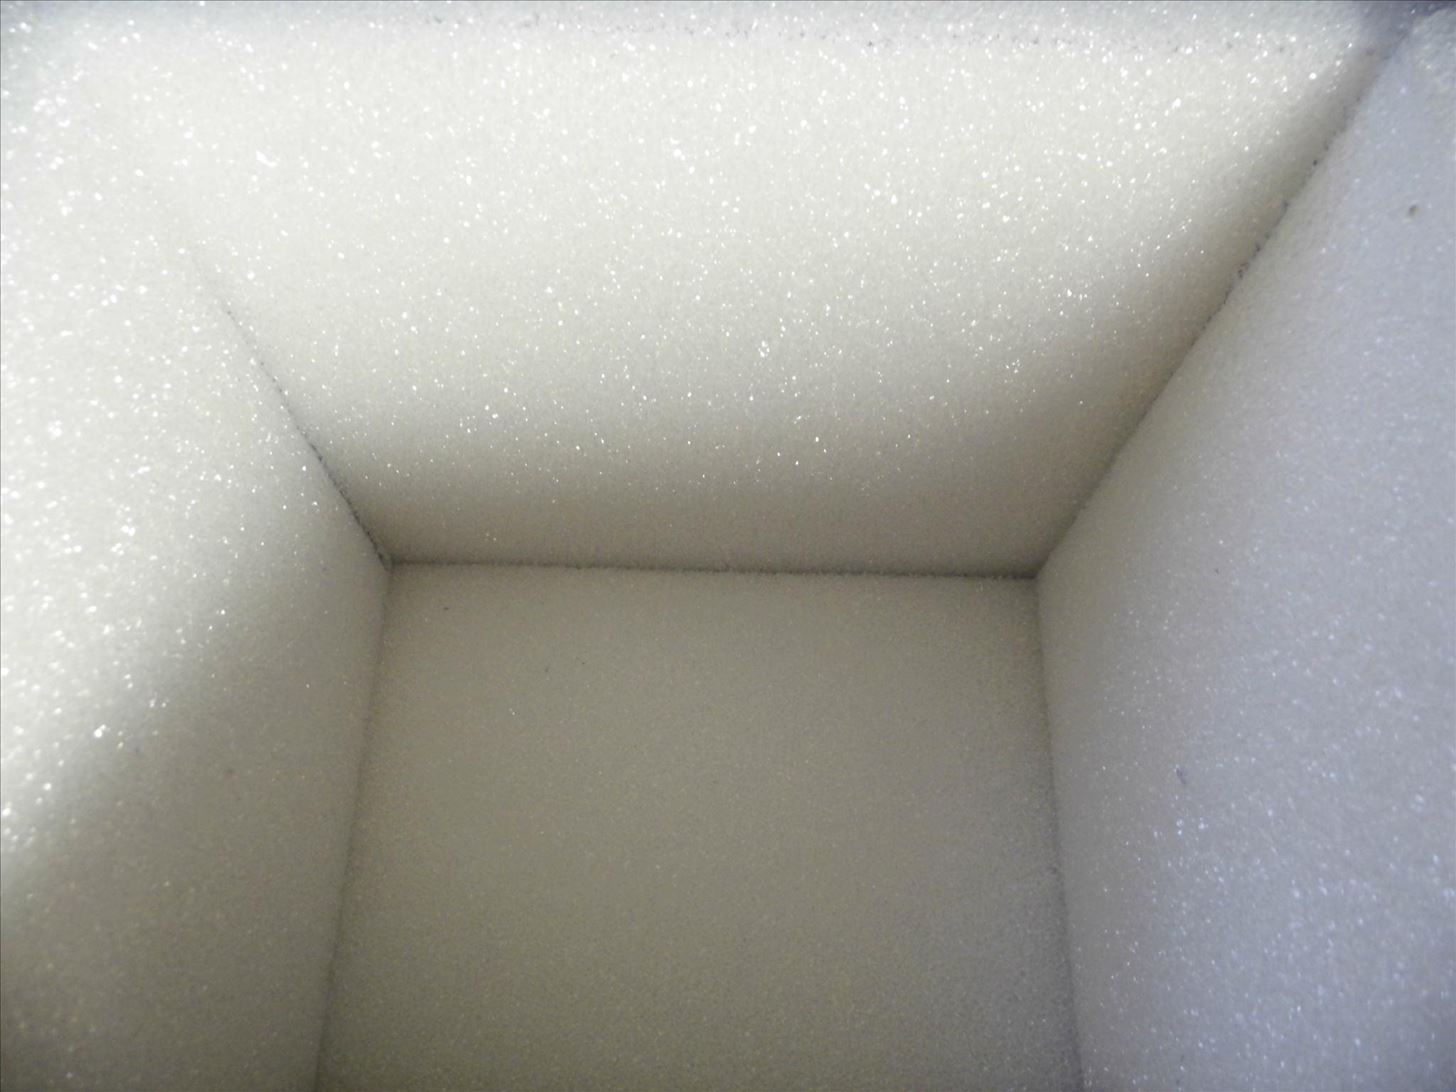
Step 9: Glue Sides
Just as before, apply glue to each piece of foam and press to the inside of your box. Use your heavy object to weight things down while they dry. Your cooler should look like this now:
Step 10: Assemble Lid
Using a scrap bit of foam as a guide, trace four lines around each side of the top you cut off in step 2.
It should look like this when finished. Do not skip this step and think you can cover the entire lid in foam. It will not fit!
Next, find two pieces of foam that will perfectly fit into the center of the lines you marked on the lid. If you have to cut, make sure you use the ruler. However, I found two scraps from previous steps that fit exactly.
Apply glue to the center of the lid.
Press the foam into the center and place your heavy object on top. Let things dry.
When flipped over, it should look like this:
You're Done!
Your cooler is now done! Simply place the lid on top. I like to secure it with a small piece of duct tape on each side. Plus, this allows for a sort of hinge action when you undo three of the pieces of tape.
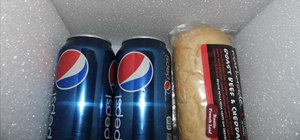
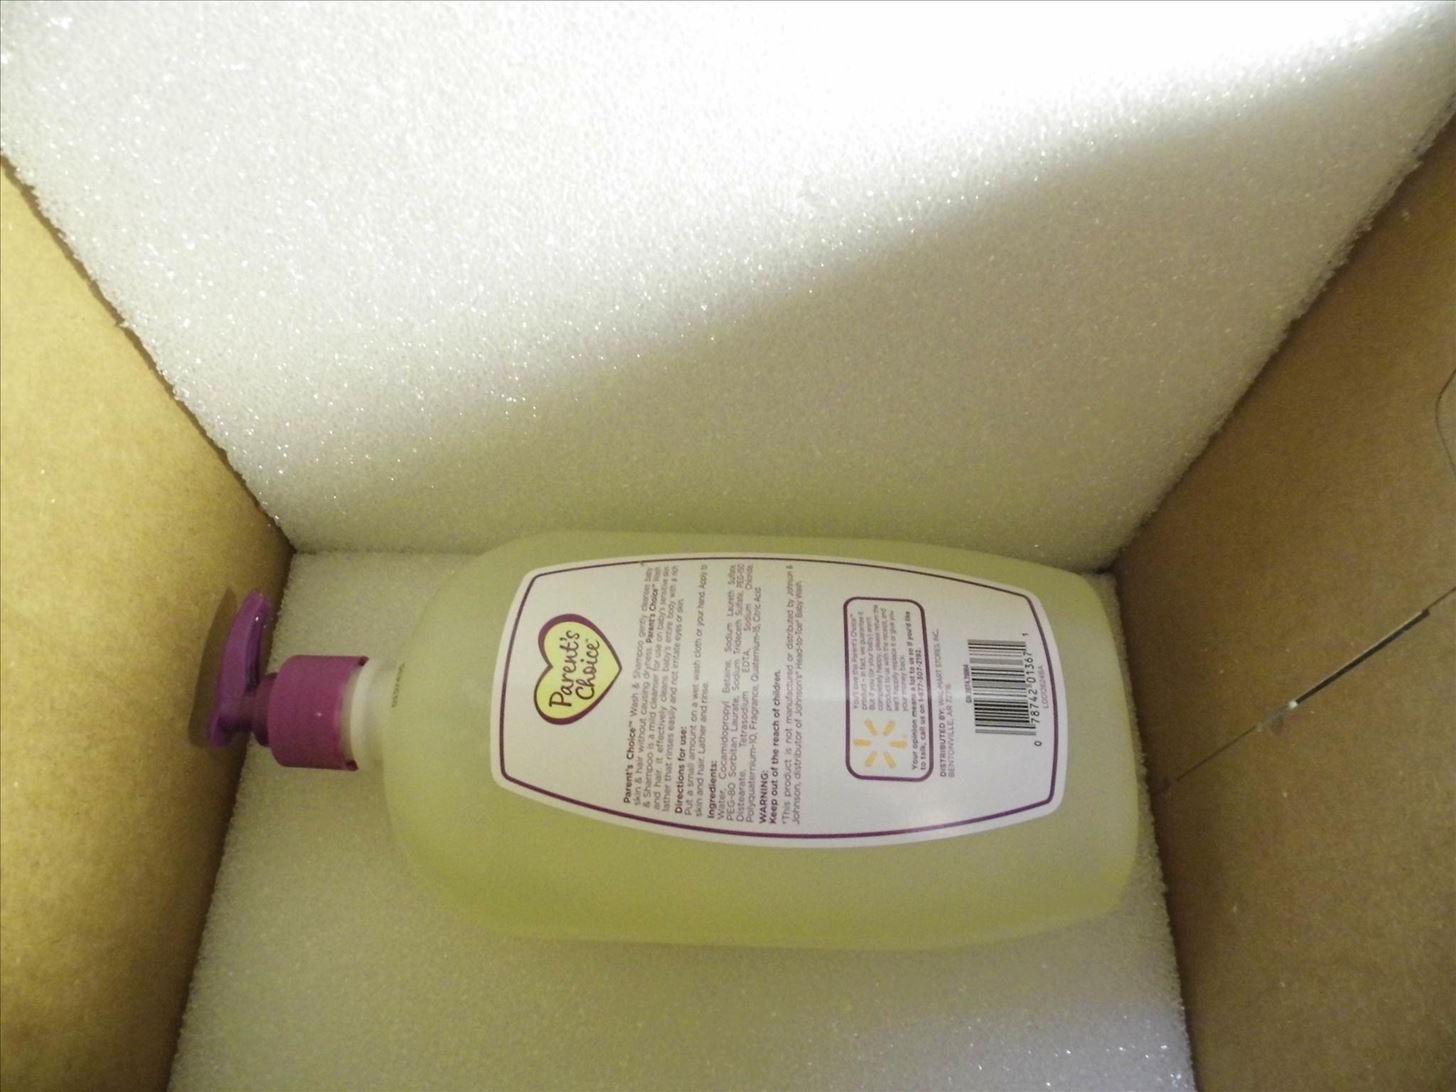
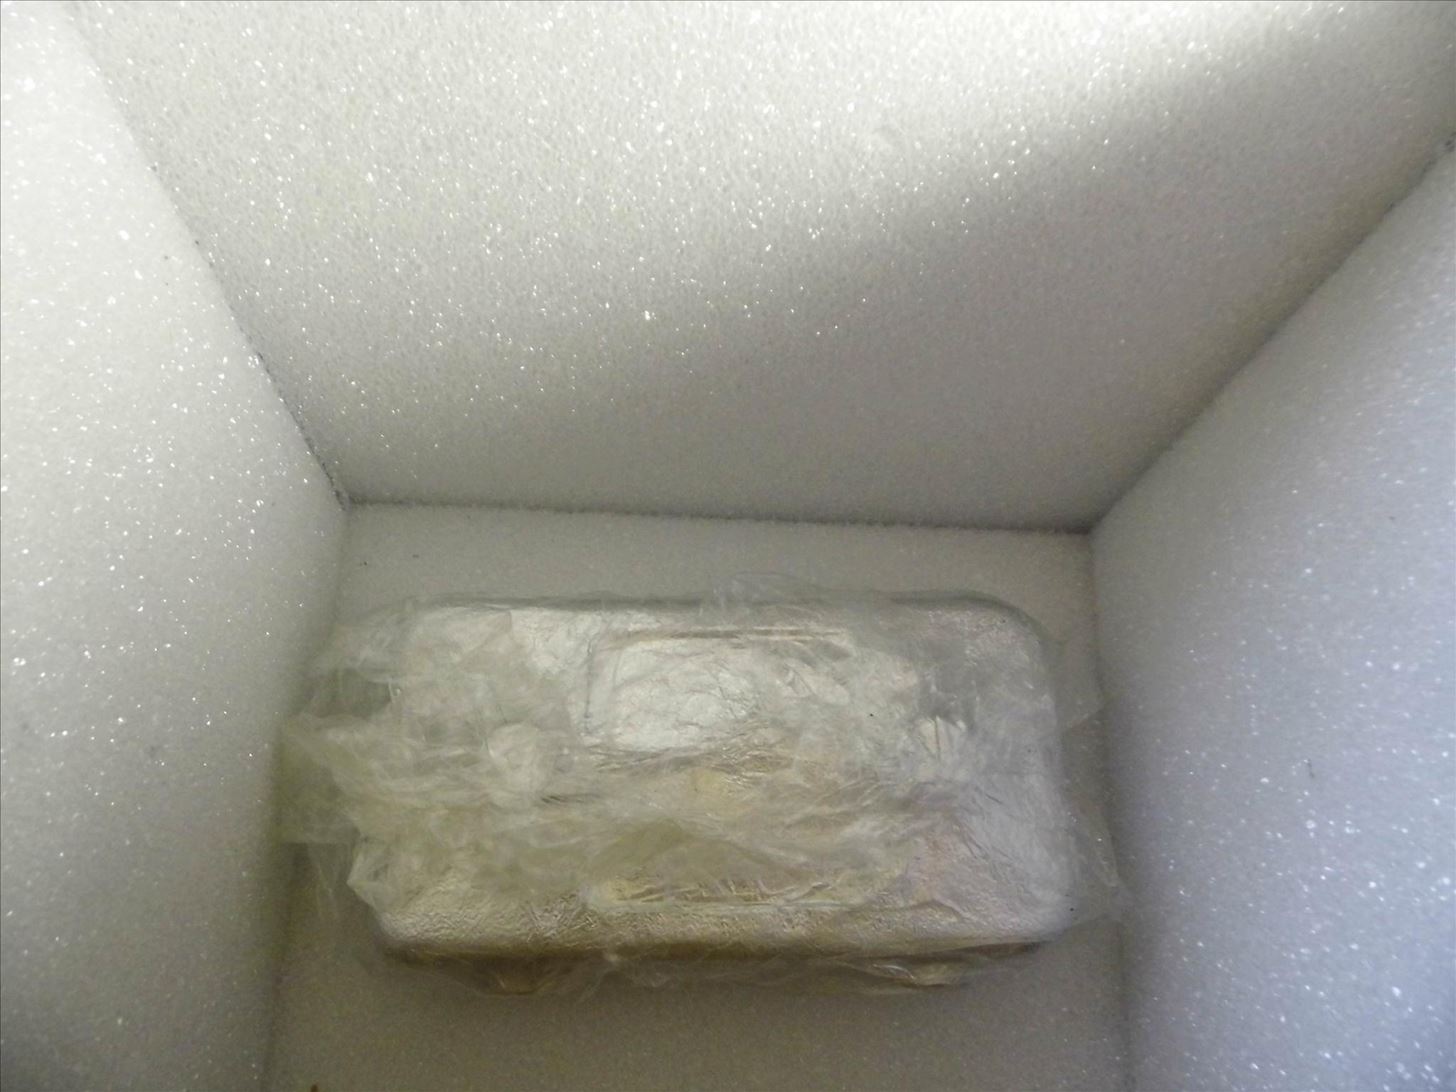
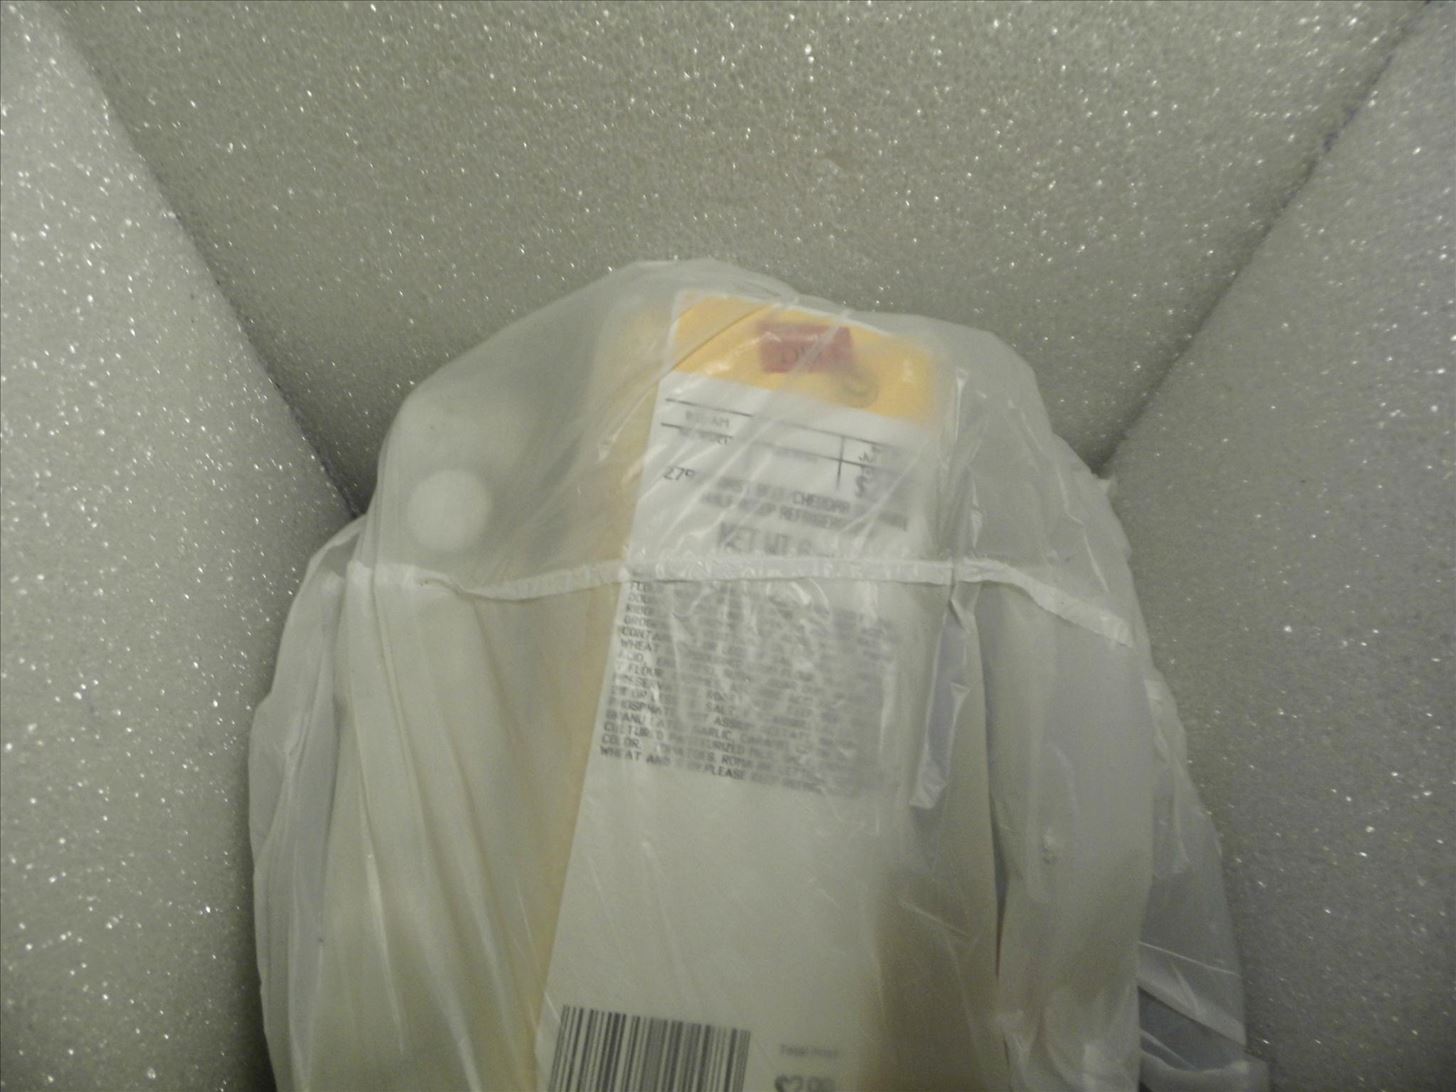
To load food inside, wrap your ice pack in plastic or place in a ziplock bag to make sure things stay dry. Place it in the bottom.
Then place your food/drinks on top.

Or, if you're more worried about keeping things dry, you can wrap everything (food, drinks, ice pack) in a plastic bag and place inside.
You can either carry the cooler around as is, or if you want to have a handle, consider trying a belt wrapped around the bottom and up the sides, and closed over the top.
Can you think of a cooler box to make your cooler out of? Or better insulation? Talk about it in the comments below!
Just updated your iPhone? You'll find new emoji, enhanced security, podcast transcripts, Apple Cash virtual numbers, and other useful features. There are even new additions hidden within Safari. Find out what's new and changed on your iPhone with the iOS 17.4 update.


8 Comments
GREAT idea.
Who has foam in their house? If you have to make a trip for materials then why not just get a twenty dollar styrofoam cooler? They have em at the gas station. BTW, if you're a "cooler friend" then you need to find a new circle.
Lots of peeps do. Like me. So its easy to do. Of course anyone can go and just buy a cooler. But thats not the point of the article ;P
Thank you physics! :)
I get what you mean, however, I wanted to do this precisely for cost. The foam out here in AZ where I live cost about 8 dollars. And if you're going on a trip then you already have a cool container like this soda box. So there are some good savings there. Plus it looks a lot cooler than a plain foam container. Thank you for your comment though, I always appreciate them!
just wanna say if u like it then do it,and if u dont then shut up
:)
Thanks for posting this .. It's perfect for a project my son needs to do for school
Share Your Thoughts