

One thing that's always important to have in your home office is a bulletin board, because they let you quickly display papers that you need to see every day, such as schedules, notes and memos.
That's not the only thing a bulletin board is useful for, though. You can also pin up family photos, tickets to an event, or inspirational pictures to add a personal touch. In short, bulletin boards are a must have for any office.
Unfortunately, like most things these days, they are ridiculously overpriced. You can find bulletin boards on Amazon for anywhere between $20 to $50, depending on the size. Really? That's far too expensive.
Today, I'll show you how to make a large bulletin board for about $10. The best part—you will be able to personalize it as you see fit!
Materials
- 2 thick cardboard or foam-backed poster boards
- 1 sheet of fabric
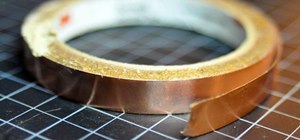
- Duct tape
- Mounting tape
- Iron
Step 1: Line Up Boards
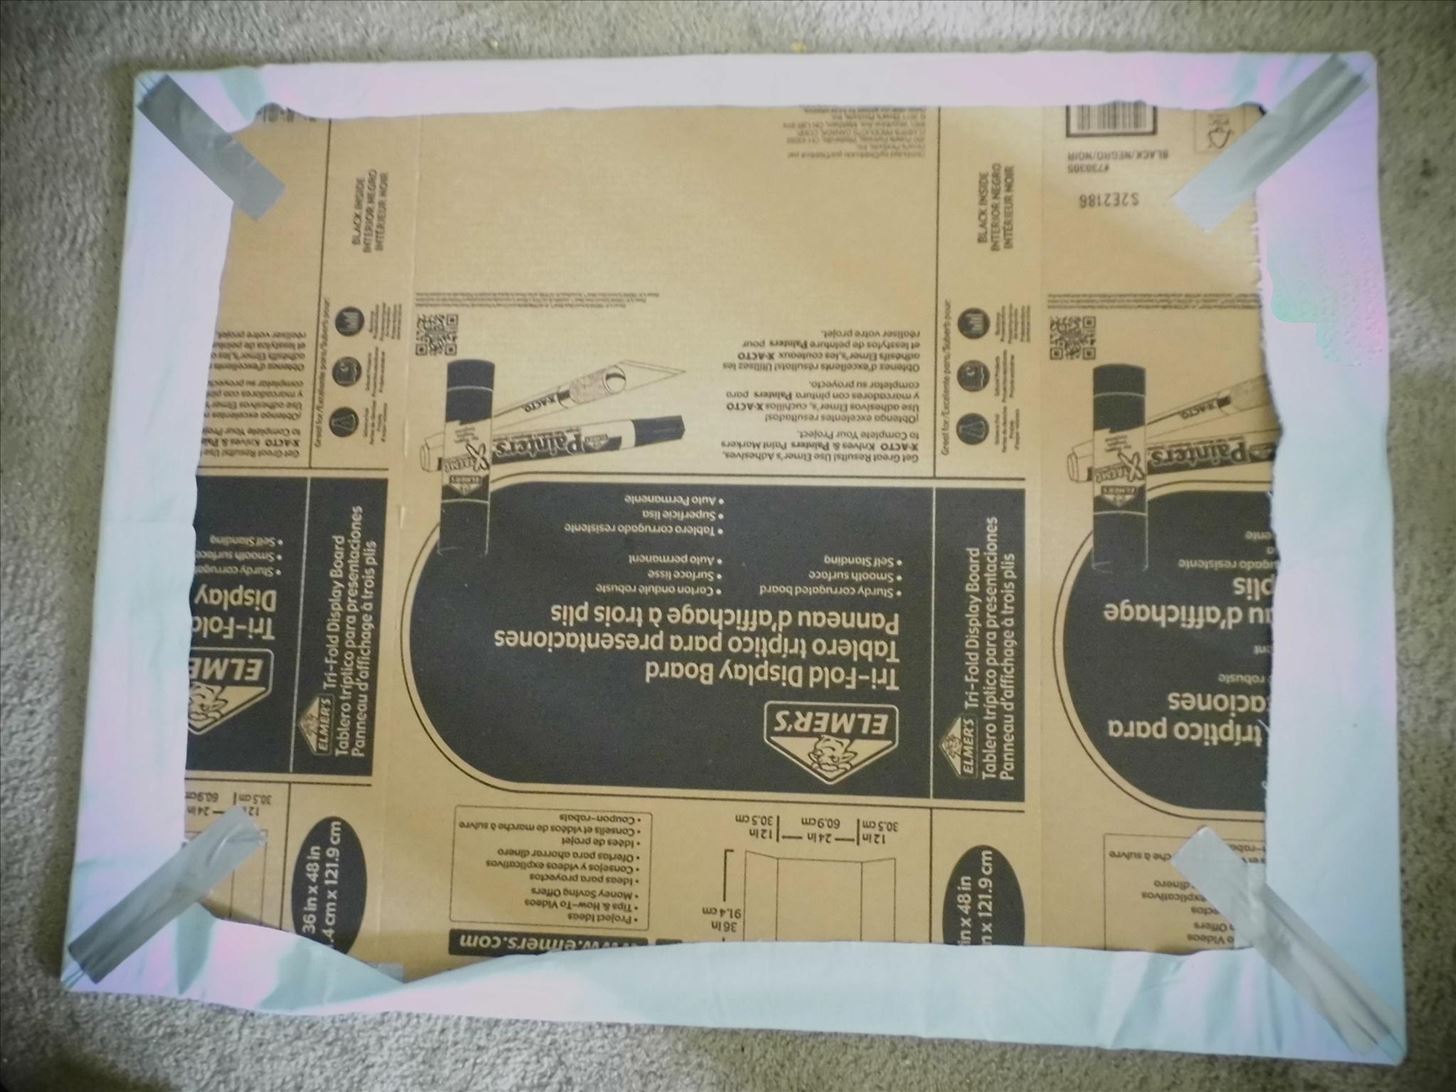
Select your poster board size. I chose 36" x 48" because I wanted a big bulletin board. Whatever size you choose, make sure both boards are the same size. Take your poster boards and line them up on top of one another.

Step 2: Tape Boards Together
Starting on the shorter sides of your boards, cut off a strip of duct tape and place an end on one side of the top board. Pull the tape tight and then pull it over the top, pressing the other end of the tape against the bottom board. Repeat with four to six pieces on both of the short sides.
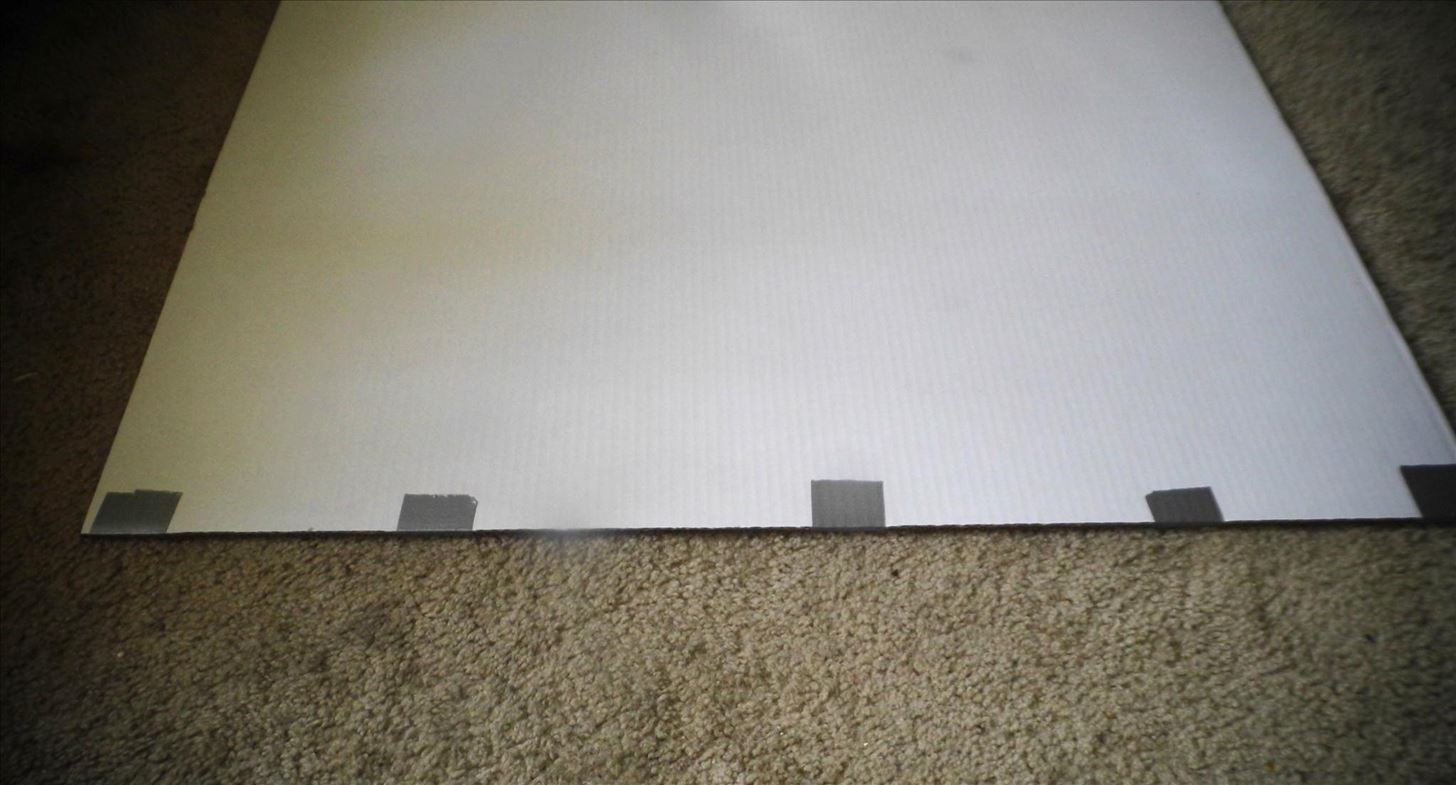
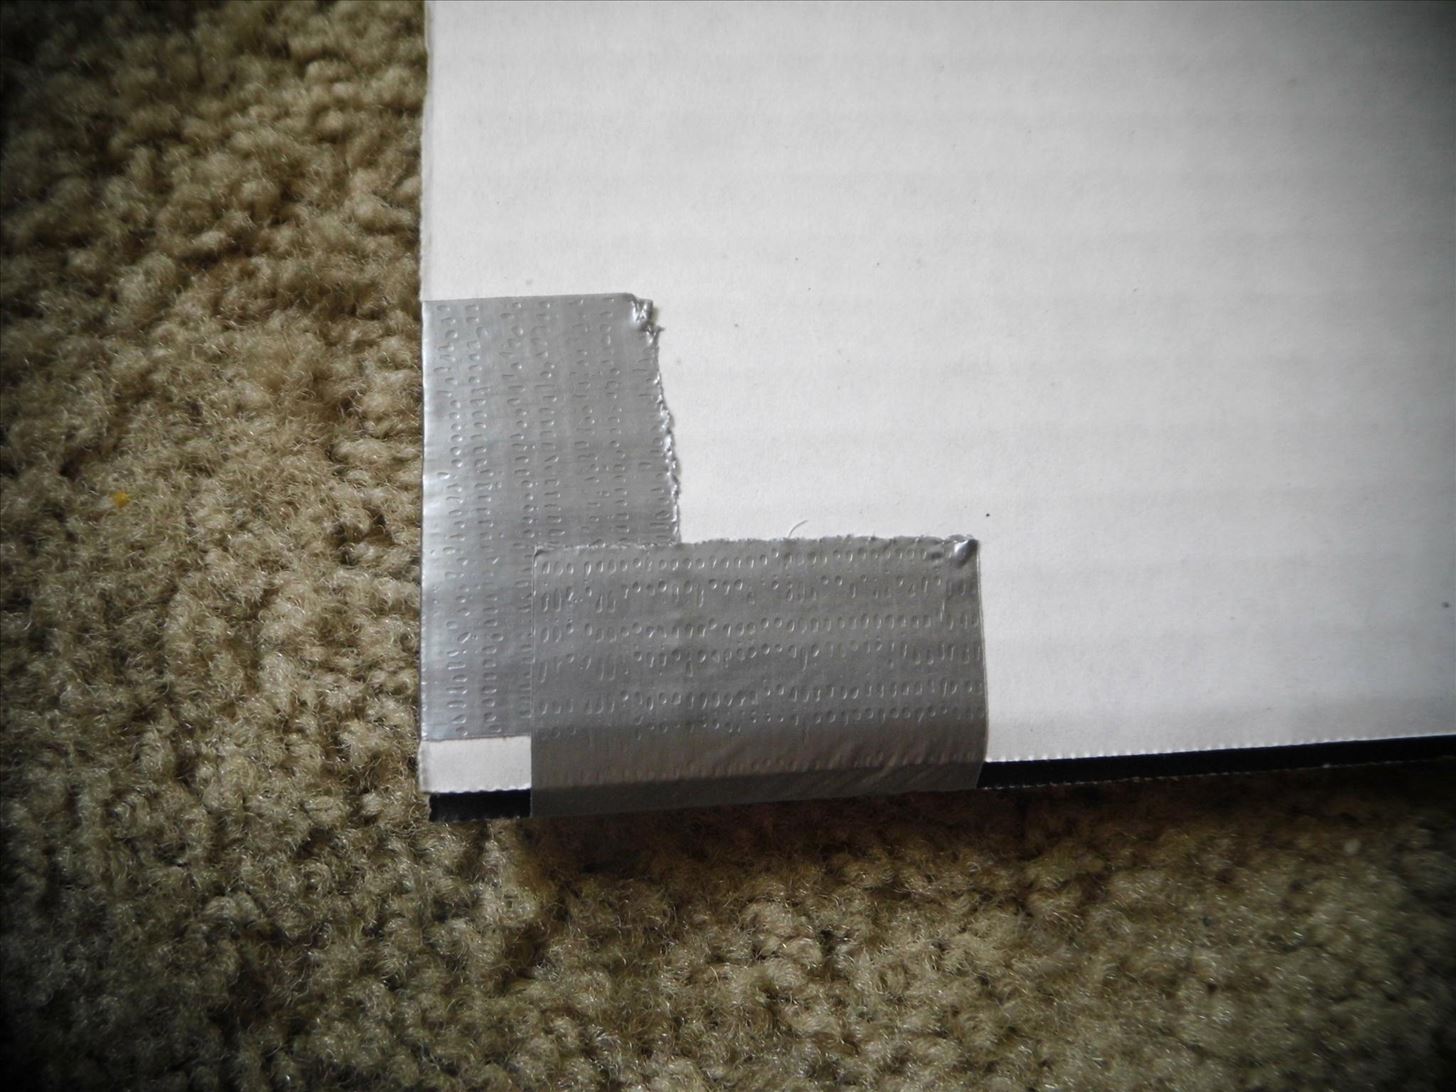
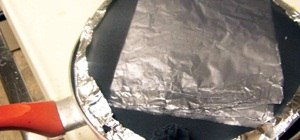
Repeat the same way on the longer sides of the boards as well. On the corners, overlap the strips of tape like this:
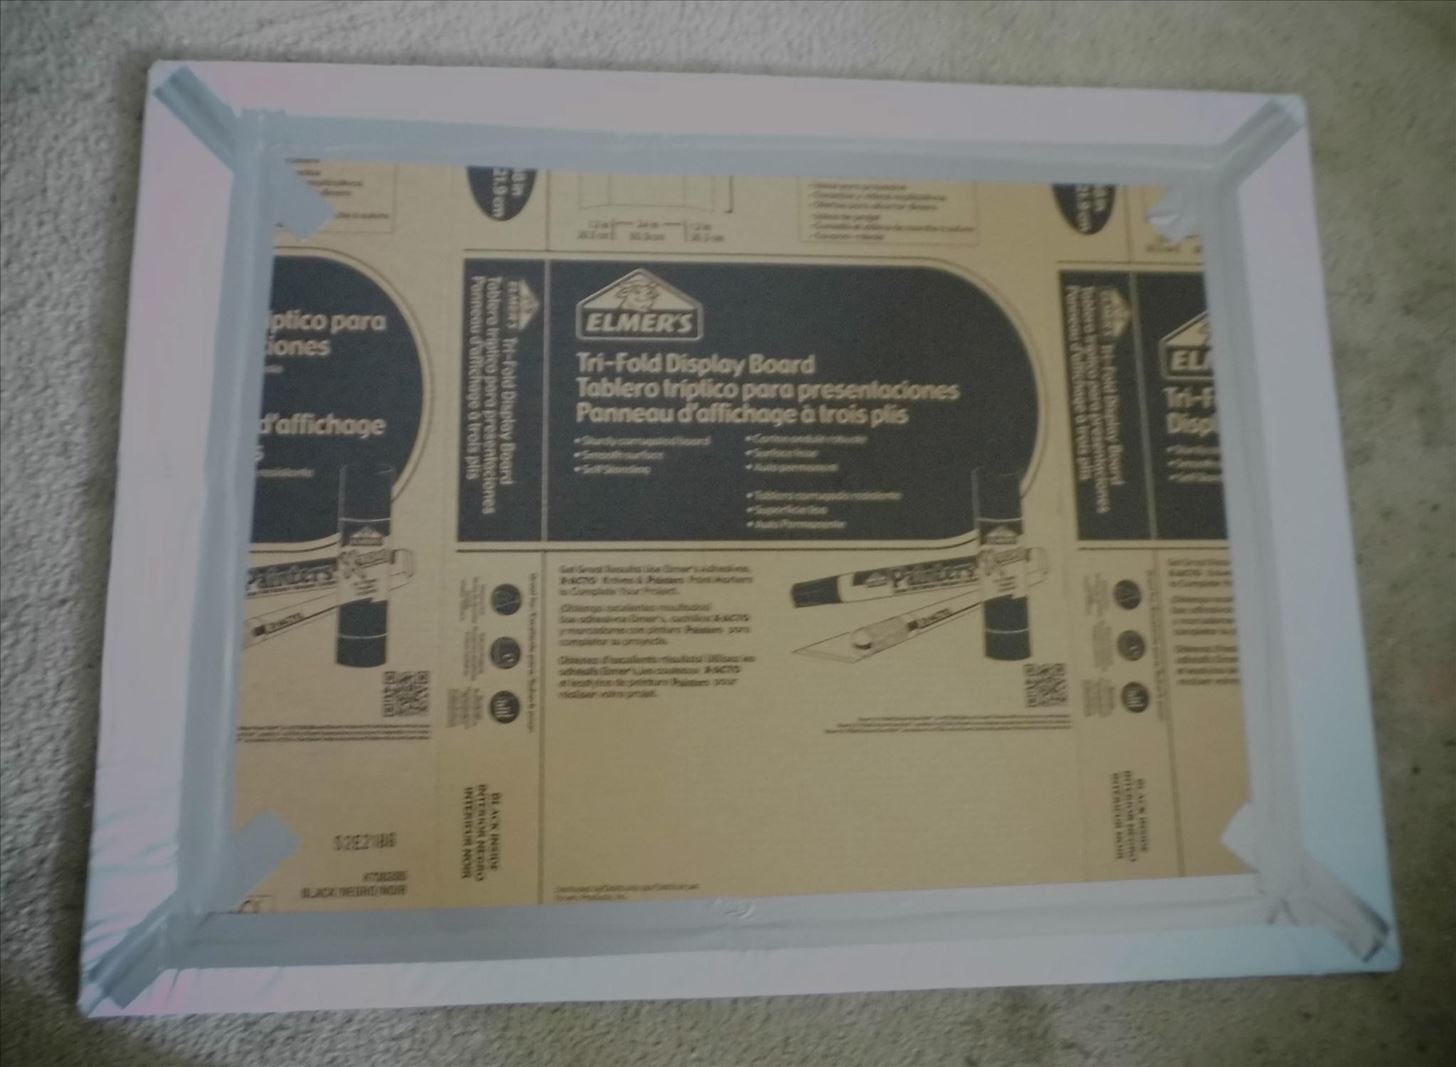
When finished, the boards should look like this:
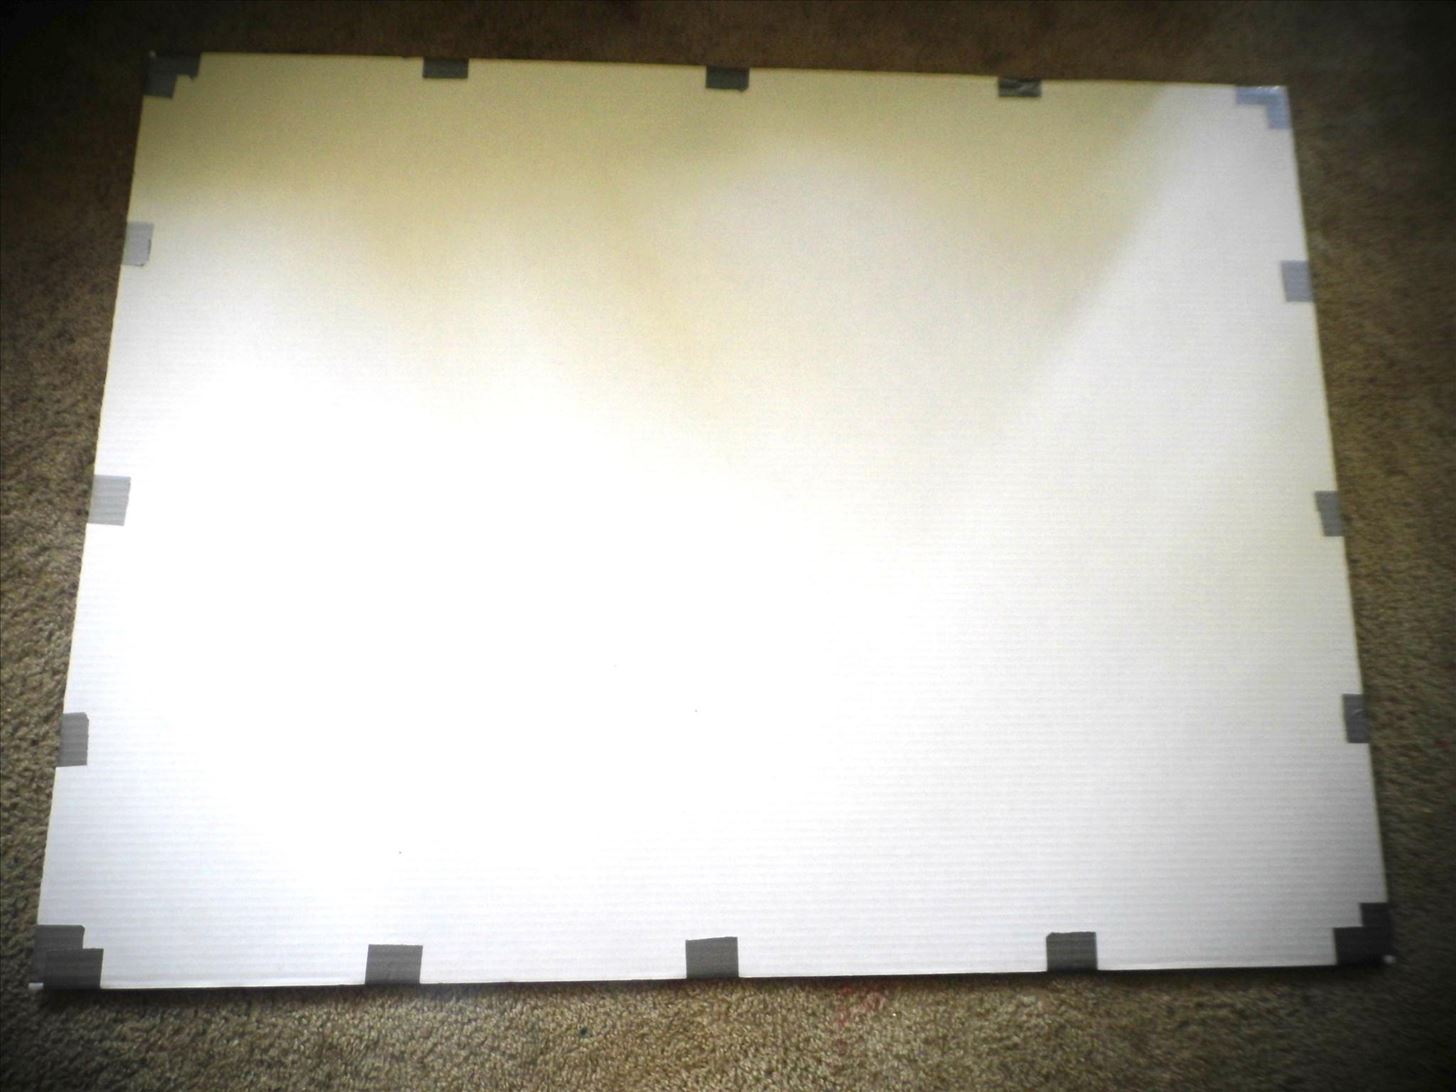
The fabric will cover the tape, so don't worry.
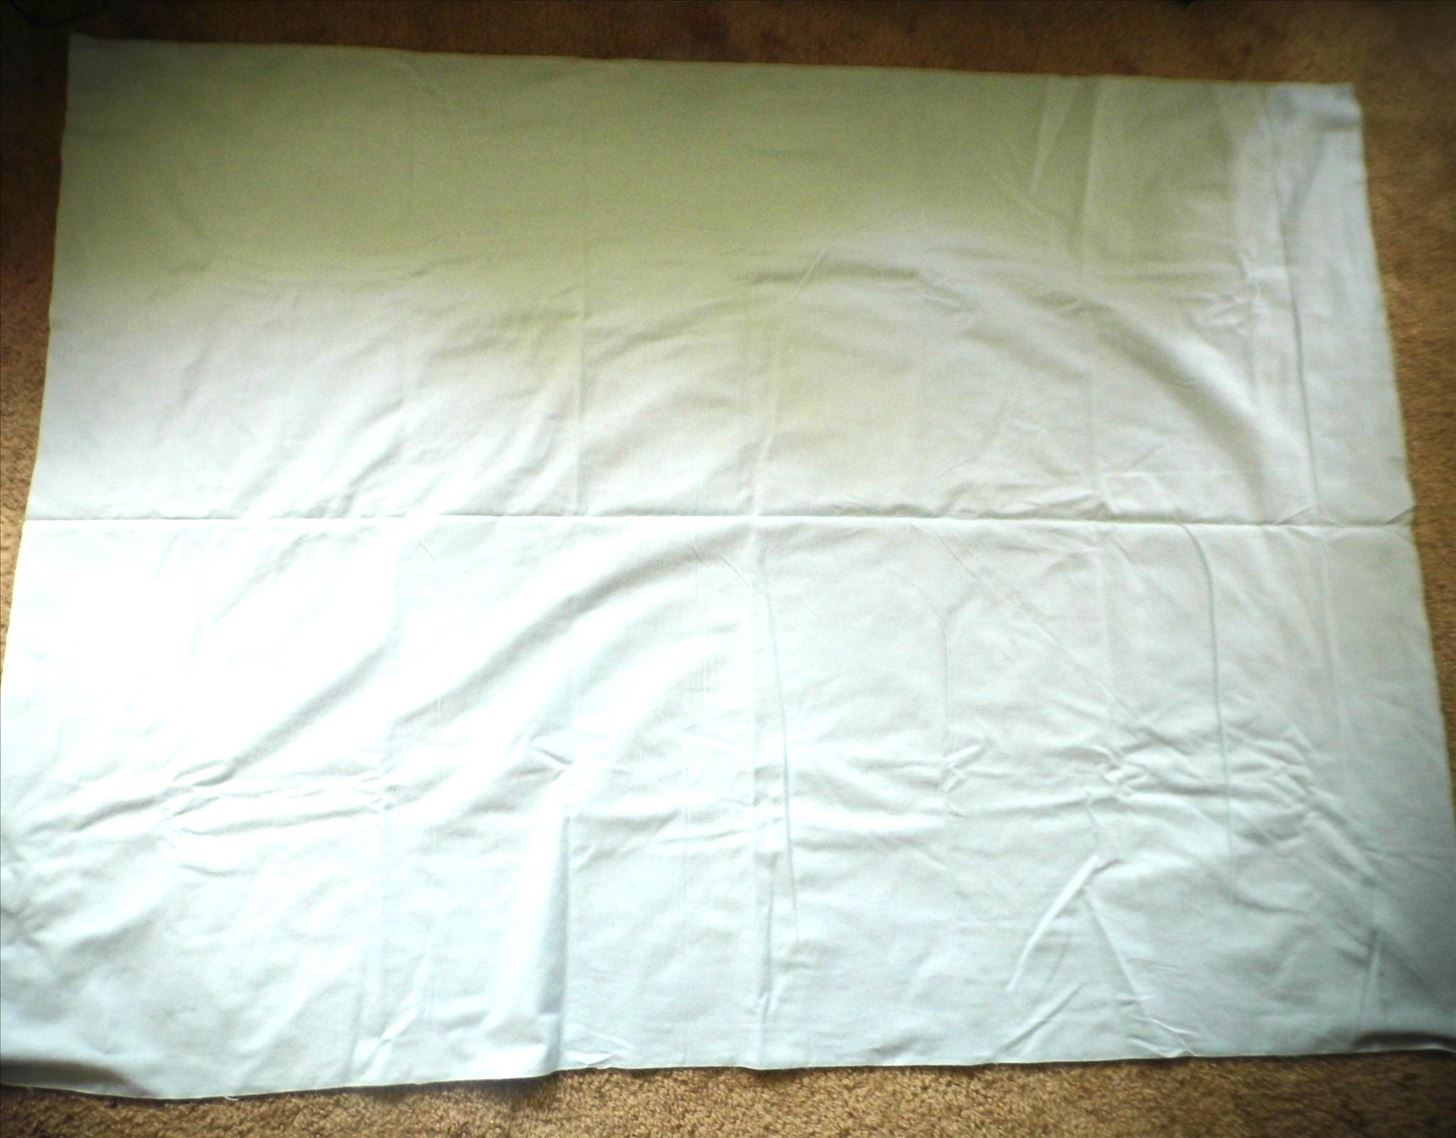
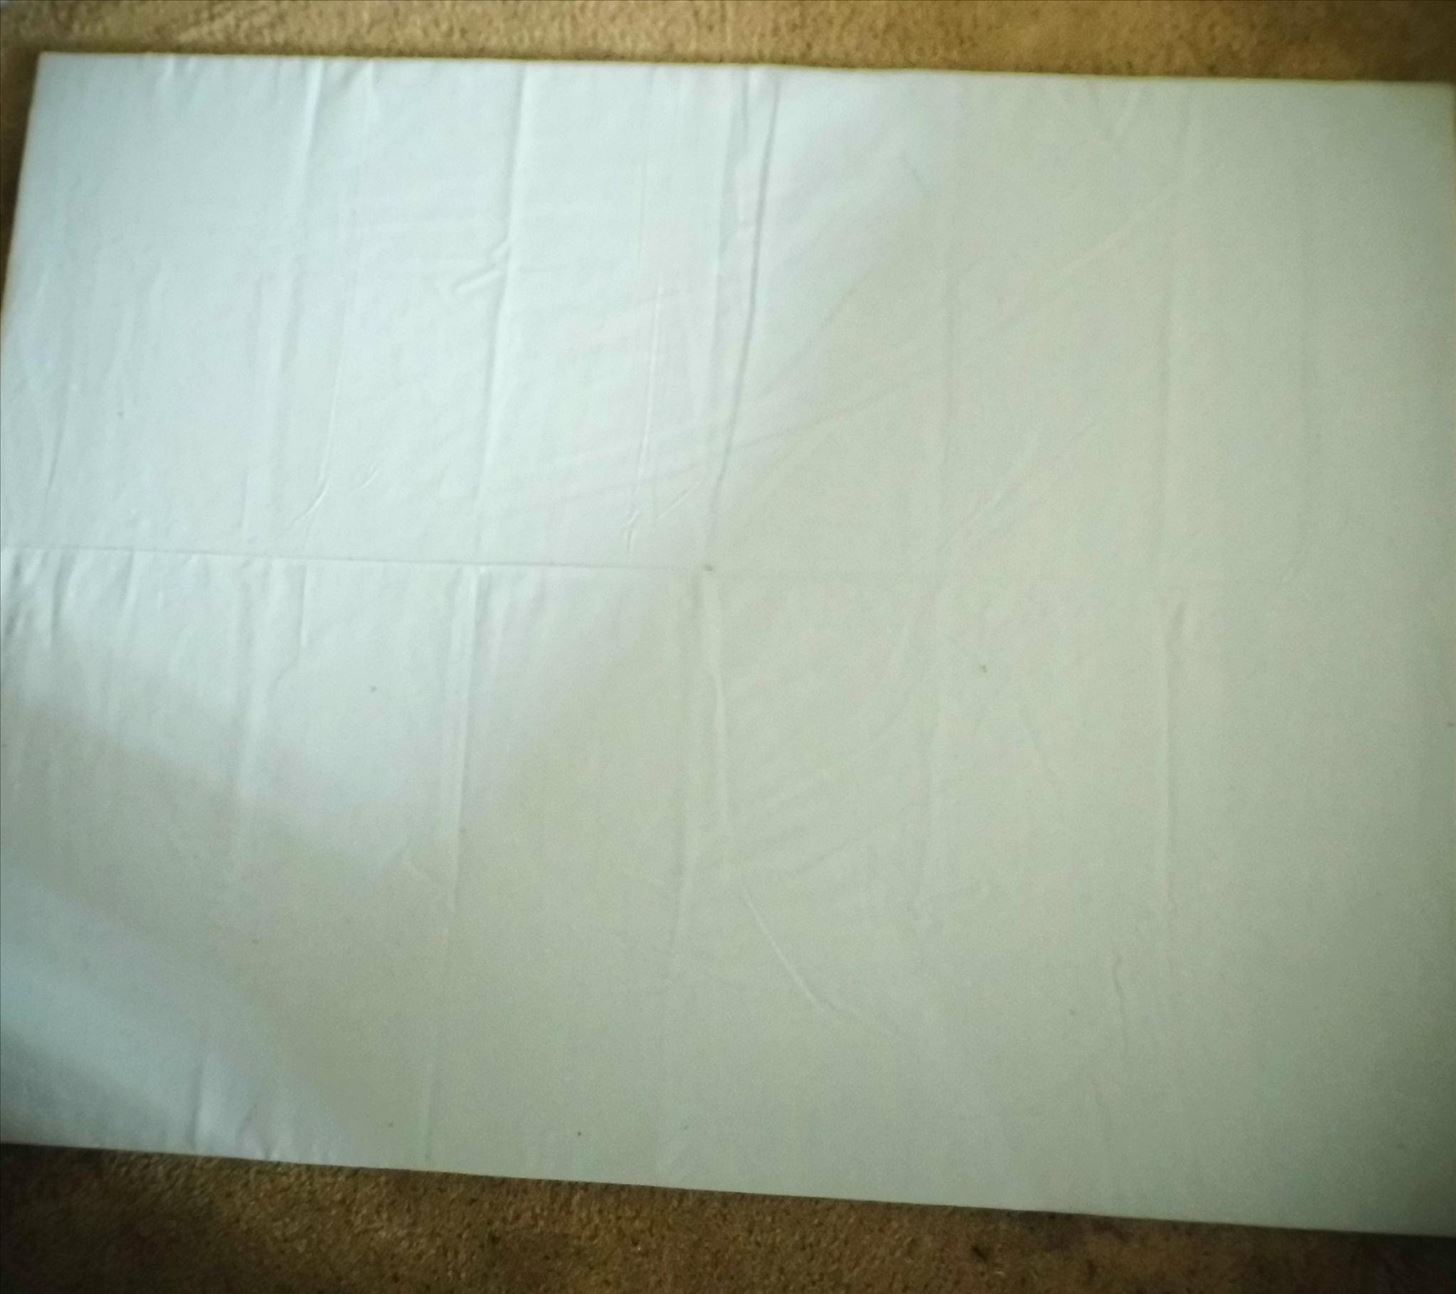
Step 3: Chose Fabric
Pick your fabric out. Obviously, you want to choose a fabric that you like and want to look at a lot. When you get it cut, you want it to be about 1.5" longer on every side than the length of the boards you chose. Set your fabric out.
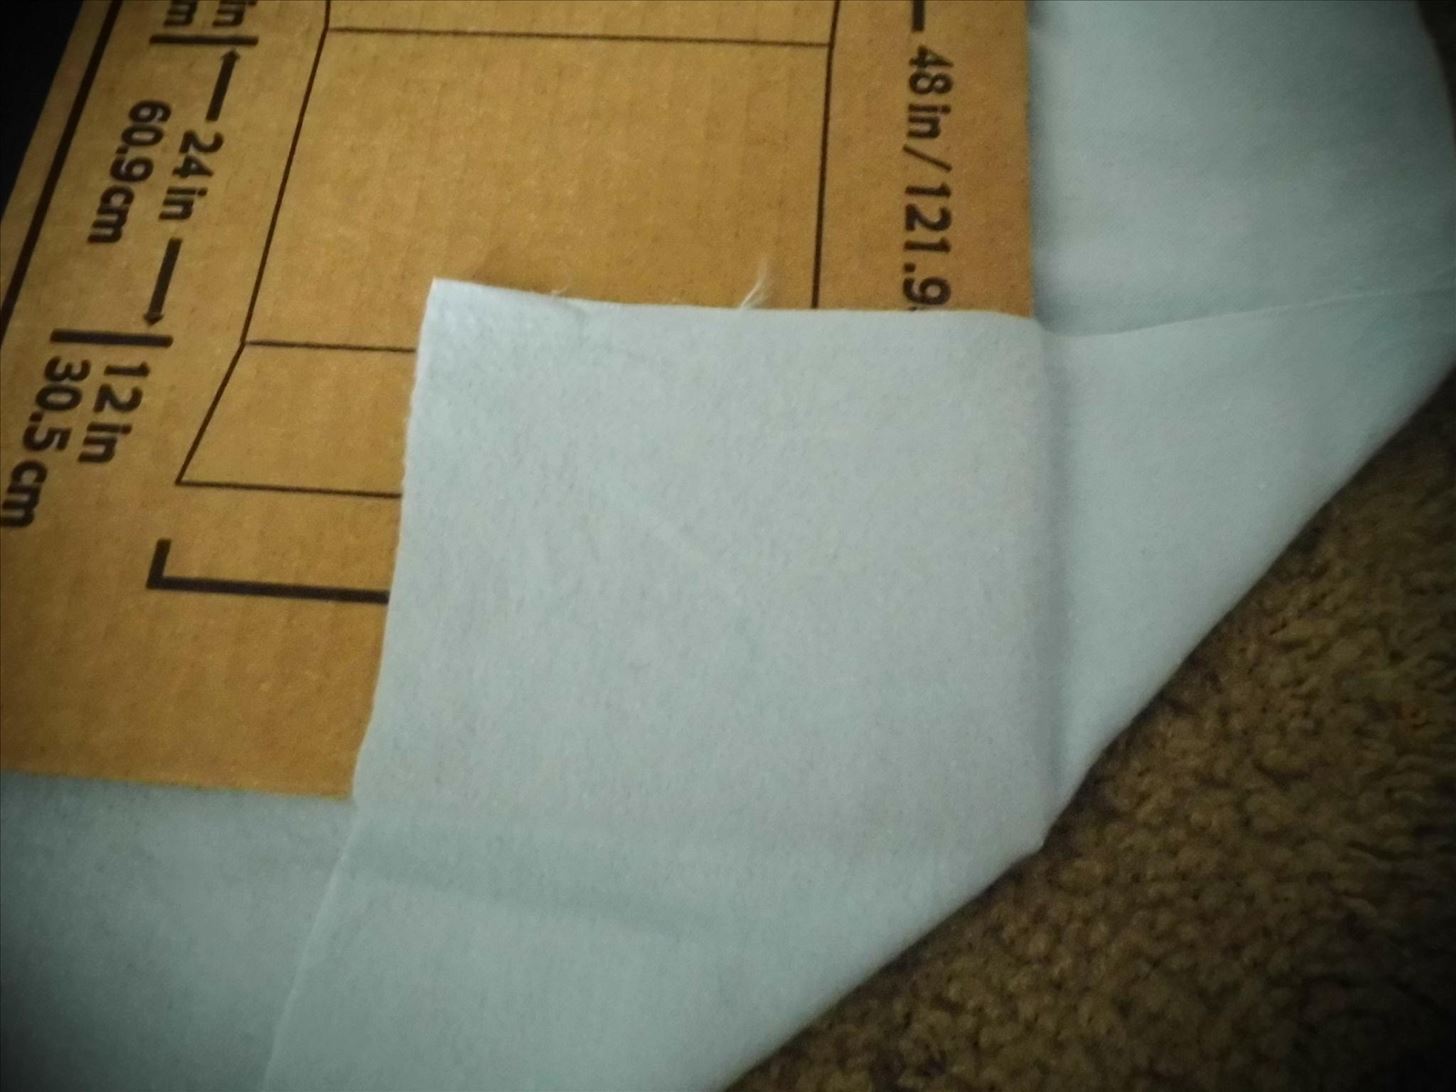
Step 4: Secure Corners
Place your boards on top of your fabric. Secure the corners by first folding the corner over onto the board.
Then, using two strips of duct tape, pull the fabric tight and secure the corner you folded in.
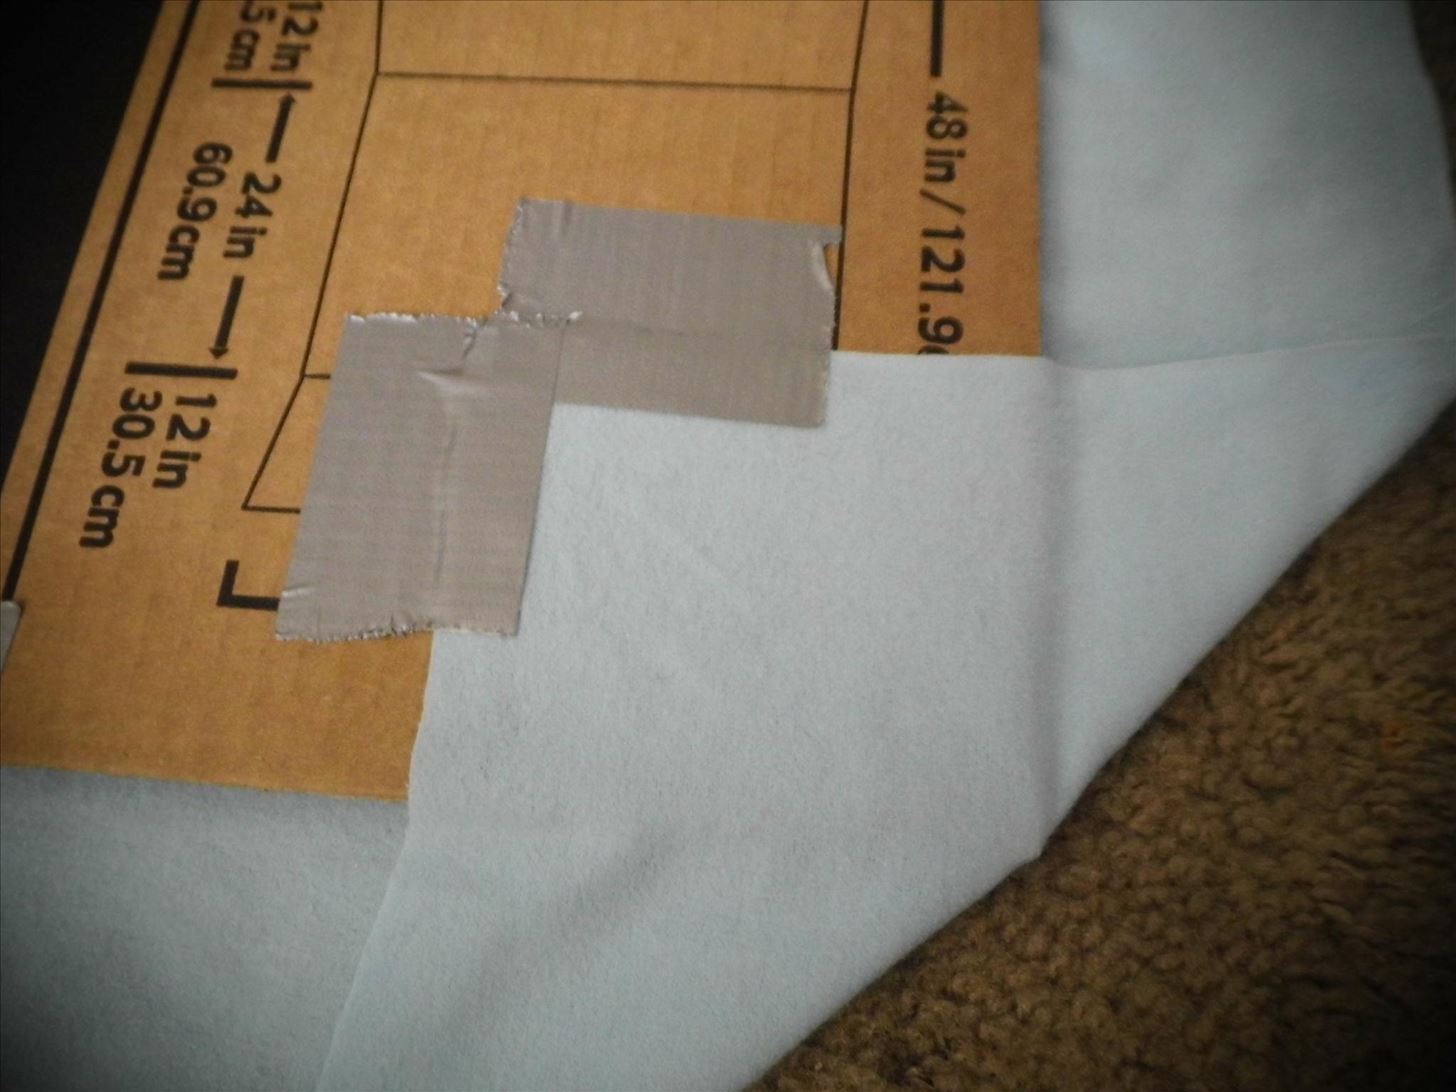
Next, fold the fabric on the adjoining sides inwards on top of the corner. Pull everything tight and secure with another piece of duct tape.
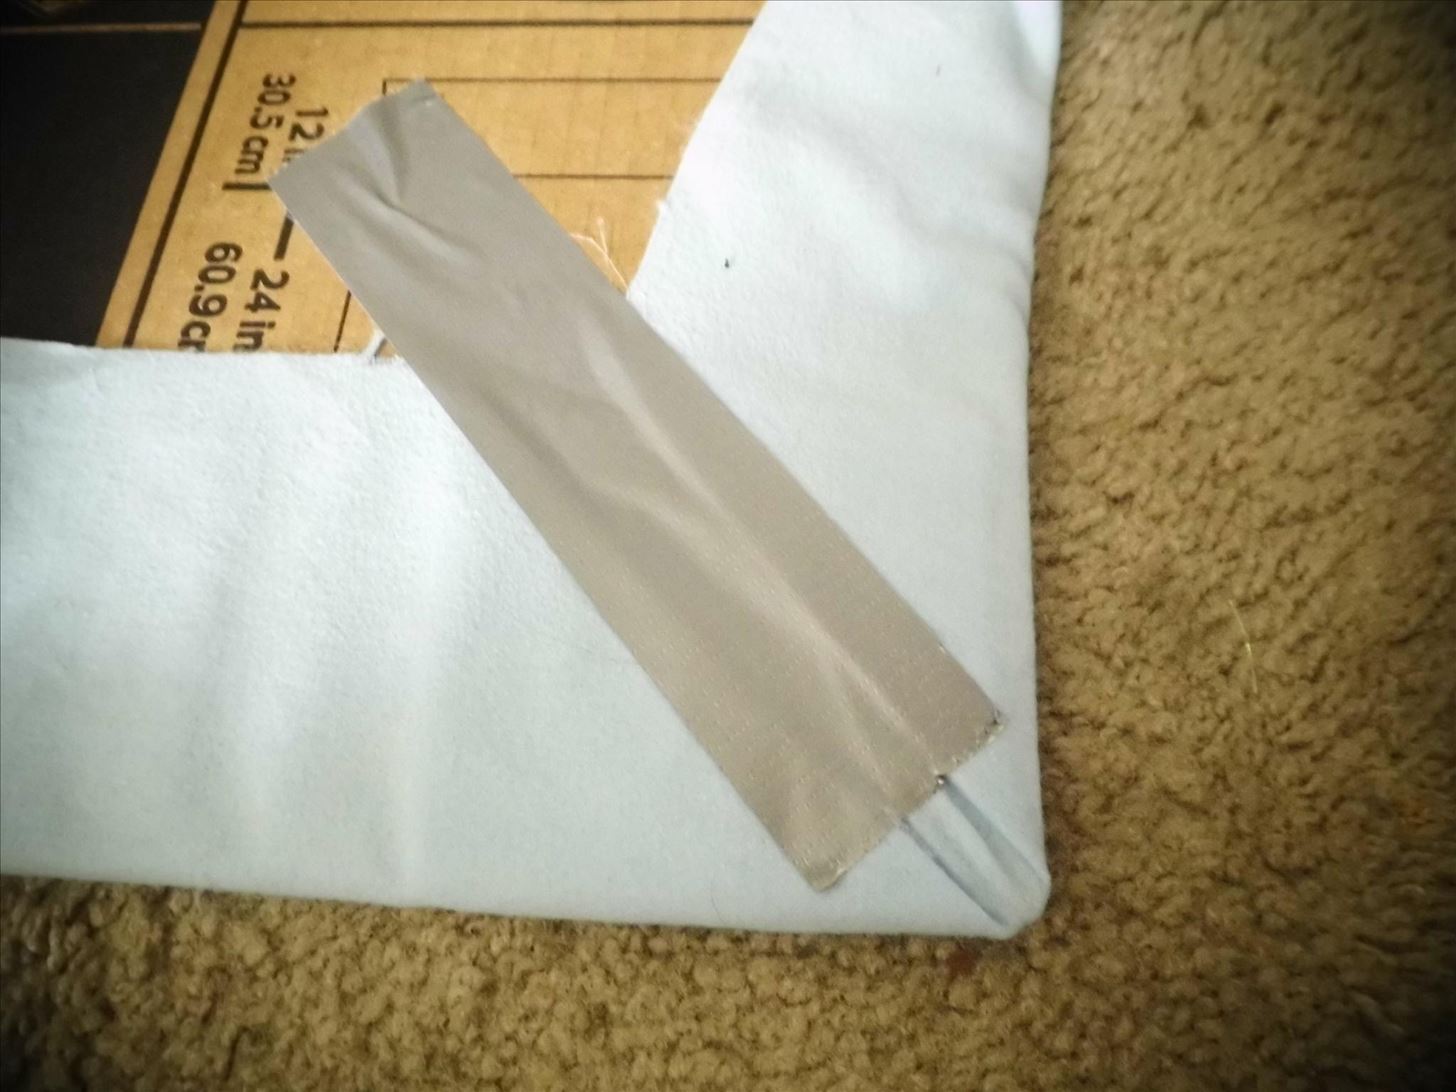
Repeat with all four corners.
Step 5: Tape Sides
Secure each side down by pulling the fabric tight and pressing a piece of tape across each edge.
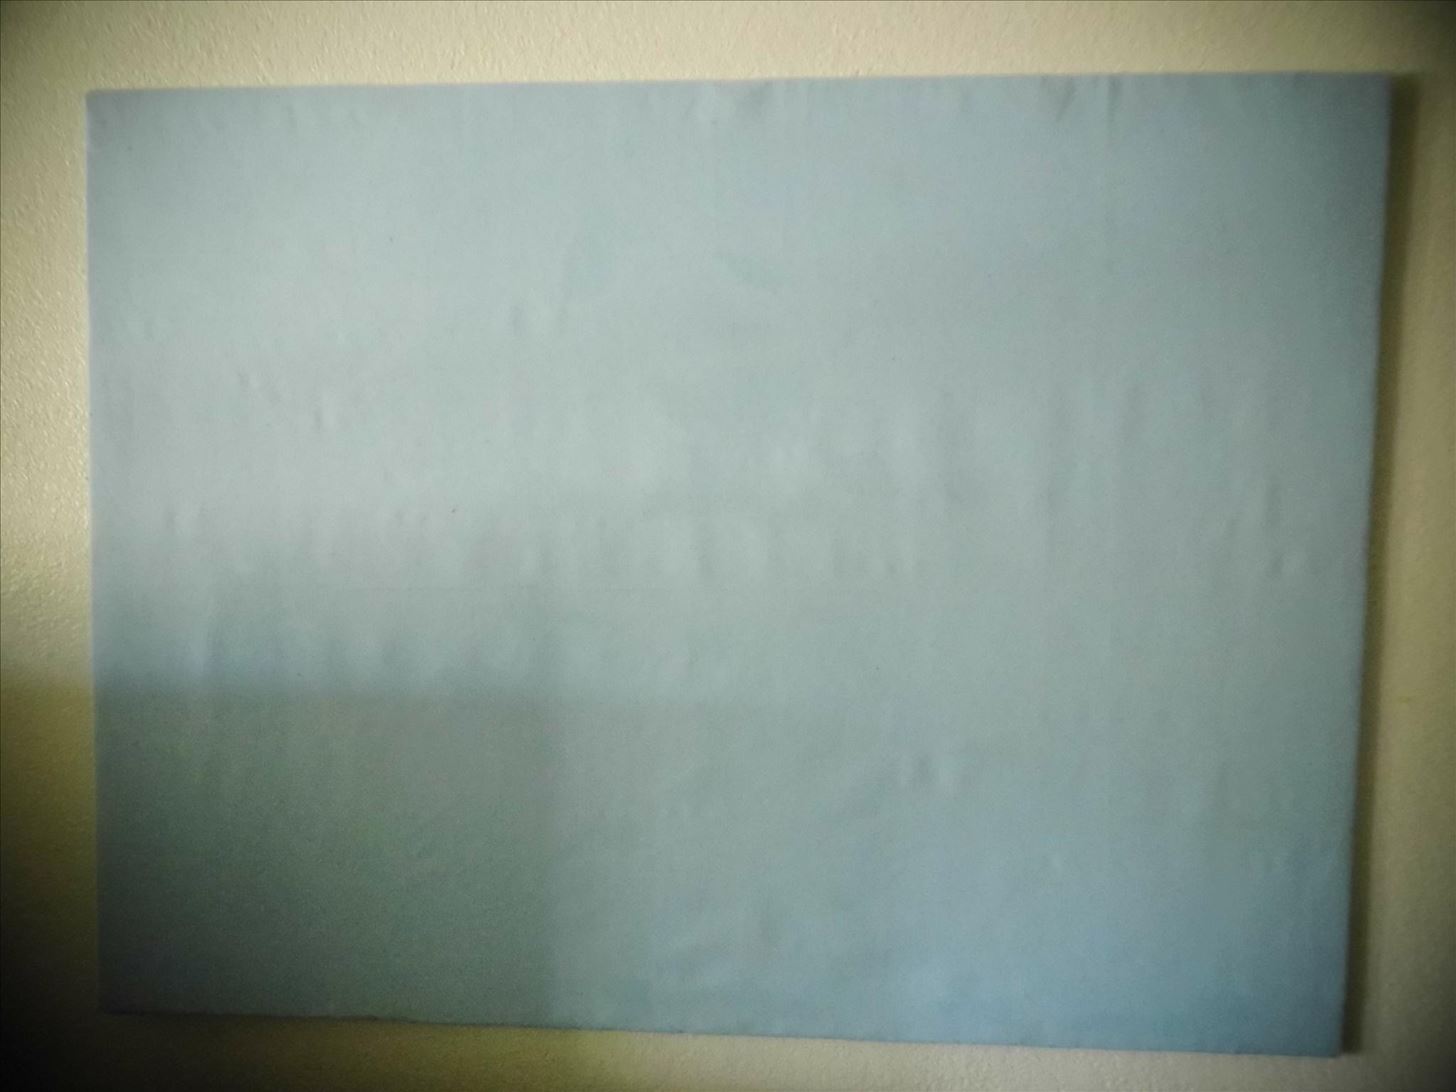
Step 6: Iron and Mount
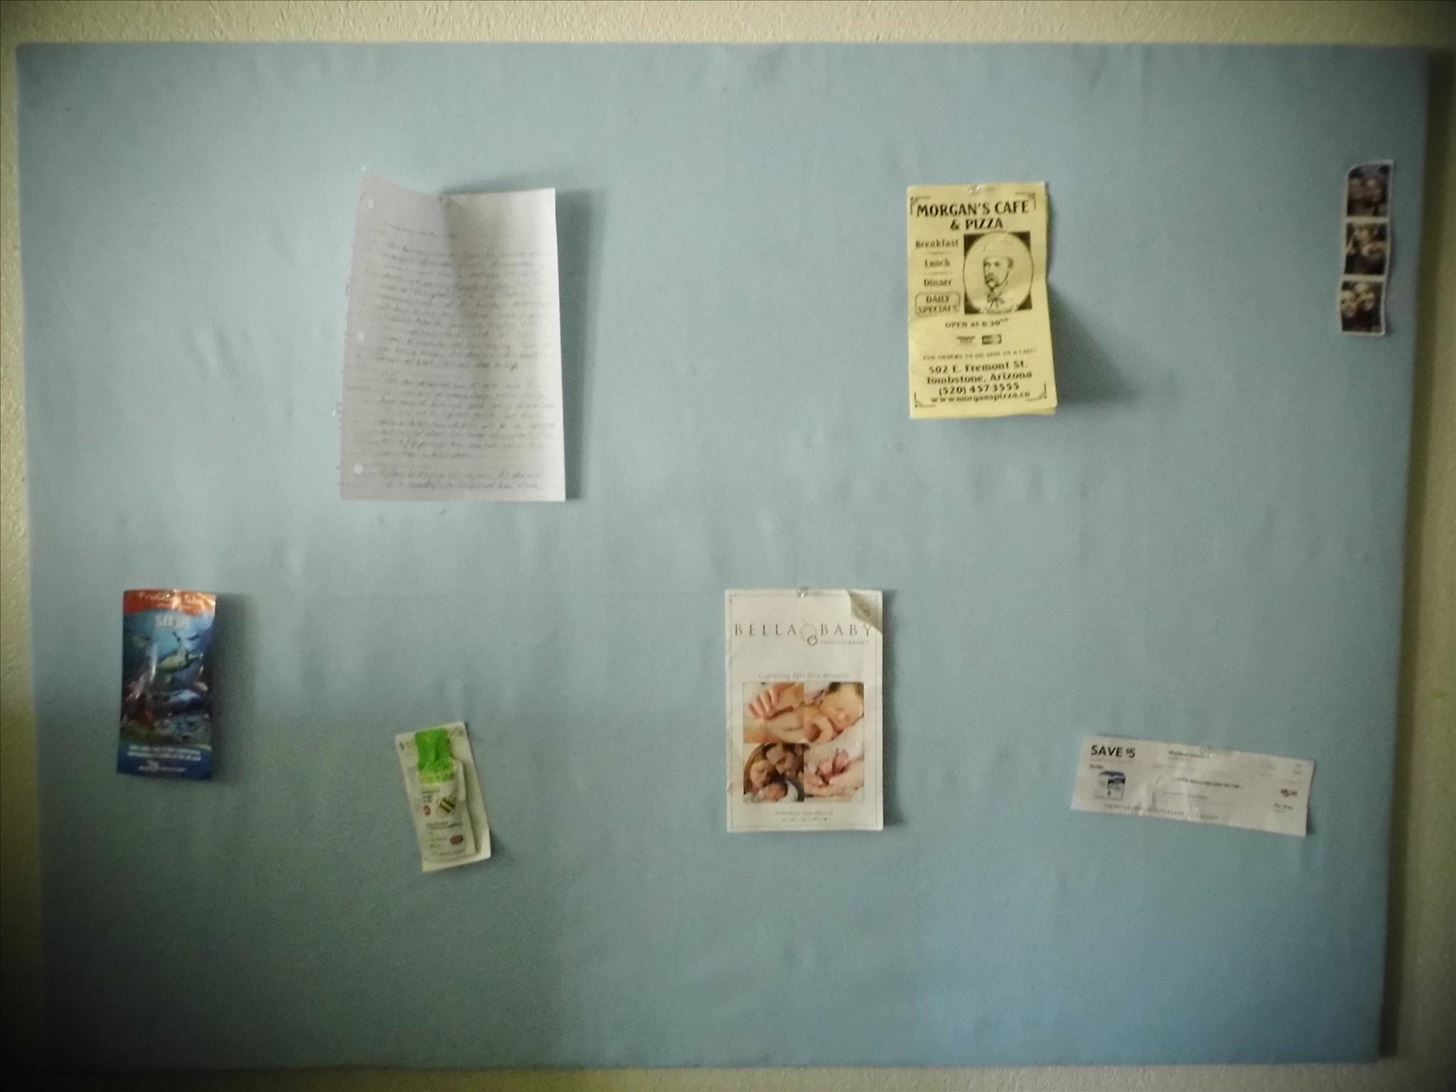
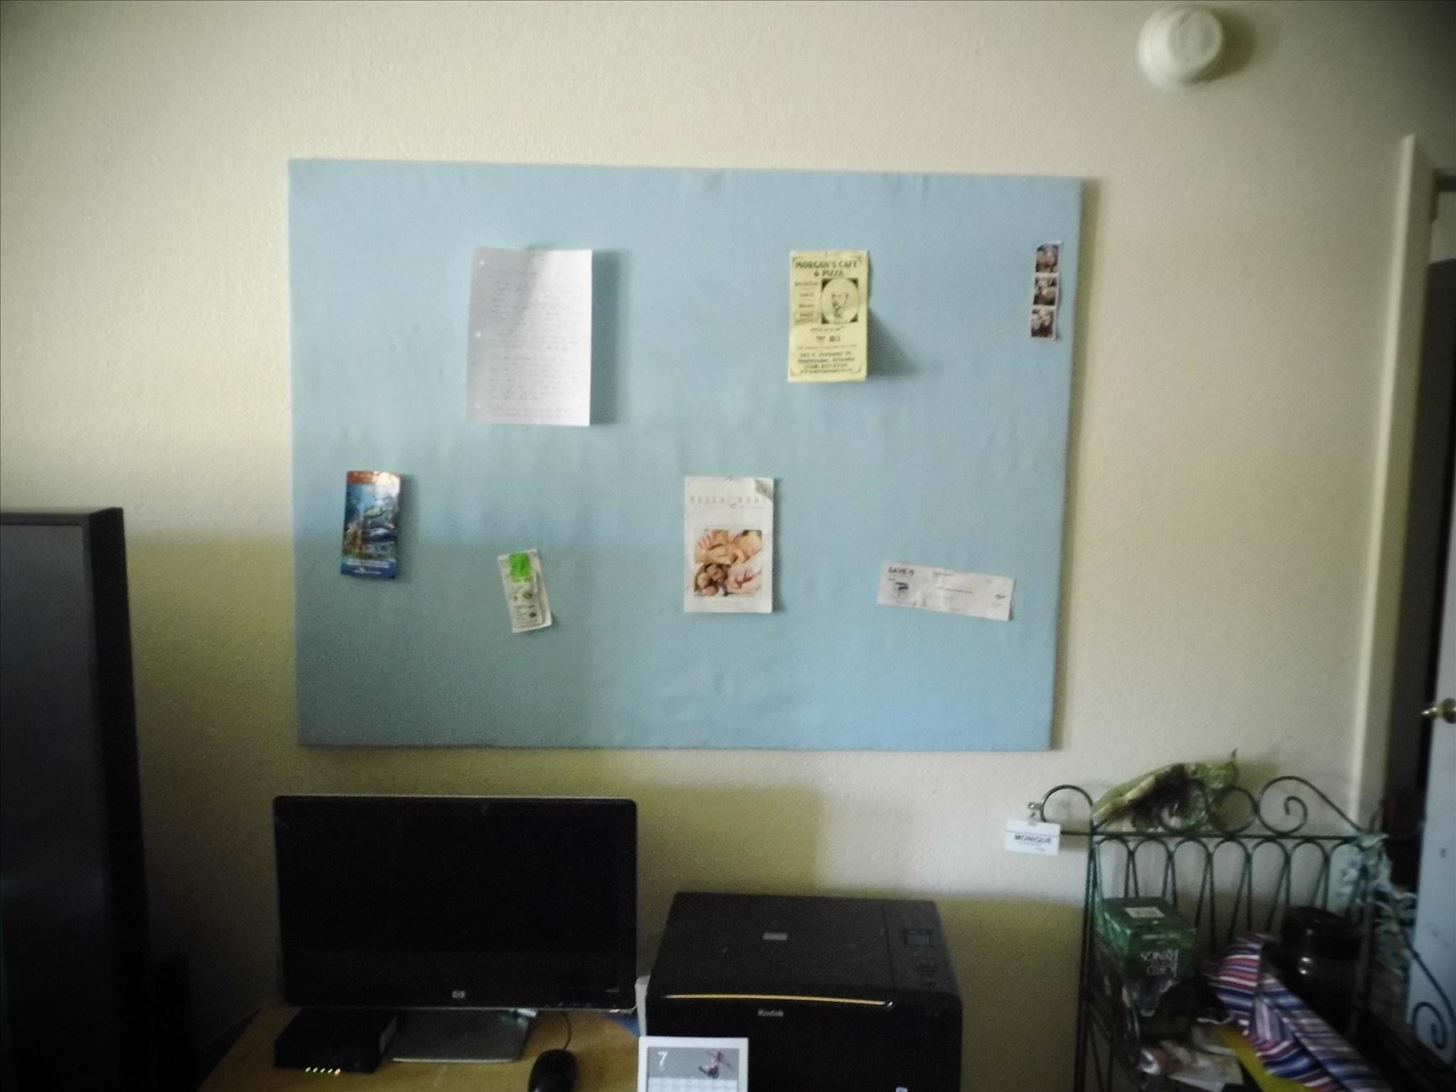
Flip your board over. The front of your bulletin board should look like this:
Iron out any wrinkles (you can also do this before actually taping the fabric on, if you'd like). When you're done ironing, you will need to mount your bulletin board. I found it works best to hang with mounting tape or picture hanging strips. Either way, press your mounting tape or hanging strips to the back of your board and press to the wall.
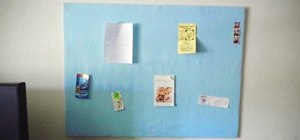
You're Done!
Your new bulletin board is now complete! Just attach some documents to it via push pins and you're all set.

The best part is that the fabric is easily interchangeable!
Can you think of a better way to make a bulletin board? Tell me about it in the comments section below!
Just updated your iPhone? You'll find new emoji, enhanced security, podcast transcripts, Apple Cash virtual numbers, and other useful features. There are even new additions hidden within Safari. Find out what's new and changed on your iPhone with the iOS 17.4 update.


2 Comments
I think this is a great idea. That thing is huge.
Thank you m'am!
Share Your Thoughts