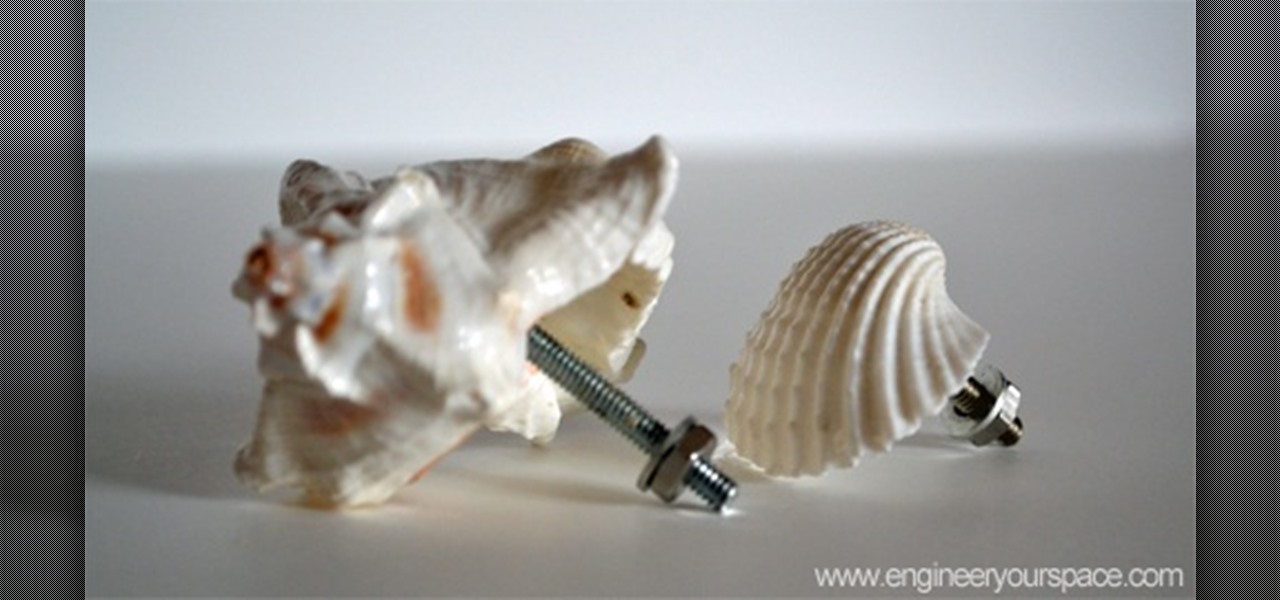

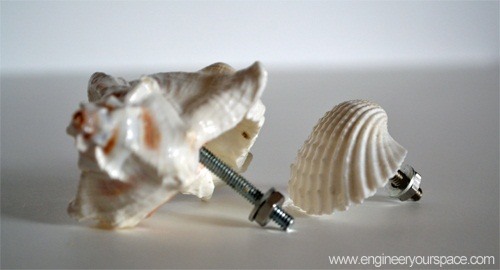
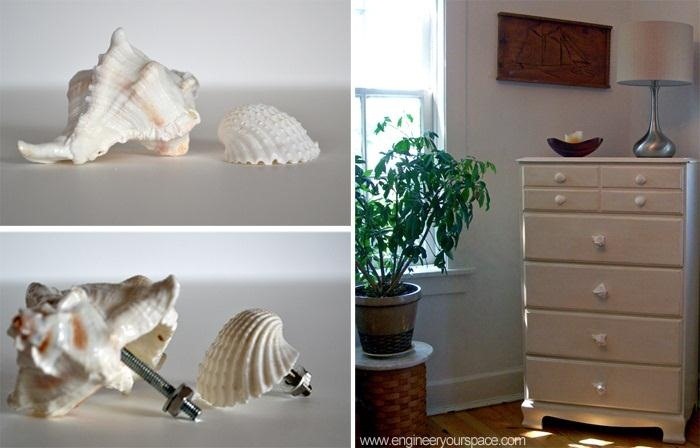
A quick way to revamp an old dresser is to change out the knobs for some new decorative ones. Here's an easy and budget-friendly way to make your very own DIY dresser knobs using shells – perfect if you're looking to add a little bit of the beach to your decor:
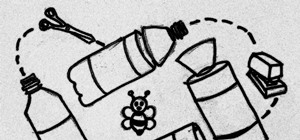
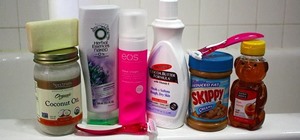
What you'll need: shells (I got mine from the Dollar Store), nuts & washers, bolts (about 1 to 1.5 inches longer than the thickness of the shell), scrap rigid cardboard, rubber bands and epoxy glue.
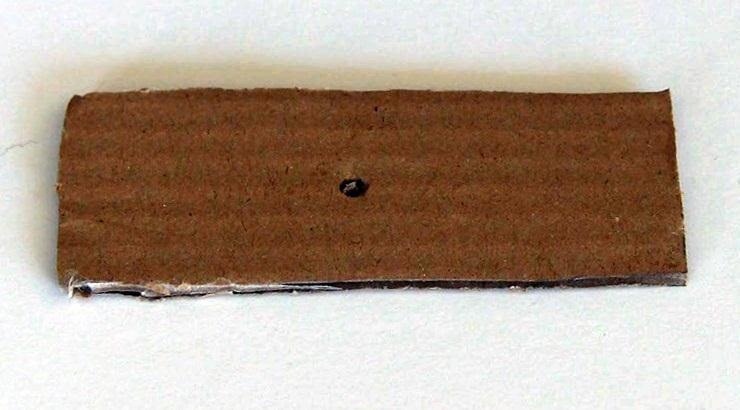
Step 1:
Cut a piece of rigid cardboard so that it's the width of the shell and extends past it by about an inch, and make a hole in the middle. It will act as the flat surface of the dresser drawer to set the bolt in place.
Step 2:
Insert the Bolt in the Hole of the Cardboard

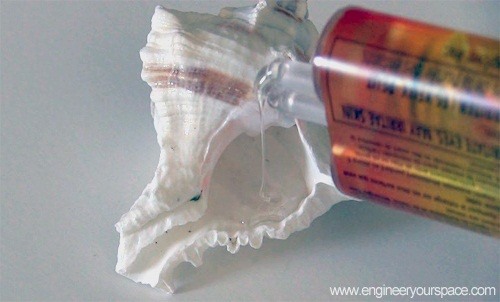
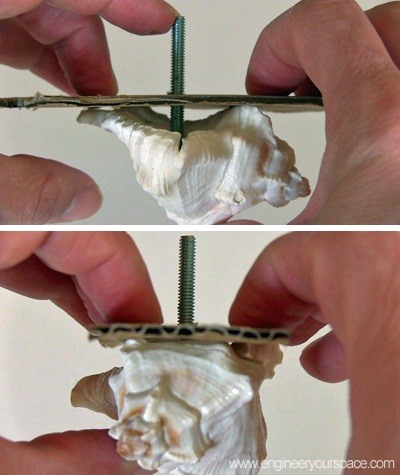
Step 3:
Pour epoxy glue into the shell cavity, making sure to have enough glue to cover the head of the bolt.
Step 4:
Place the head of the bolt so that it touches the bottom of the shell cavity, while making sure the cardboard is flush to the back of the shell. Then move the bolt around so it is perpendicular to the cardboard.
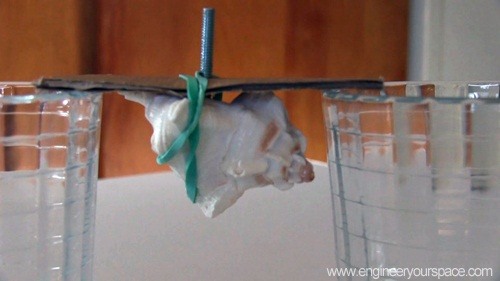
Step 5:
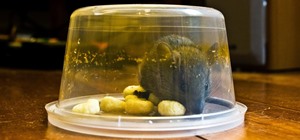
When the bolt is placed properly, use a rubber band to secure the cardboard in place, double check that the bolt is still touching the bottom of the shell cavity and still straight (it doesn't have to be perfect but the straighter the better), then place the cardboard on the edge of 2 glasses. This will allow the epoxy to settle on the bottom and cover the head of the bolt. Let the epoxy harden.
And voila, you have beautiful shell knobs ready to give a new look to your dresser!
Just updated your iPhone? You'll find new emoji, enhanced security, podcast transcripts, Apple Cash virtual numbers, and other useful features. There are even new additions hidden within Safari. Find out what's new and changed on your iPhone with the iOS 17.4 update.


Be the First to Comment
Share Your Thoughts