

Magnetic knife strips are really handy. They allow for the removal of that huge knife block on your countertop, freeing up valuable counter space. They allow for easy access to your knives as you can mount them pretty much wherever you want. Plus, they look really cool, too!
The only bad thing about magnetic knife strips is that they usually cost upwards of 30 dollars for good ones. 30 dollars?! That is way too much for this DIY-er. So, I've come up with a way to make homemade knife strips on the cheap.
Materials
- Strip of wood
- Sticky-backed magnet roll
- Screws
- Scissors
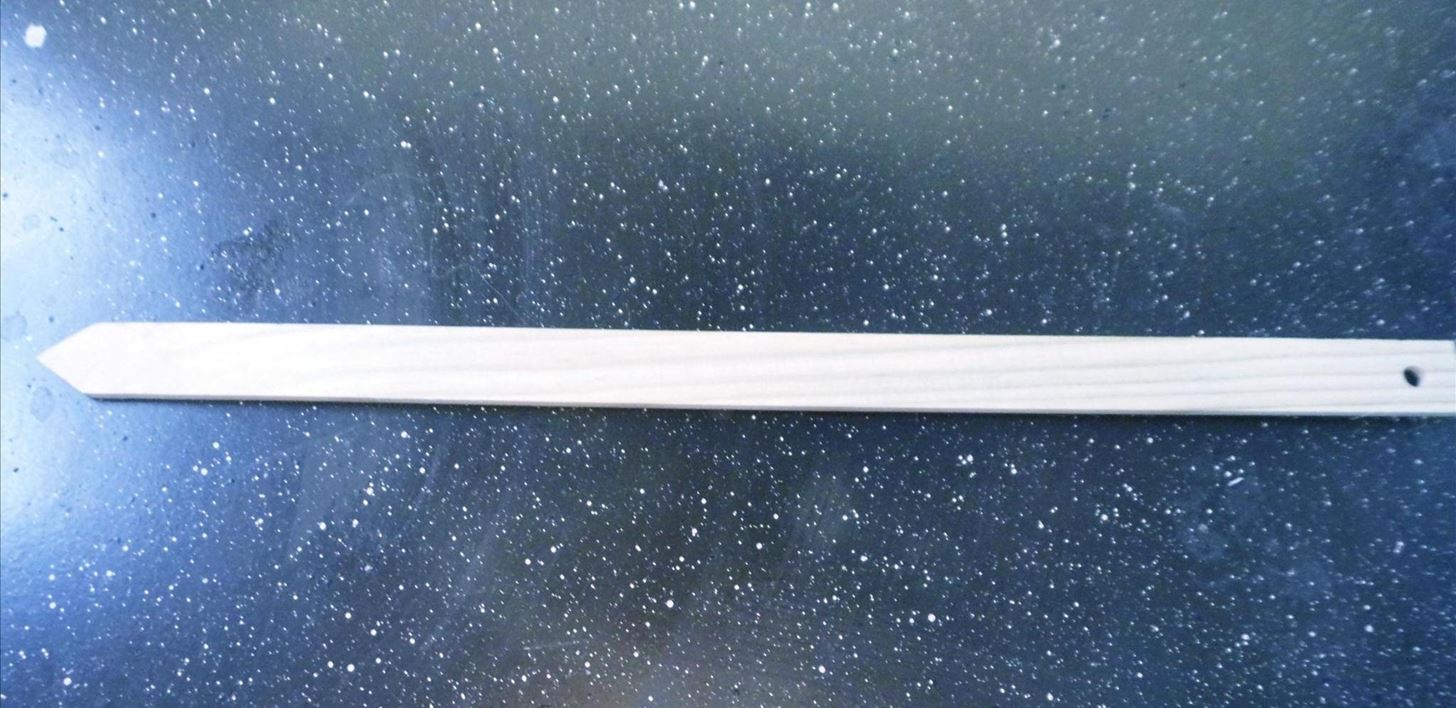
Step 1: Select Wood
Get a strip of wood about two feet long. You want to select wood that is rigid and has the strength to hold up multiple knives. I used a garden stake, but a ruler or paint stick would also work quite nicely.
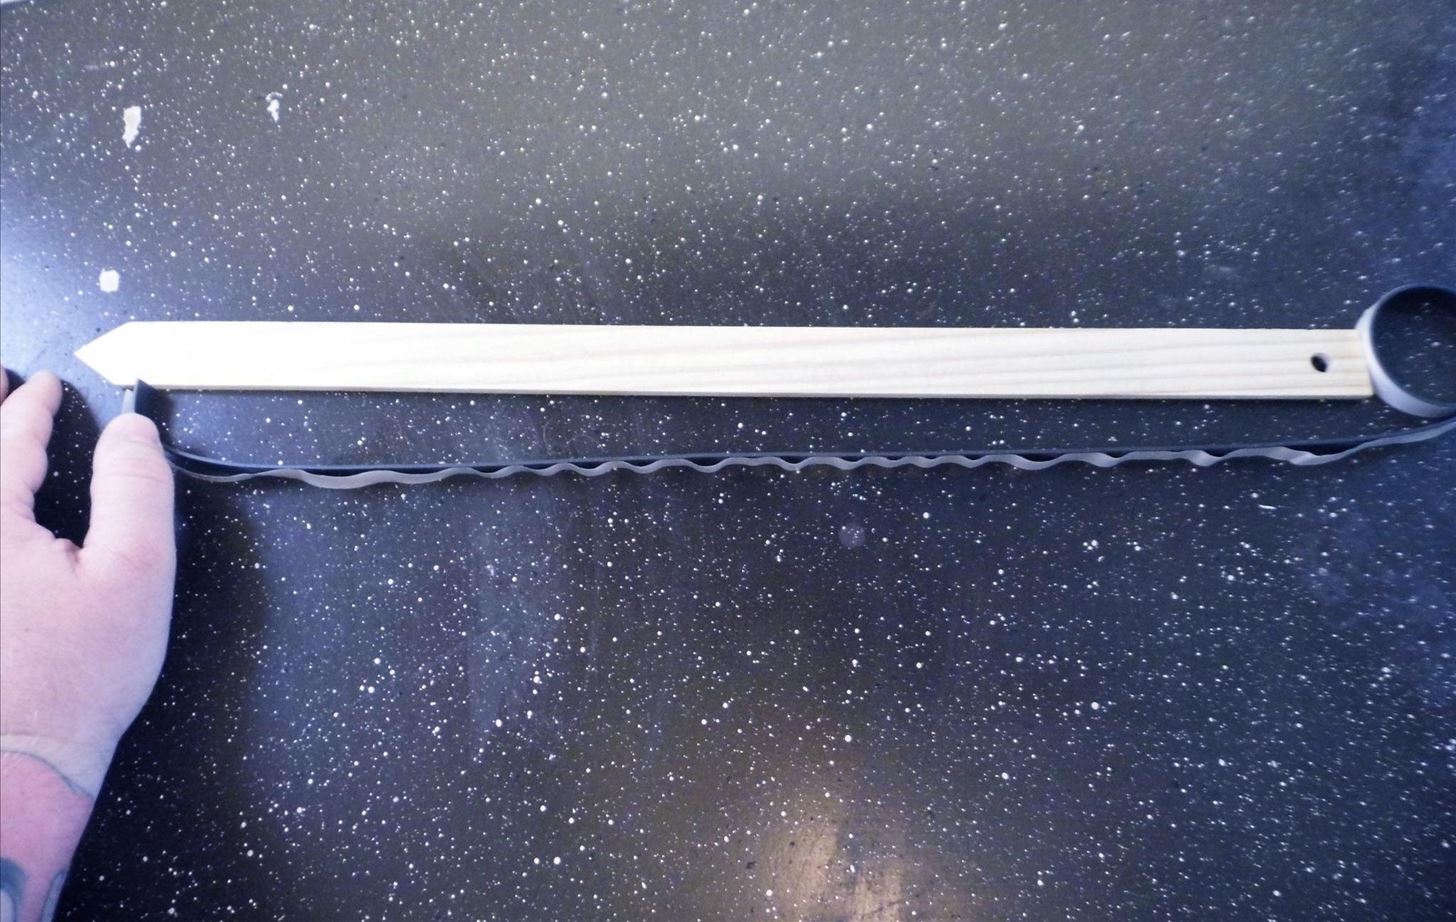
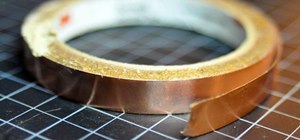
Step 2: Measure Magnet
The magnet you choose is important. Make sure it is strong enough to hold up whatever size of knives you wish to put on the strip. Unroll the magnet next to your wood. You want the strip to be a bit shorter than the length of your wood.
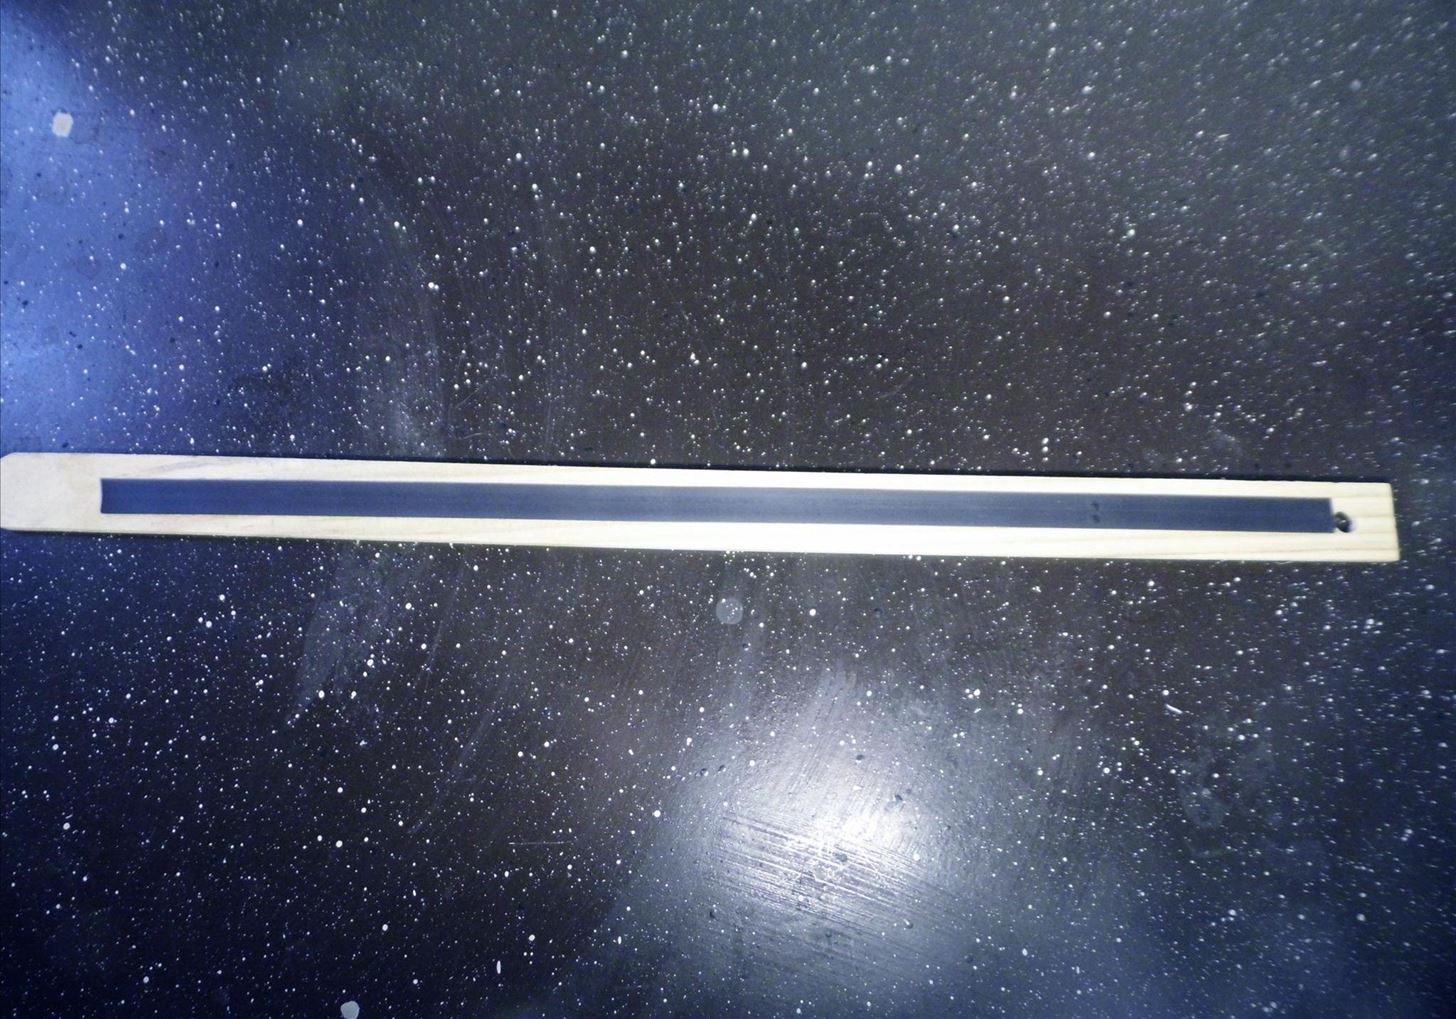
Step 3: Cut
Using a pair of scissors, cut your magnet. Remove the paper back and stick it to your strip of wood.
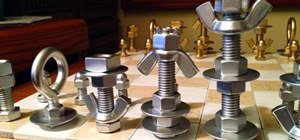
Step 4: Mount
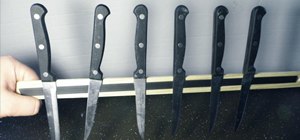
You're done now! When you place your knives on, your strip should look like this:
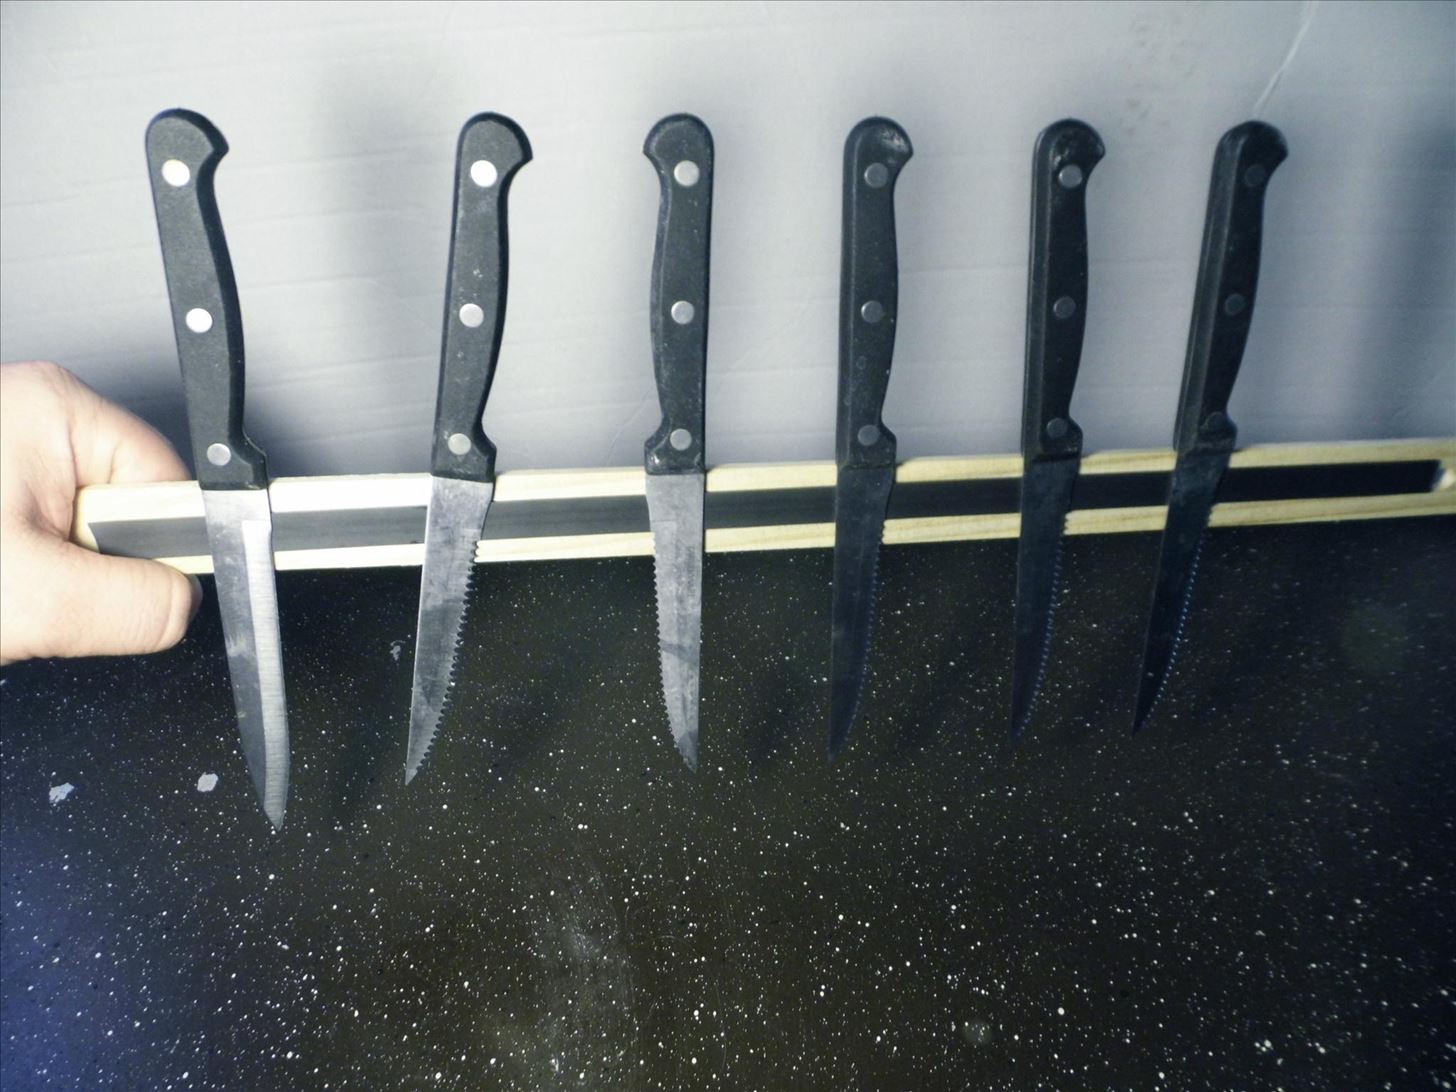
To mount it, just place a screw at either end past the magnet and screw into your wall.
What's that you say? You don't want a wooden knife strip in your kitchen? It wouldn't look good with the rest of your cutting edge chrome appliances? Well, I have another set of steps for you!
Materials
- Disposable loaf pan
- Sticky-backed magnet roll
- Scissors
- Screws
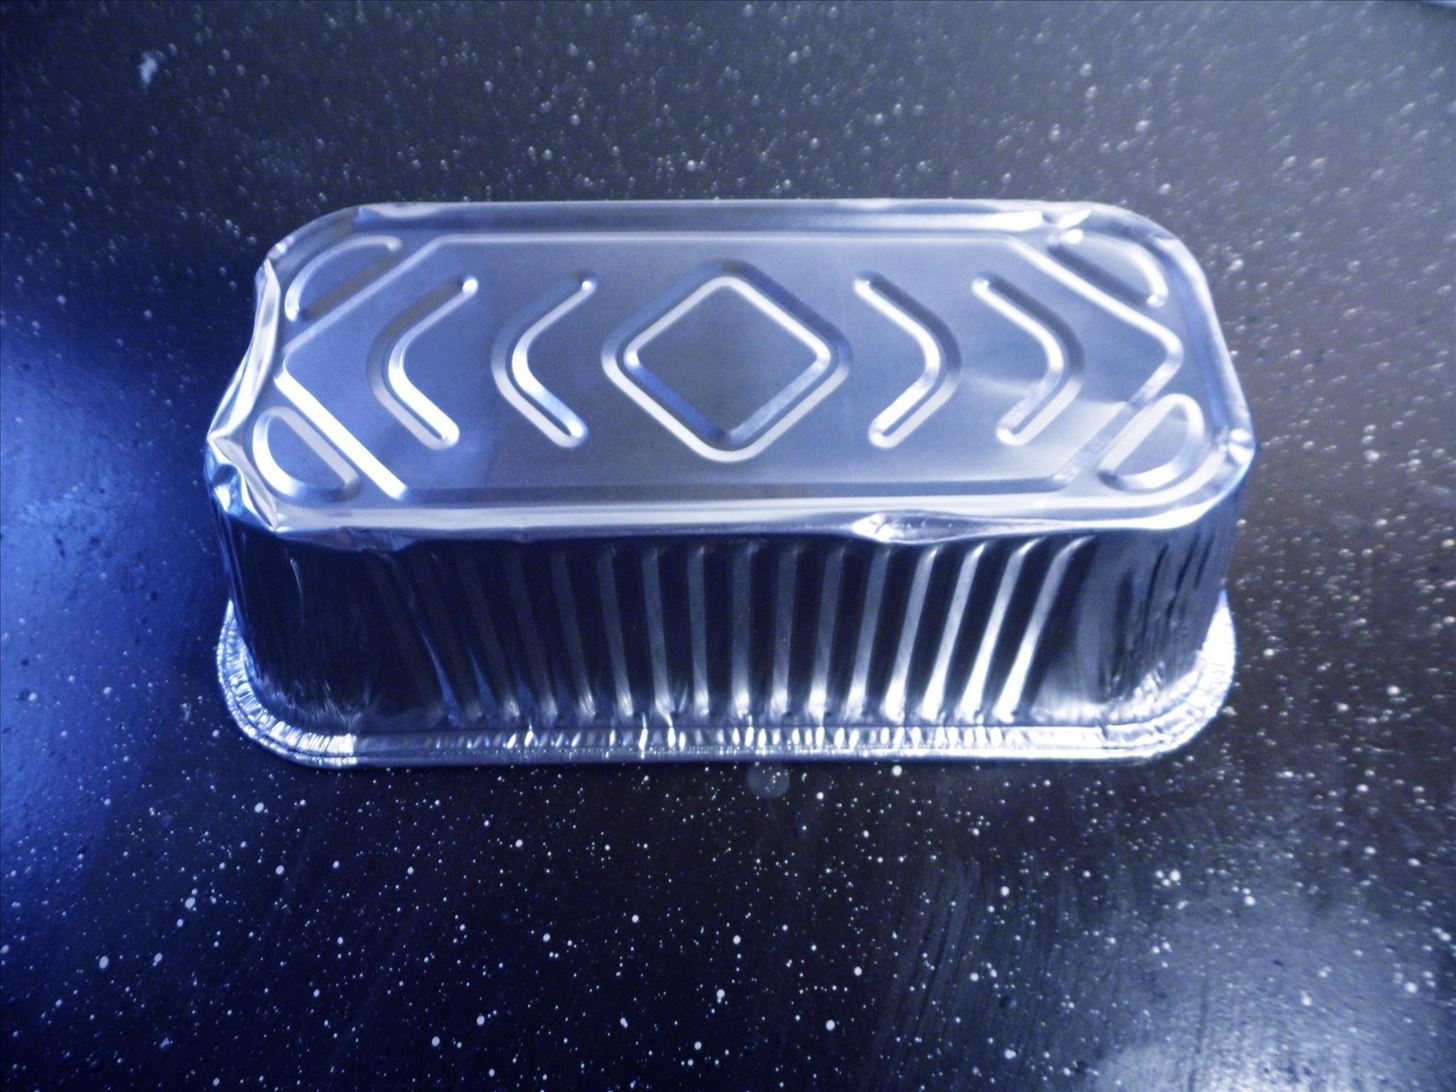
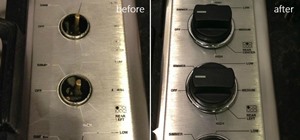
Step 5: Clean Out Pan
Remove the label from your loaf pan and clean out any glue that remains. Flip it over.
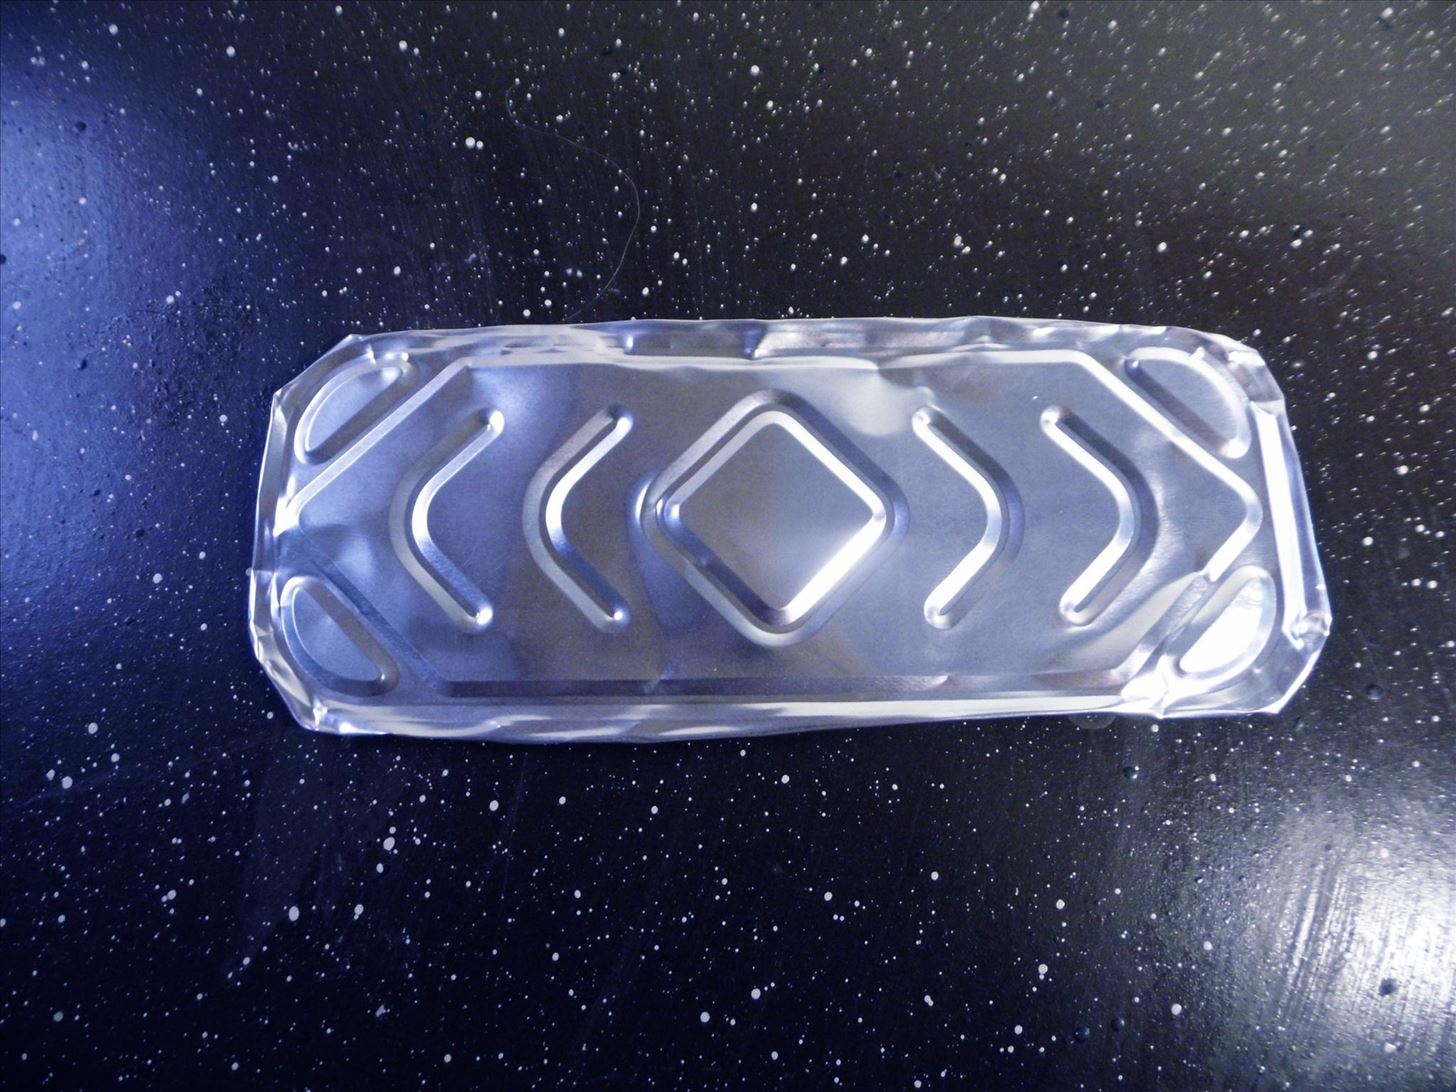
Step 6: Cut Out Bottom
Using your scissors, cut the bottom out of the pan about 1/4 inch up the sides. When finished, fold the excess over to avoid getting cut.
Step 7: Measure Magnet
Measure your magnet strip out just like above, a bit shorter than the length of the pan bottom. This time though, cut two strips instead of one.

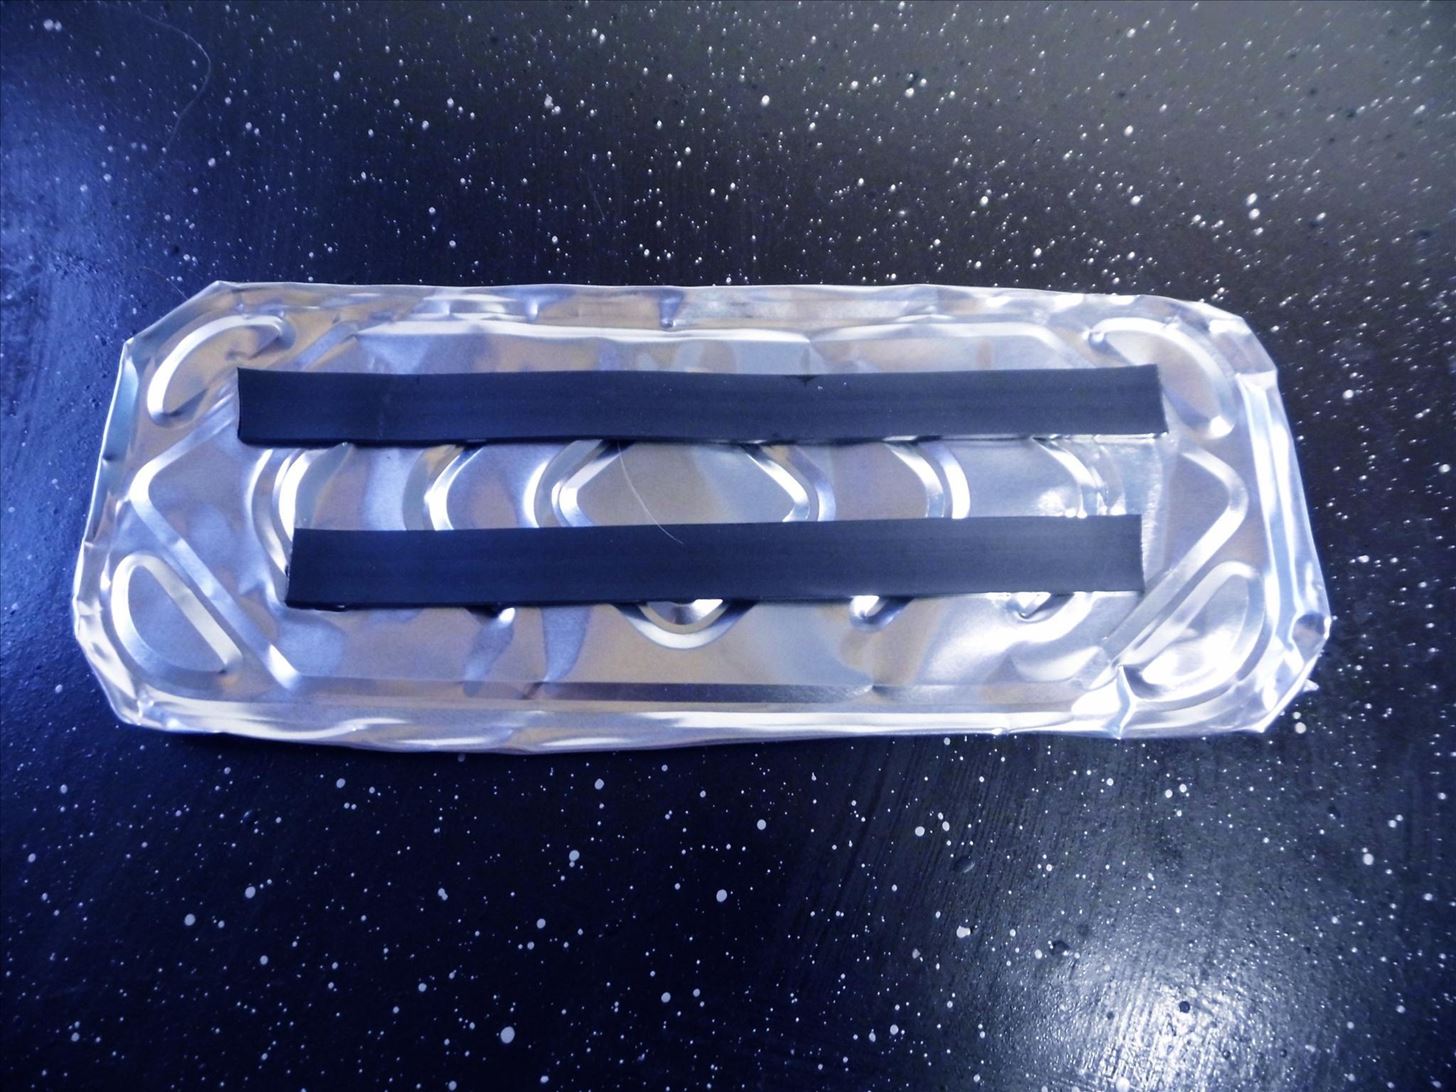
Step 8: Affix Magnets
Peel the paper back from your magnets and affix them to your pan bottom. Make sure they are parallel.
You're done! Your new strip should look like this when you attach the knives:

Again, to mount it, just screw it to the wall. Since this is so thin, you will want to use more than two screws though. How would you make a magnetic strip? What would you use instead of wood or disposable pans? Sound off below.
Just updated your iPhone? You'll find new emoji, enhanced security, podcast transcripts, Apple Cash virtual numbers, and other useful features. There are even new additions hidden within Safari. Find out what's new and changed on your iPhone with the iOS 17.4 update.


1 Comment
I want to try using a metal yardstick, but I don't know if it will work.
Share Your Thoughts