
Having a store-bought cold pack on the ready is the perfect solution for minor bumps, bruises, sprains, and strains, but why spend money on bright blue ice packs when you can make your own right at home?
These homemade cold compresses will give your the same level of pain relief for your skin, muscles, and other injuries—possibly without requiring a trip to the store. You could even use some of them to keep your drinks cool if you want!
1. Use Corn Syrup or Dish Soap
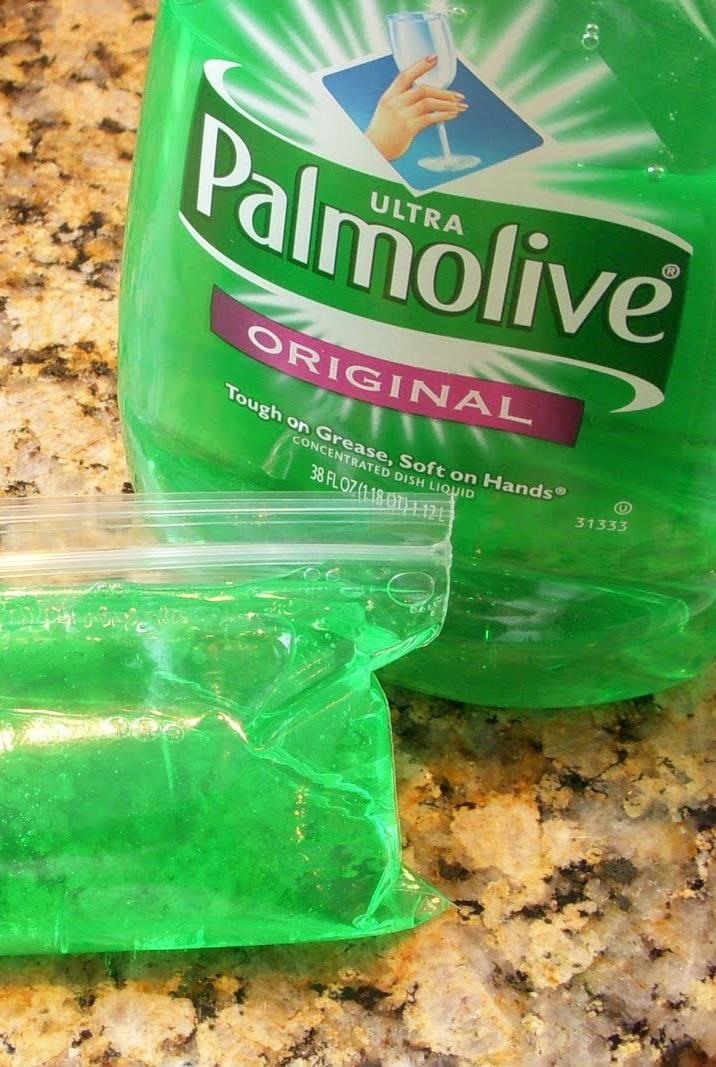
The best part of a gel ice pack is its squishy, flexible nature. You can mold it to the body part in question (or in pain), and it holds its cold well. However, you don't need fancy blue gel-beads to get the job done—corn syrup works just as well.
Just pour the corn syrup into a plastic ziplock bag and stick it in your freezer. After a couple of hours, the corn syrup will grow incredibly cold, but won't freeze solid, making it the perfect first aid remedy. If you don't have any corn syrup on hand, dishwashing soap also works well.
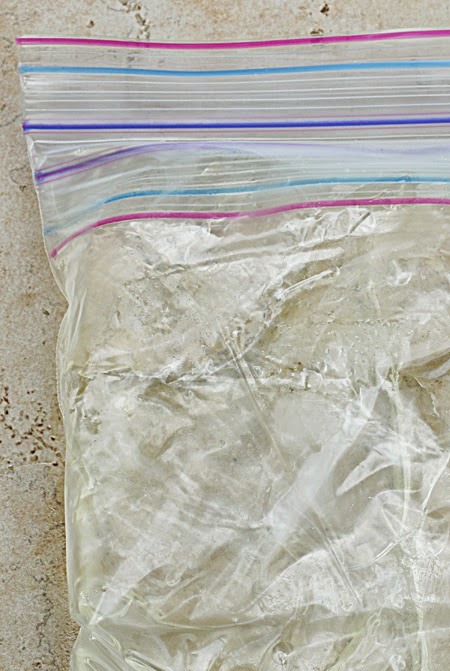
2. Use Vodka
Nothing numbs the pain like a sip of vodka, and the same can be said for homemade ice packs. Alcohol changes the freezing point of water, making it unable to harden into a block of ice in normal freezers. So, if you'd like a flexible form of cold first aid, combine water and vodka.
With the right amounts of water and vodka poured into a sealed plastic bag, you'll create an at-home slushy version of ice. The mixture will hold its cold temperature and cool down your burn, aching muscles, or stinging bug bite quickly.

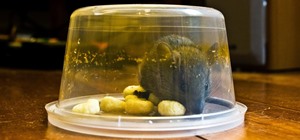
3. Use Loose Change
Have a bunch of spare change laying around in your piggy bank? Before you convert it into cash, consider keeping it in the freezer for your next injury or ache. Metal works well at retaining cold temperatures, so when you need an ice pack in a hurry and don't want to "spend" a dime, toss your change into the freezer inside a ziplock bag and give it a few hours.

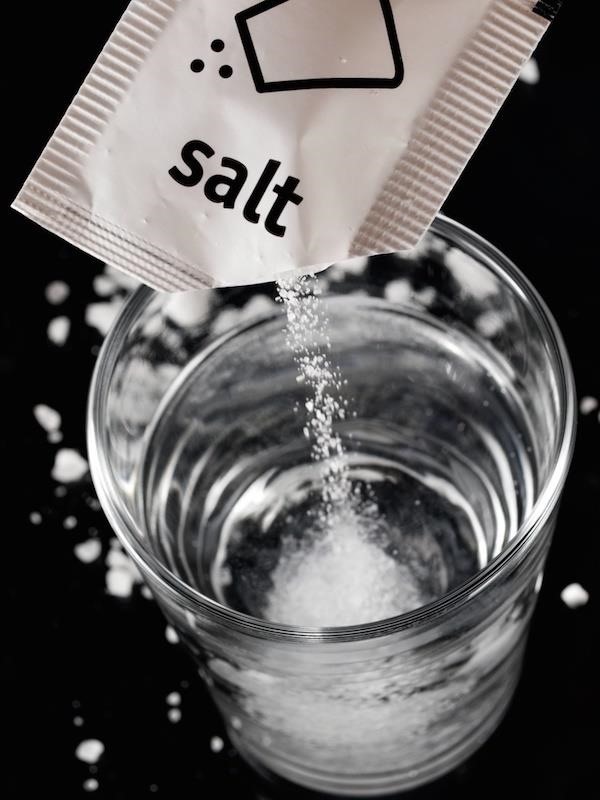
4. Use Saltwater
The simplest solution—water—is an obvious one, but to create ice that isn't a rock solid brick and more moldable in nature, just add salt to the mix. Salt changes the freezing temperature of water so that your DIY ice pack is more slushy-like. To make an ice pack, combine two tablespoons of salt for every two cups of water in a ziplock bag and freeze for a few hours.
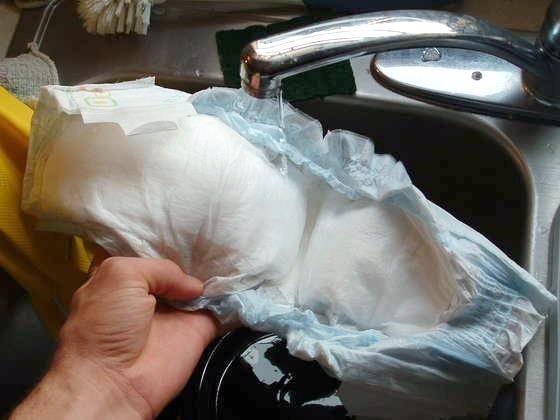
5. Use a Diaper, Water, & Alcohol
As silly as it sounds, diapers make a great cold compression, and are fairly cheap (unless you don't already have small children in the house).
Grab a (clean, of course) diaper and fill it with a 50-50 combination of alcohol and water. The alcohol will keep the added water gel-like in consistency once the diaper is frozen. Roll the very damp diaper into a tight, small bundle and stick it in your freezer; wait a few hours, then enjoy the soothing, calming cool.
The benefits are better than most ice packs: you'll not only be able to easily wrap it around your fingers or joints, but it won't leak. After all, diapers are meant to hold surprising amounts of liquid.
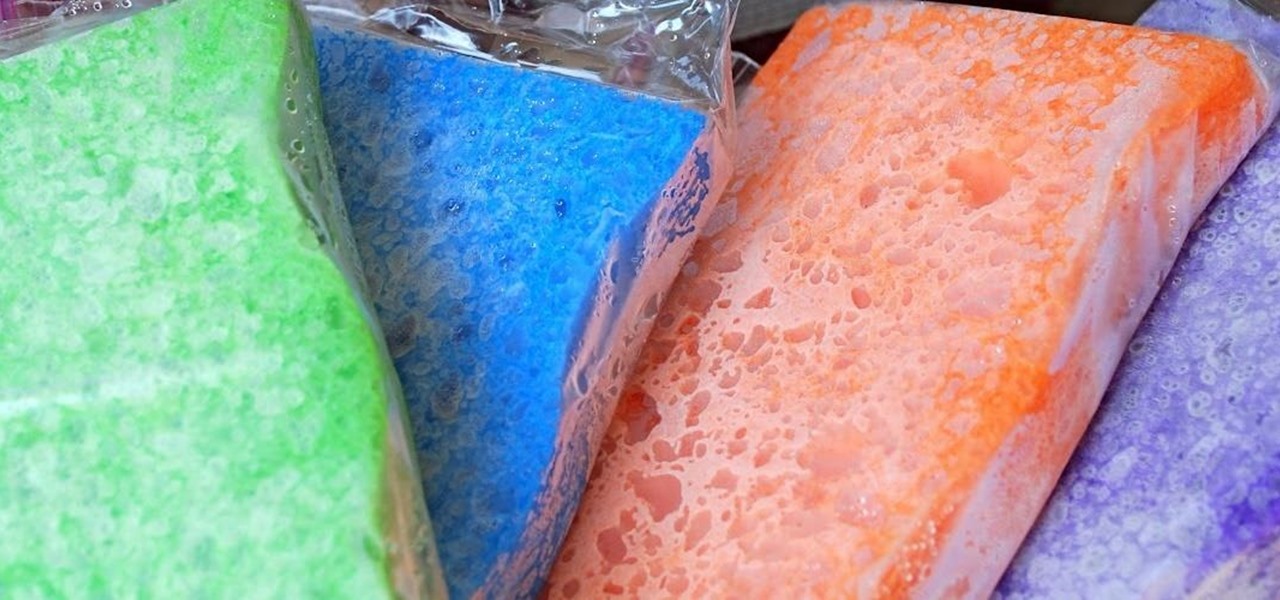
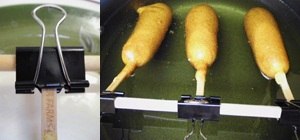
6. Use a Sponge with Water
Kitchen sponges are soft, squishy, and flexible in nature, which makes them perfect for DIY ice packs! Just run one under water until it's fully soaked, then add it to a ziplock bag and toss it in the freezer. (If you don't use a bag, your sponge will likely stick to your freezer walls.)
Although the sponge will be firm when you remove it, it offers the cold temperatures your skin needs when suffering from an injury; just remember not to force it to bend too much, or it will snap. As you use it, it will slowly return to its soft state and you can form its coolness to your pain better.
If you want to experiment, you can try adding alcohol to the mix for a more flexible sponge right out of the freezer.
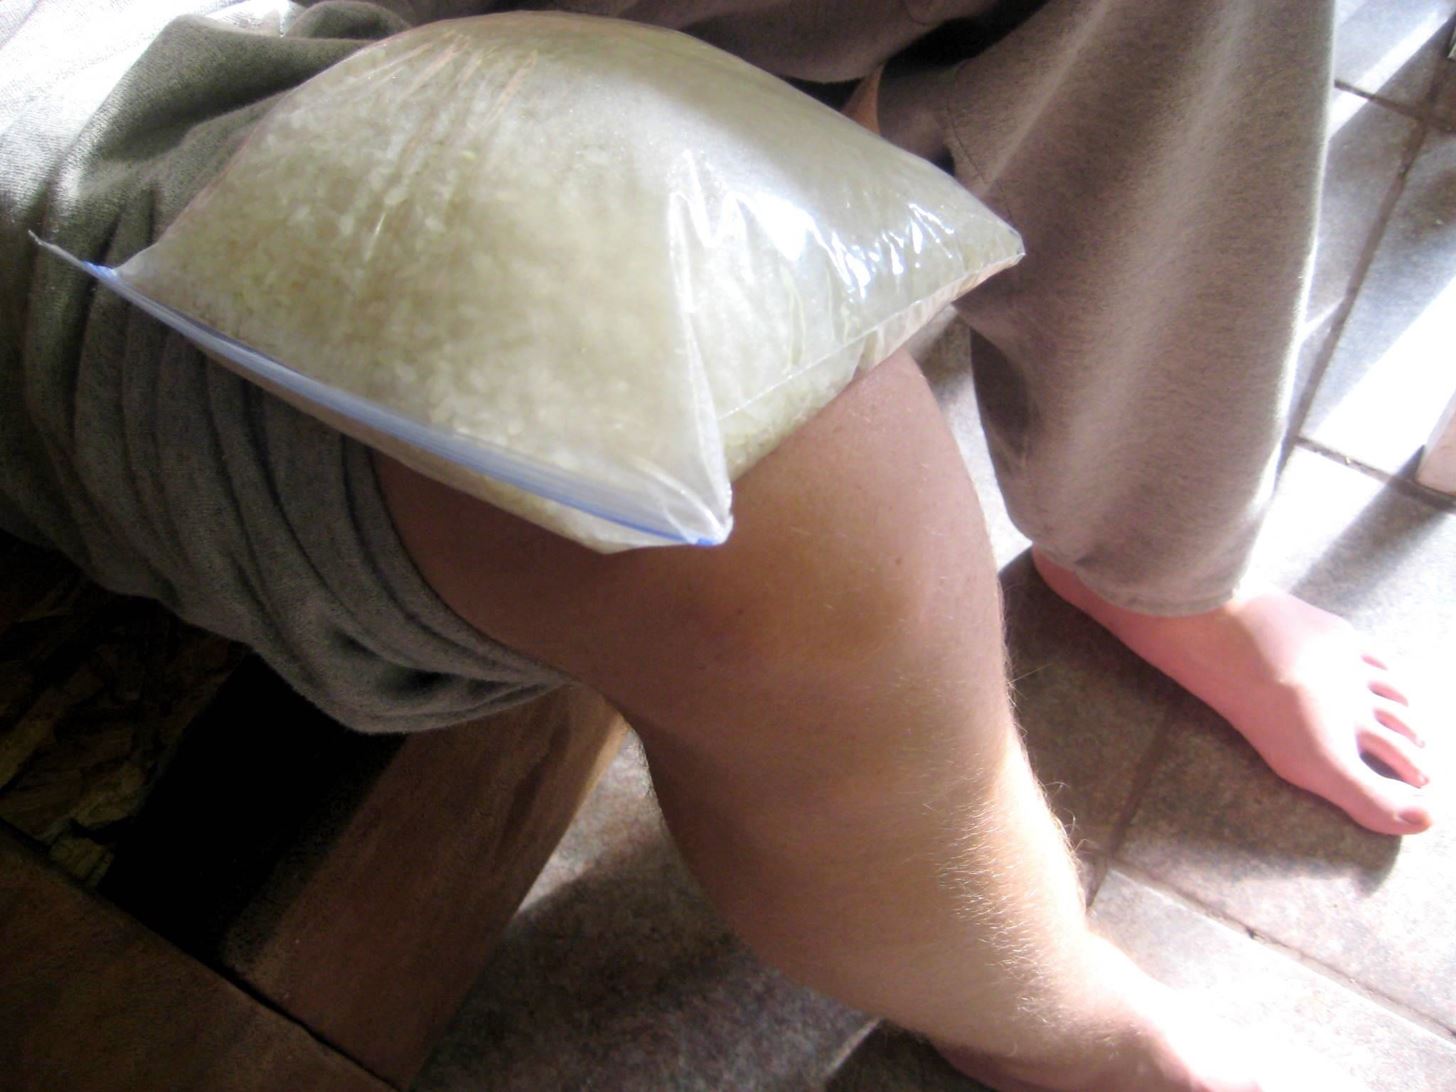
7. Use Rice Grains
Water, however, isn't the only vehicle to achieve total cool and cold when you're suffering from aches and pains. Rice grains work great! All you need to make your own rice ice pack is rice (obviously), a sealable plastic bag (or perhaps even a bag sewn from fabric), and a freezer. If you ask me, it's a lot better than using a bag of frozen peas. Plus, rice is great at retaining heat, so it can work as a DIY heating pad, too!
More Hacks You'll Probably Like:
Just updated your iPhone? You'll find new emoji, enhanced security, podcast transcripts, Apple Cash virtual numbers, and other useful features. There are even new additions hidden within Safari. Find out what's new and changed on your iPhone with the iOS 17.4 update.


Be the First to Comment
Share Your Thoughts